
The Sun. The center of our solar system, without which we would not be here. Sometimes all we modern gardeners can do is complain about how hot the sun is but early man worshiped the sun as a god and as a giver of life.
In some respects, he was not wrong. Modern man has long recognized the important role the sun plays in our world and thus has attempted to use the sun’s power to his own end. This is often easier said than done. For a long time, the best I ever achieved was focusing the rays of the sun with a magnifying glass to burn holes in paper! Not too great a use I admit.
Plants are unique in that through the process of photosynthesis they can actually harvest the sun’s energy and use it to make food. We gardeners can also harness the sun’s powerful energy to help us in our gardening efforts. There is at least one good thing about our sometimes oppressive summer heat – you can put it to work for you by solarizing your garden soil.
The Basics Of Solarization
Solarization is a simple method to reduce harmful soil organisms, like weeds, nematodes, insects and soil-borne diseases, which will help your vegetables and flowers grow and produce better. The thing is that solarization requires heating the soil to a high temperature and then maintaining that temperature. Therefore, soil solarization is best done during the middle of summer.
Interestingly, research has shown that increased vegetable yields gained by solarization are greater than what would be expected from just destroying insect and disease-causing pests. While no one is quite sure exactly why this is true, results consistently show increased yields. There is evidence that the solarization process makes nitrogen more readily available to plants which could account for some of the increased yields. Also, beneficial soil organisms can be favored by solarization and tend to ‘bounce back’ faster than do the more harmful organisms.
How To Solarize Your Garden Soil…
So how do you solarize your garden? The wonderful thing is that is very easy to do…
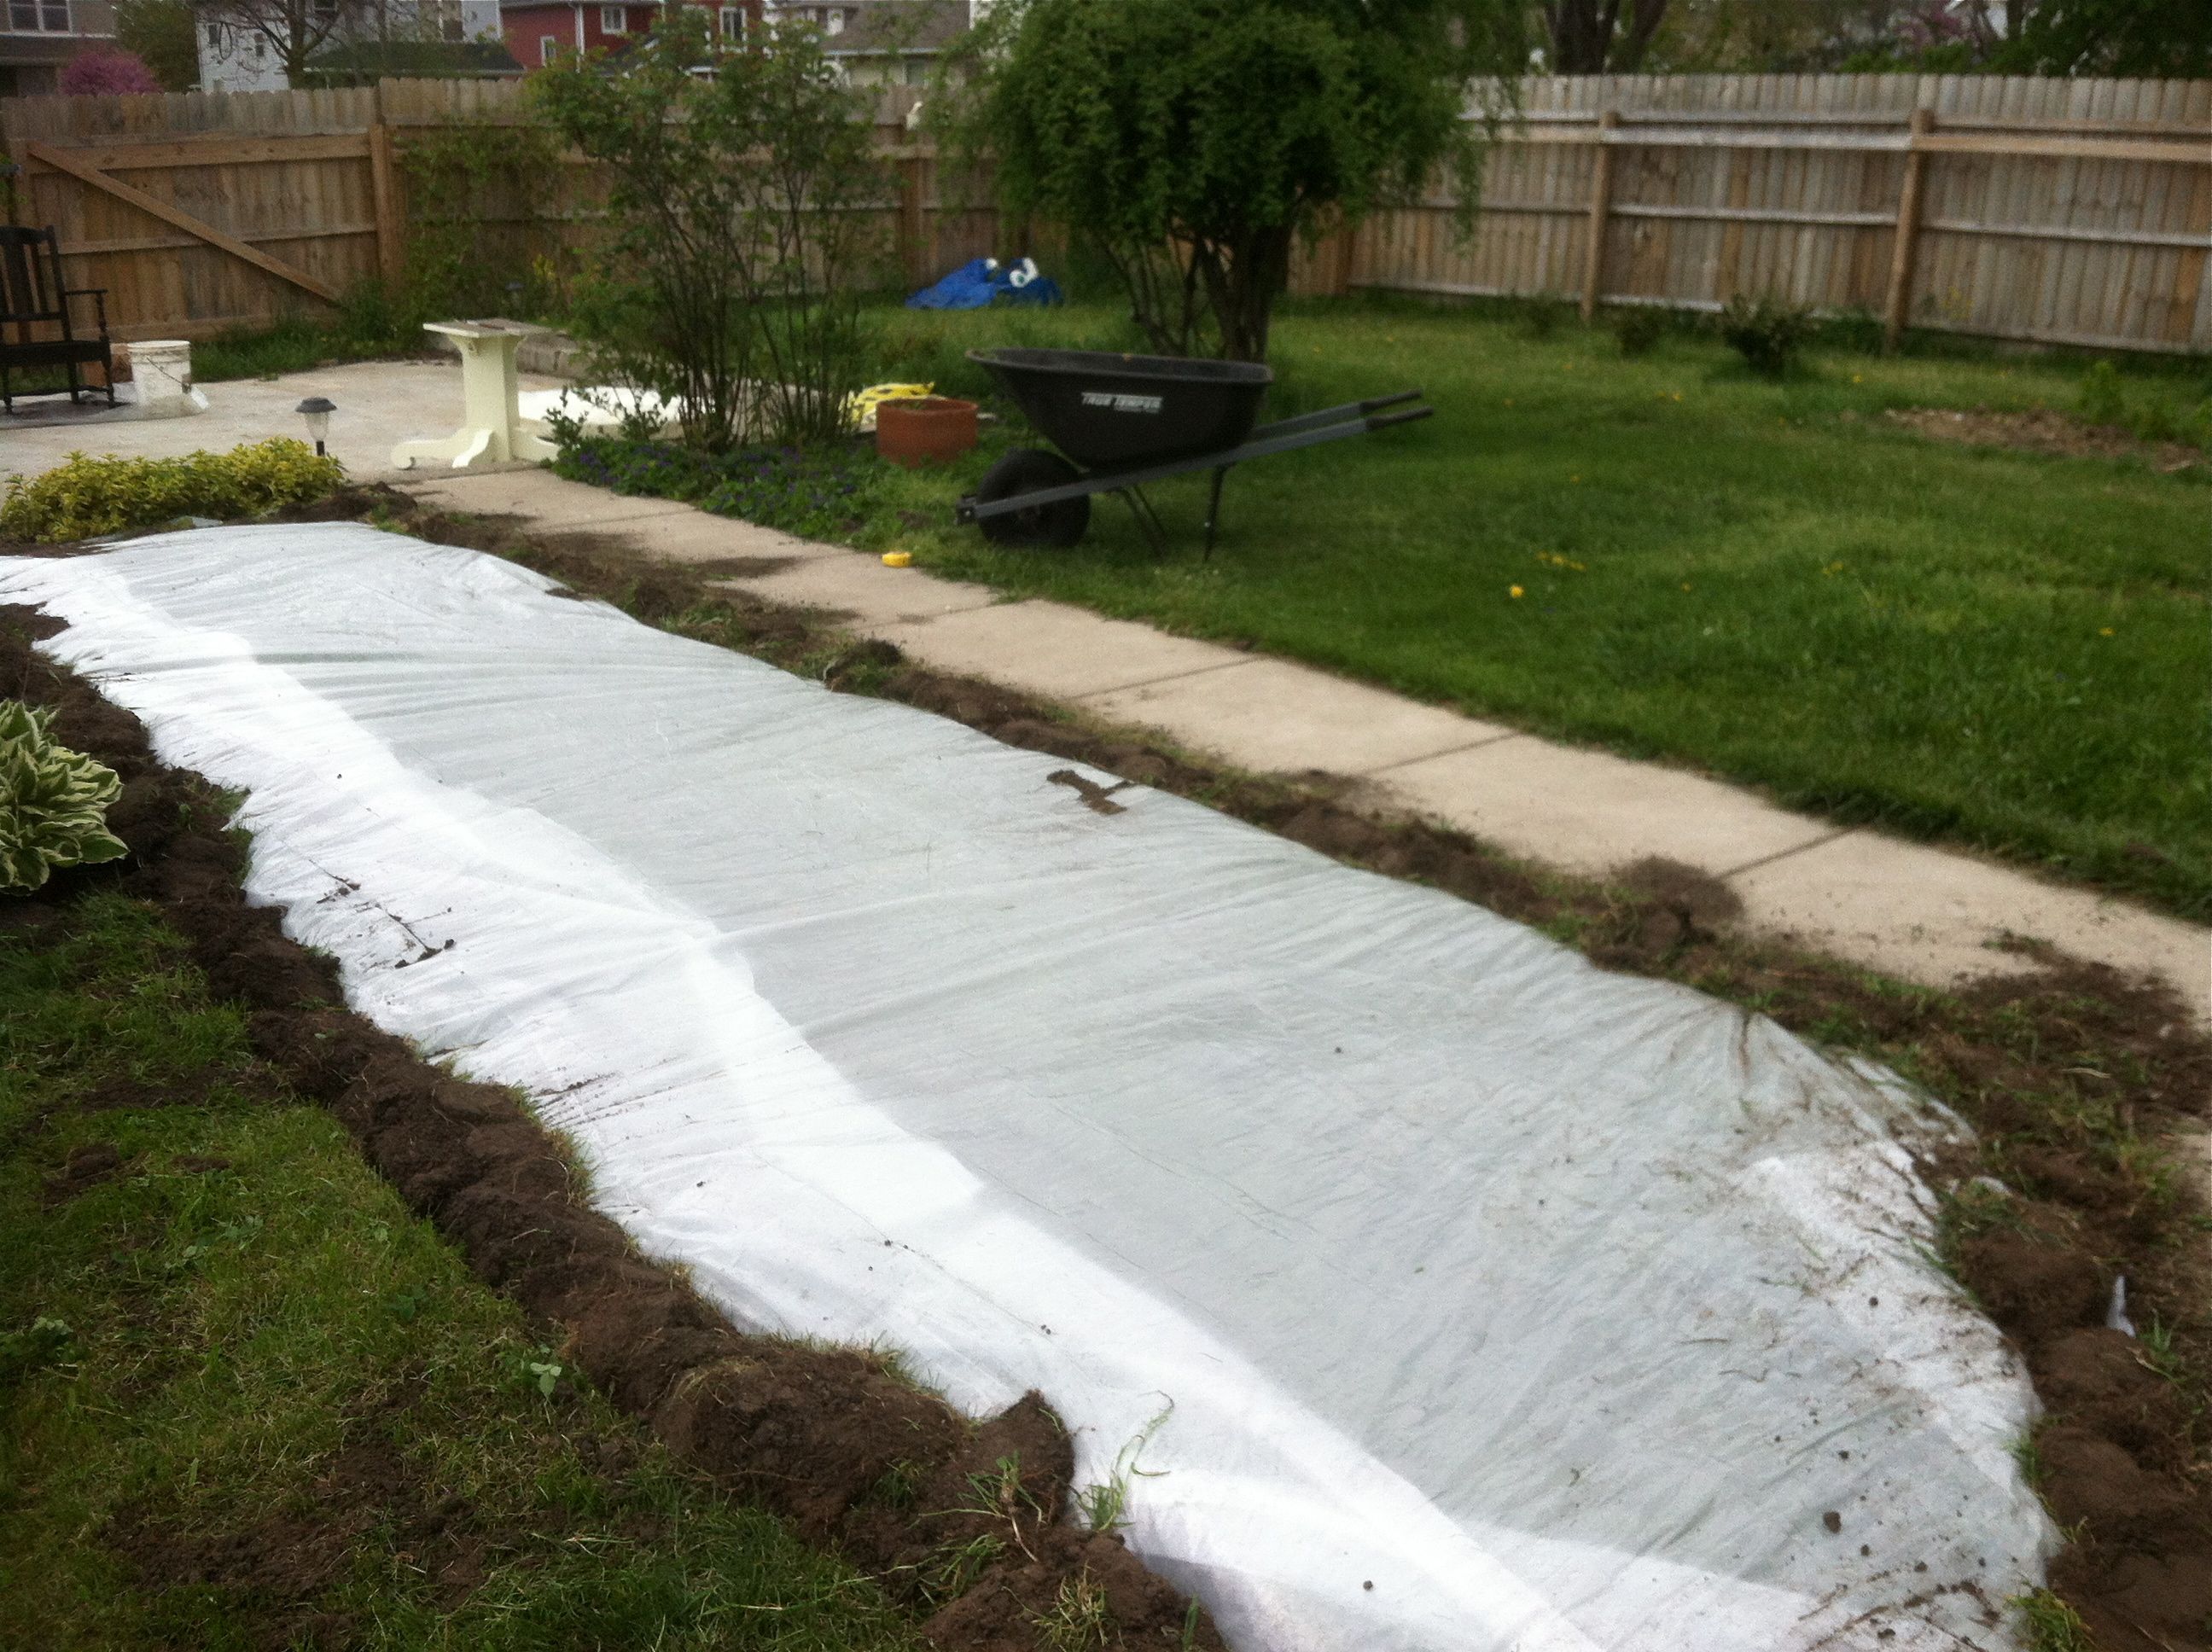
First you must understand that the process works by simply trapping the heat of the sun under clear plastic to pasteurize the upper layer of the soil where most of your plant’s roots are located.
To solarize your garden or flower bed, first prepare the soil. Eliminate as many weeds and old garden plants as you possibly can – bare soil is what we are after. Next, turn or till the soil as deeply as possible to produce a uniform soil texture. If your soil is too dry to easily work, water it deeply, wait a few days and then turn or till.
For solarization to work, the soil needs to be moist and damp to allow the sun’s heat to penetrate the ground as deeply as possible. So, give the area a good soaking before covering it with plastic. The plastic used to cover the area should be clear, not black.
Clear plastic lets light energy pass through and then traps it, much like a greenhouse. Black plastic absorbs most of the sun’s heat without letting it pass through to the soil below. 1-to-6 mil plastic will work fine but keep in mind that in this case the thicker the better. Pull the plastic tight and cover the edges with soil or stone to help keep the soil moist and to prevent strong gusts of wind from blowing it away.
Leave the plastic in place for at least a month and the longer you leave it on the better the results. Two to three months would be ideal, but good short term weed control can be gained in a month. The soil in the top several inches should heat almost to 150 degrees F. which is hot enough to pasteurize the soil and kill many of the harmful organisms. Remember that the beneficial soil organisms do tend to bounce back quickly and are not greatly harmed by the treatment.
Maintain Your Solarized Soil…
After a month or so, uncover the soil, water, turn it (if you must) and plant! Planting as soon as the process is complete is best, any delay might allow a few stray weed seeds to blow onto the newly prepared area where they would happily take root!
That’s all there is to it! You do a small amount of work up front which allows you to harness the power of the sun to make your garden a much better place for your plants! Happy Gardening!
If you want more great advice like this, be sure to check out Grow Your Own Groceries.
If you like this idea, be sure to share it with your friends and inspire someone you know. Anything becomes possible with just a little inspiration…
