You add a dollop of honey to your tea, spread it on toast, and drizzle it on ice cream. What if you could have an unlimited supply of this golden elixir? Instead of buying honey at the store, consider starting a beehive and keeping a honey-producing colony in your backyard.
Beekeeping is becoming more popular. The USDA National Agricultural Statistics Service estimates that honey production increased to 19 percent between 2013 and 2014, with the average hive producing upwards of 65 pounds.
With a little know-how, starting a hive is a sweet way to support pollinators and turn a hobby into delicious honey.
Understanding Bees
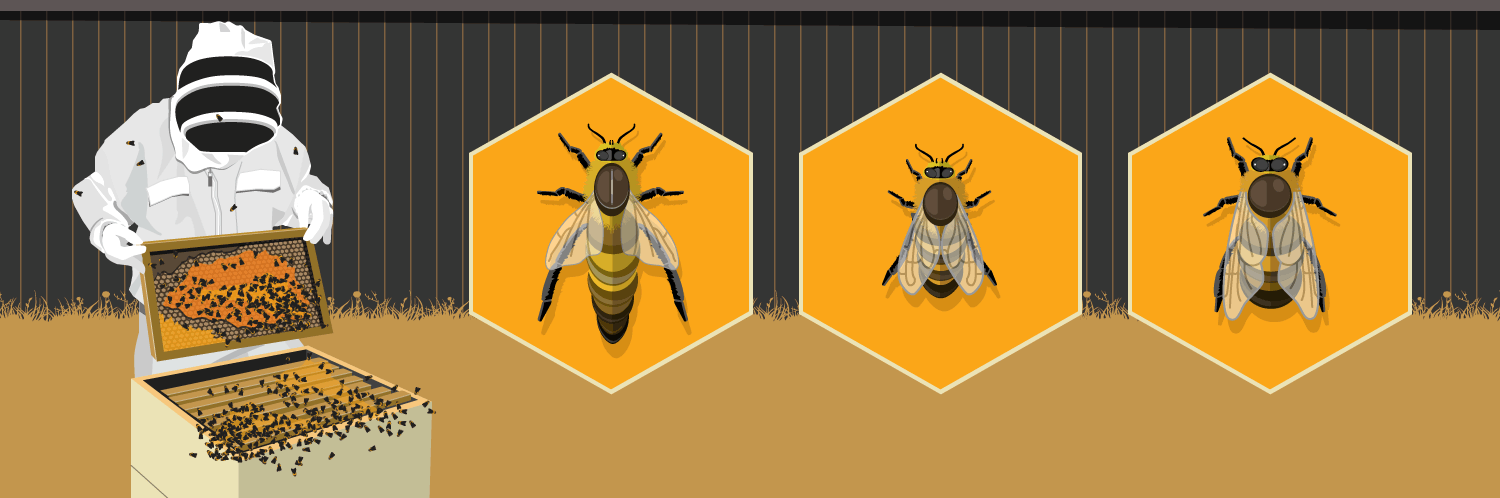
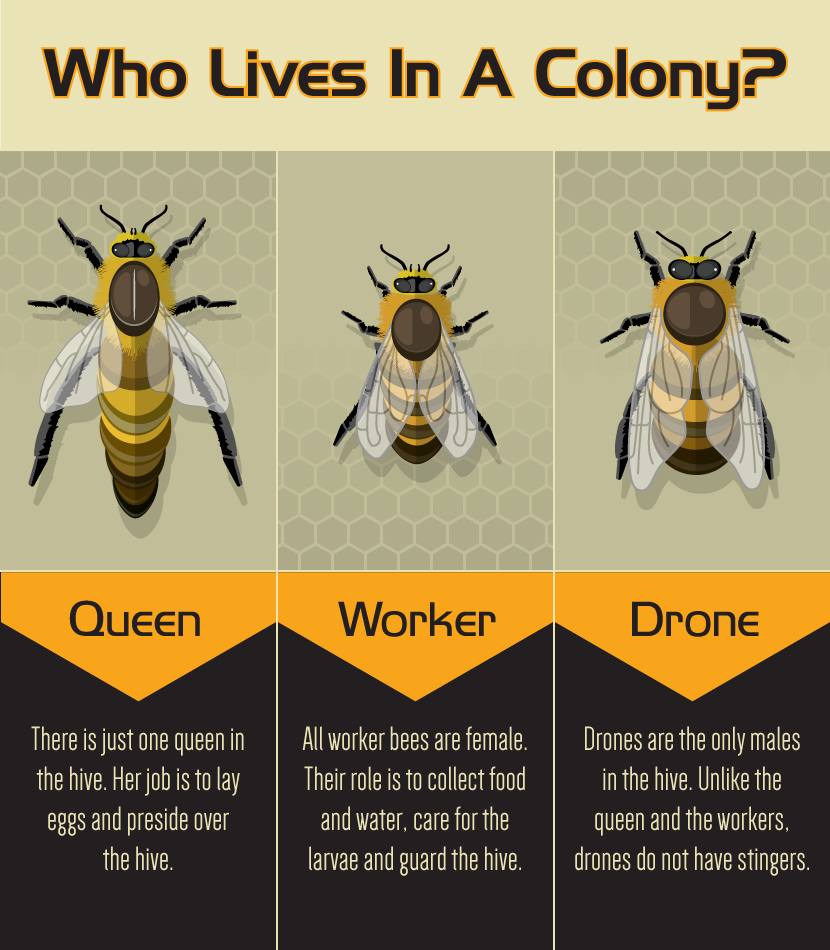
A beehive is inhabited by a colony of up to 80,000 honeybees. From a distance, all bees look alike. Take a closer look and you’ll see three distinct types of bees in a beehive:
The queen: There is just one queen in a hive. The queen is the largest bee and the only female with fully developed ovaries; her job is to lay eggs – up to 1,500 per day. Her health is the key to a strong and productive hive.
Workers: Workers are sexually undeveloped females and cannot mate (if the colony loses its queen, workers can lay eggs, but their offspring are drones). Their role is to collect food and water for the colony, care for the larva, and guard the hive against intruders. There are about 60,000 workers in a colony.
Drones: The only males in the hive, drones mate with the queen to maintain the population of the colony. Drones do not work and do not have stingers. The number of drones in a colony varies with the season; the population is higher in the spring/summer, but they are kicked out at the end of the season when it’s harder to obtain food.
Setting up a Hive
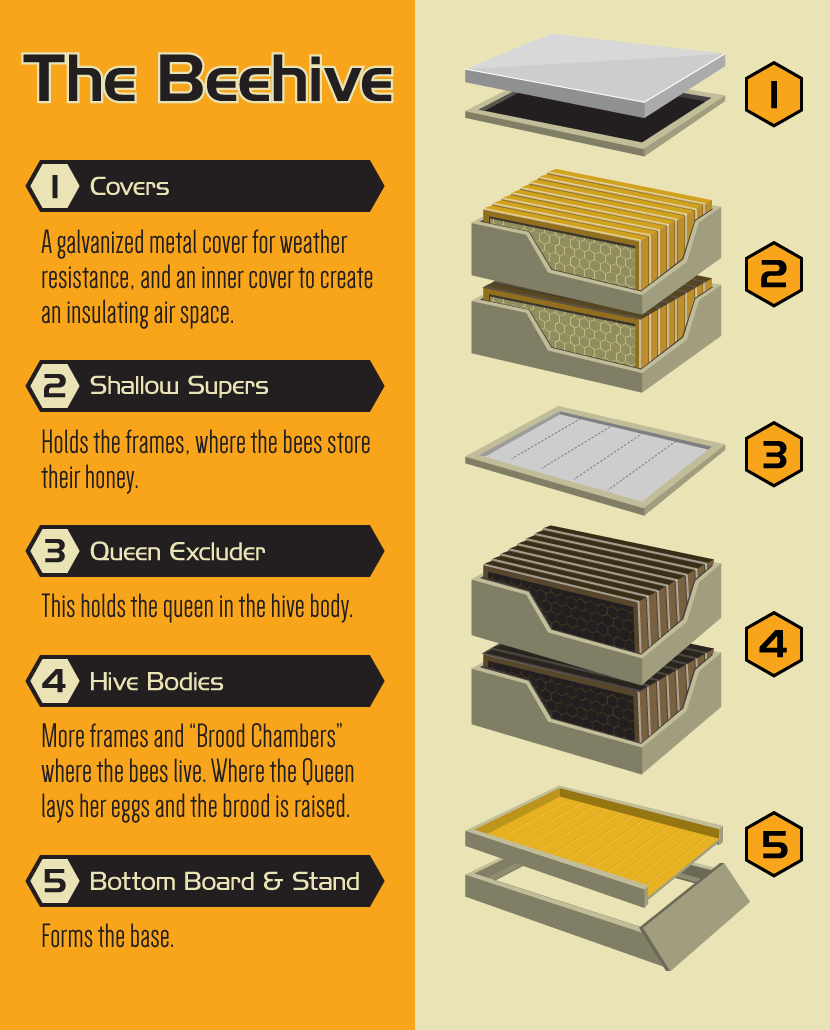
A beehive is made up of seven components, including (from top to bottom):
- Hive cover: The cover acts as the roof of the hive, protecting the colony.
- Inner cover: A wood cover that sits on top of the supers. The hole in the center provides ventilation and insulation.
- Supers: Depending on the size of the hive, the supers can be medium or shallow, which refers to their depth. A hive can have several supers that hold eight to 10 frames. (The frames have a beeswax foundation where the queen lays eggs and the colony stores its honey). The frames are designed to fit together in a super with ideal spacing, about ¼ inch between frames. If there is too much space, the bees will build honeycomb and block their entrance/exit from the hive; with too little space, bees won’t be able to pass between frames.
- Queen excluder: This narrow screen separates the hive body from the super, preventing the queen from laying her eggs and raising brood (babies) in the supers where honey is stored.
- Hive body: The hive body is deeper than the supers and houses frames with beeswax foundations where the bees live. The queen lives, lays eggs, and raises brood in the hive body, and the bees store honey for the colony here. (Beekeepers only harvest honey from the supers above the hive body, ensuring that the bees have an ample supply to maintain the colony).
- Bottom board: The screened board acts as the hive floor.
- Hive stand: Any table/stand that keeps the hive off the ground, providing insulation.
In addition to a hive, beekeepers need some basic equipment:
Smoker: Blowing smoke into the hive pacifies the bees before inspections or honey harvesting.
Hive tool: A tool with a narrow metal edge that helps pry the frames apart during hive inspections.
Capping knife: A serrated knife that uncaps the honeycomb to start the flow during harvest.
Protective gear: Most beekeepers wear a veil and gloves to protect against bee stings. When working with the hive, it’s important to wear light colors (bees perceive dark colors as danger and may be more inclined to sting).
You can purchase starter hives from beekeeping supply stores. Some beginner kits include a hive and all the equipment you need to get started.
Start your hive in the spring when trees and flowers are in full bloom, giving your colony plenty of nectar and pollen to survive the winter.
Buying Bees
Once you have a hive, you need bees. You can purchase “packages” of bees – a complete hive that includes a queen, workers, and drones – to inhabit your hive. Beekeepers and beekeeping supply stores sell packages for around $80. As beekeeping is becoming more popular, the demand for bees is high; it’s a good idea to reserve your package in advance so your hive doesn’t go uninhabited all season.
You can also start a hive by capturing a swarm. A swarm occurs when the queen and thousands of worker bees leave the colony to start a new colony and appear as a “ball” of bees clustered together outside the hive. Capturing a swarm is a task best left to experienced beekeepers.
Maintaining the Hive
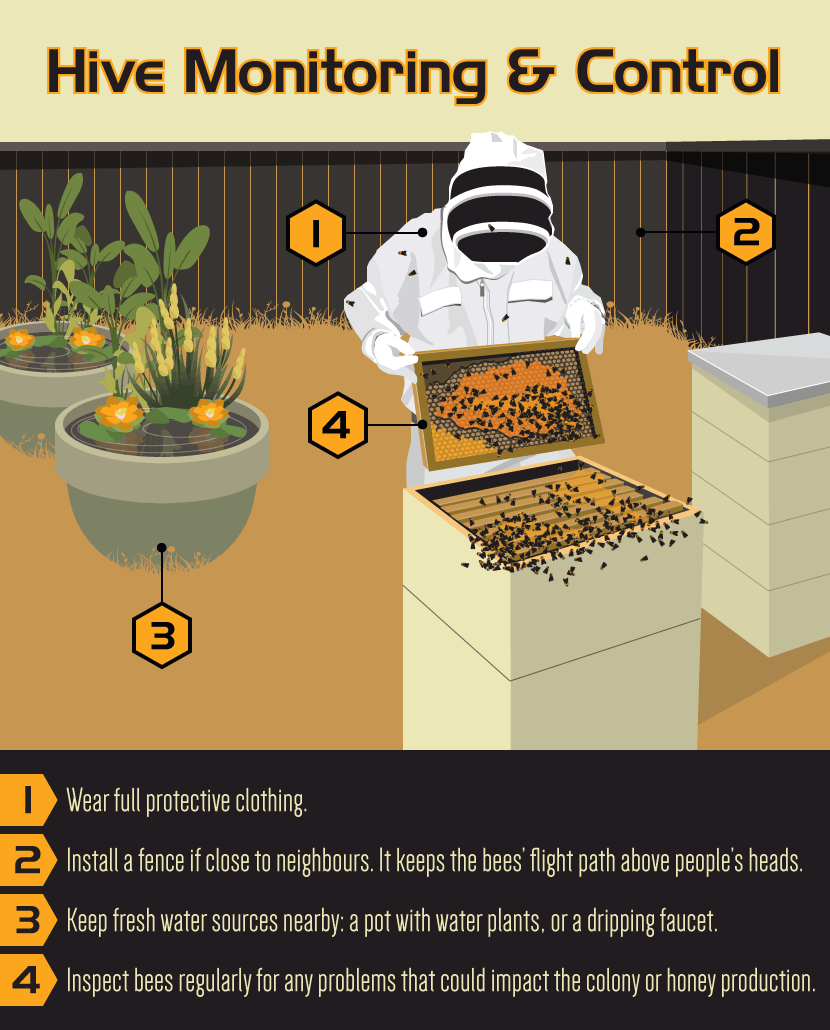
Beekeeping is not a hands-off hobby. It’s important to inspect the hive on a regular basis to make sure the colony is thriving.
Follow these four steps for a successful hive inspection:
- Put on protective gear.
- Approach the hive from behind (opposite the entrance), remove the hive cover, and use the smoker to blow smoke into the hive to calm the bees. Once the activity dies down, use your hive tool to remove one of the outer frames (closest to the hive wall).
- Hold the frame up for inspection. Look for the signs of the queen, namely eggs. A healthy hive has a tight brood pattern, or eggs clustered closely together in the comb. Sealed brood is a tan/brown color; sealed honeycomb is white/light yellow.
- Repeat the inspection with each frame, adding more smoke as needed to keep the bees calm.
- If the honeycomb on each frame in a super is filled with brood or capped honey, add another super on top of the original so the bees can expand their colony.
Harvesting Honey
For beekeepers, the sweetest time of the year is harvest time! You won’t harvest honey the first season (the bees need ample stock to survive the winter). The following spring, don your veil and gloves and prepare to taste the rewards of beekeeping.
- Approach the hive from behind, remove the hive cover, and use the smoker to blow smoke into the hive.
- Remove the top super. One at a time, starting with the outer frame, remove the frames with capped honey.
- Use a bee brush (a soft-bristled brush) to gently remove bees from the frames.
- Once the bees are off a frame, place it in an empty super with a lid.
- Use a capping knife, gently cut the cap off the honeycomb.
- Place the uncapped frame into a honey extractor. (You can purchase an extractor from a bee supply store, but they are expensive. Instead of investing, join a local beekeeping group and borrow equipment).
- Once the extractor is full of frames, close the lid and turn the handle to spin the frames.
- Open the spigot and strain the honey through cheesecloth (or a strainer) to remove wax and other debris and into a bucket.
- Use clean, sterilized bottles to bottle your honey.
- Taste
Article via FIX
