How To Become More Self-Sufficient Without Starting a Full-Blown Farm…
Want to start preserving your harvest, making your own soap, or building a backyard root cellar — but not sure where to begin? “Homesteading Advice” gives you instant lifetime access to 35+ practical homesteading books on food preservation, veggie gardening, DIY natural cleaning products (save over $250 per year with this skill alone), brewing, off-grid energy, and a whole lot more…
Click Here To Check It Out Now!
When the supply chain snaps, will your tractor still run on what fell from your trees? We’ve traded the ability to fuel our own lives for the convenience of a pump. Bio-ethanol is the ‘forgotten’ fuel that our ancestors understood—turning surplus orchard waste into the energy required to power the very machines that harvest the next crop.
Imagine a world where the gas station is no longer the center of your universe. You walk past the orchard, past the rows of fallen, bruised apples that would otherwise rot into the soil. In that waste lies the hidden power to run your farm. This is about more than just a cheaper way to mow the grass. It is about a fundamental shift toward energy independence and true homestead resilience.
The process is old, but the application is modern. By returning to the craft of distillation, we reclaim a piece of autonomy that has been surrendered to global logistics. This guide will walk you through the grit and the science of turning sugar and starch into liquid fire for your engines.
How To Make DIY Bio-ethanol For Homestead Engines
DIY bio-ethanol is simply high-purity alcohol produced through the fermentation and distillation of organic matter. On a homestead, this usually means utilizing surplus crops, spoiled fruit, or even specifically grown energy crops like sugar beets. Unlike the gasoline you buy at the pump, which is a complex cocktail of hydrocarbons and additives, bio-ethanol is a single chemical compound: ethyl alcohol.
This fuel exists as a renewable alternative that can be produced anywhere life grows. Historically, farmers produced their own “power alcohol” to bridge the gap during fuel shortages or economic downturns. Today, it serves as a critical tool for the modern pioneer. It is used in spark-ignition engines, ranging from lawnmowers and chainsaws to converted tractors and trucks.
Think of bio-ethanol as captured sunlight. Your plants pull carbon and energy from the atmosphere and the sun. You then concentrate that energy into a liquid form that your machines can digest. It is the ultimate closed-loop system for a self-sufficient farmstead.
The Anatomy of Ethanol: How It Works
Making fuel is a biological and chemical journey that requires three main phases: mashing, fermentation, and distillation. The goal is to take a raw material—the feedstock—and encourage microscopic yeast to eat the sugars within it. As the yeast consumes the sugar, it excretes ethanol and carbon dioxide as waste products.
Your job is to create the perfect environment for this “crop” of yeast. Once the fermentation is complete, you are left with a “wash” or “mash” that is roughly 8% to 15% alcohol. The rest is water and solids. Since an engine cannot run on watery beer, you must use a still to separate the alcohol from the water.
Distillation works because alcohol boils at a lower temperature than water. Ethanol evaporates at approximately 173°F (78°C), while water waits until 212°F (100°C). By carefully heating the mash and capturing the vapors that rise first, you can collect a highly concentrated spirit. For engine use, you generally need to reach at least 190 proof (95% alcohol) to ensure reliable combustion.
Sourcing Your Feedstock: The Sugar and Starch Equation
Every gallon of fuel begins in the soil. To produce ethanol, you need either simple sugars or complex starches that can be broken down into sugars. The choice of feedstock determines your yield and the amount of labor required before the yeast can get to work.
Sugar-based feedstocks are the easiest to process. These include apples, peaches, grapes, sugar beets, and sugar cane. Since the sugar is already present, you simply need to crush the material to release the juice. Orchard waste is a prime candidate for the homestead still because it often has no other market value.
Starch-based feedstocks like corn, potatoes, and wheat require an extra step called saccharification. Starch is essentially a long chain of sugar molecules. To break these chains, you must cook the mash and add enzymes (like alpha-amylase). This converts the starch into fermentable maltose and glucose. While corn is the industrial standard, sugar beets often provide a higher ethanol yield per acre for the small-scale producer.
Step-by-Step: Brewing Your Fuel Mash
Preparation begins with cleaning. Any rogue bacteria in your fermentation vessel will compete with the yeast, potentially turning your fuel into vinegar. Scrub your barrels and tools thoroughly before starting.
First, grind or mash your raw material. If you are using fruit, a cider press or a heavy-duty macerator works well. If you are using corn, it should be ground to the consistency of coarse meal. For starches, add water and heat the mixture to roughly 150°F to 160°F, adding your enzymes to begin the conversion.
Second, check the sugar concentration with a hydrometer. You are aiming for a starting gravity that suggests a potential alcohol of about 10% to 12%. If the sugar is too concentrated, the yeast will die from alcohol toxicity before they finish the job. If it is too low, you are wasting energy heating up excess water in the still.
Third, pitch your yeast. Use a high-attenuation distiller’s yeast designed for fuel production. These strains are hardy and can handle higher temperatures and alcohol concentrations than standard bread yeast. Seal the container with an airlock and keep it in a cool, dark place between 70°F and 80°F. Fermentation typically takes 7 to 10 days to complete.
Distillation: The Infrastructure of Energy Independence
Once the bubbling in your airlock stops, the yeast has finished its work. You now have a “wash” that needs to be refined. There are two primary types of stills used for this: the pot still and the reflux still.
The Pot Still is the traditional design. It consists of a boiler, a neck, and a condenser. It is simple to build and operate but generally requires multiple distillations to reach fuel-grade purity. A single pass through a pot still might only yield 40% to 60% alcohol. You would then need to collect those “low wines” and distill them again.
The Reflux Still is the gold standard for DIY fuel. It uses a vertical column filled with packing material (like copper mesh or ceramic rings). As the vapors rise, they partially condense and fall back down, where they meet rising hot vapors. This “refluxing” creates multiple mini-distillations within the column. A well-tuned reflux still can produce 95% alcohol in a single pass.
Safety is paramount during this stage. Alcohol vapors are invisible and highly flammable. Always operate your still outdoors or in a very well-ventilated outbuilding. Never leave a running still unattended, and keep a fire extinguisher within arm’s reach.
Moving Beyond the Azeotrope: Dehydrating for Purity
A major challenge in ethanol production is the “azeotrope.” At 95.6% purity, ethanol and water form a constant-boiling mixture. No matter how much you distill it, you cannot remove that last 4% of water through heat alone. For many small engines, 95% is acceptable, but for long-term storage or modern EFI engines, you want “anhydrous” ethanol (99%+ pure).
To remove the remaining water, you use molecular sieves. These are zeolite beads with microscopic pores exactly 3 angstroms (3A) in size. A water molecule is smaller than 3 angstroms, while an ethanol molecule is larger. When you pass 95% ethanol through a bed of these beads, the water gets trapped inside the pores, and the pure ethanol passes through.
Another traditional method involves using “quicklime” (calcium oxide). Adding lime to the alcohol causes it to react with the water to form calcium hydroxide, which settles at the bottom. You can then siphon off the pure ethanol. However, molecular sieves are generally preferred as they can be “recharged” in an oven and reused indefinitely.
Engine Modifications for DIY Bio-Ethanol
Standard gasoline engines can run on ethanol, but they require adjustments. Ethanol has a higher octane rating than gasoline (around 100 to 105), which means it resists “knocking” and can handle higher compression. However, it also contains about 34% less energy per gallon than gasoline.
To compensate for the lower energy density, the engine needs more fuel. For carbureted engines, this means installing larger main jets. You generally need to increase the jet area by roughly 40% to maintain the correct air-fuel ratio. Without this change, the engine will run “lean,” which causes overheating and potential valve damage.
Ignition timing also needs to be adjusted. Because ethanol burns slower than gasoline, you should advance the timing by 3 to 8 degrees. This allows the fuel more time to combust fully, recapturing some of the lost efficiency. Finally, check your fuel lines and gaskets. Older rubber components can be degraded by high concentrations of alcohol; replace them with ethanol-compatible Viton or Teflon parts.
Benefits of Backyard Fueling
The primary advantage is resilience. When you produce your own fuel, you are no longer a victim of price spikes, pipeline failures, or geopolitical instability. Your energy supply is tied to your land and your labor, providing a security that money cannot buy at a pump.
Environmental stewardship is another key factor. Bio-ethanol is carbon-neutral in a short-cycle sense. The CO2 released during combustion is the same CO2 the plants absorbed while growing the previous season. Furthermore, it burns much cleaner than gasoline, producing fewer particulates and no sulfur oxides.
Economically, it allows a farmer to turn waste into a high-value input. Instead of paying for gasoline to haul away spoiled fruit or crop residues, you convert that “liability” into the very fuel that powers your machinery. It turns the homestead into a self-sustaining loop of energy and production.
Challenges and Common Pitfalls
The most frequent mistake is insufficient purity. If your ethanol contains too much water, it will settle in the bottom of your fuel tank. This “phase separation” can cause the engine to sputter or fail to start entirely. Always test your proof with a high-quality hydrometer before pouring it into a tank.
Temperature control is another stumbling block. If you run your still too hot, you will carry over water and “tails” (heavy oils and alcohols) that gum up your carburetor. Distillation is a slow game. Patience is the difference between high-quality fuel and a bucket of smelly, useless liquid.
Neglecting safety protocols is the most dangerous error. Since ethanol burns with a nearly invisible flame in daylight, you might not even realize a leak has ignited until it spreads. Always use soapy water to check your still joints for leaks before you begin heating, and never use a still with plastic or lead-solder components.
Limitations: When This May Not Be Ideal
Bio-ethanol production is labor-intensive. Between harvesting, mashing, fermenting, and distilling, the man-hours required per gallon are significant. If your goal is simply to save money on a commute, the math may not work out in your favor unless you have a massive amount of “free” feedstock and a highly automated system.
Climate also plays a role. In very cold regions, pure ethanol can make cold starts difficult. Alcohol does not vaporize as easily as gasoline at low temperatures. You may need to install a block heater or keep a small primer bottle of gasoline to get the engine running on winter mornings.
Storage is the final constraint. Ethanol is hygroscopic, meaning it actively pulls moisture out of the air. You cannot store it in open containers or vented tanks for long periods. It must be kept in sealed, high-density polyethylene (HDPE) or stainless steel containers to prevent it from “watering itself down” over time.
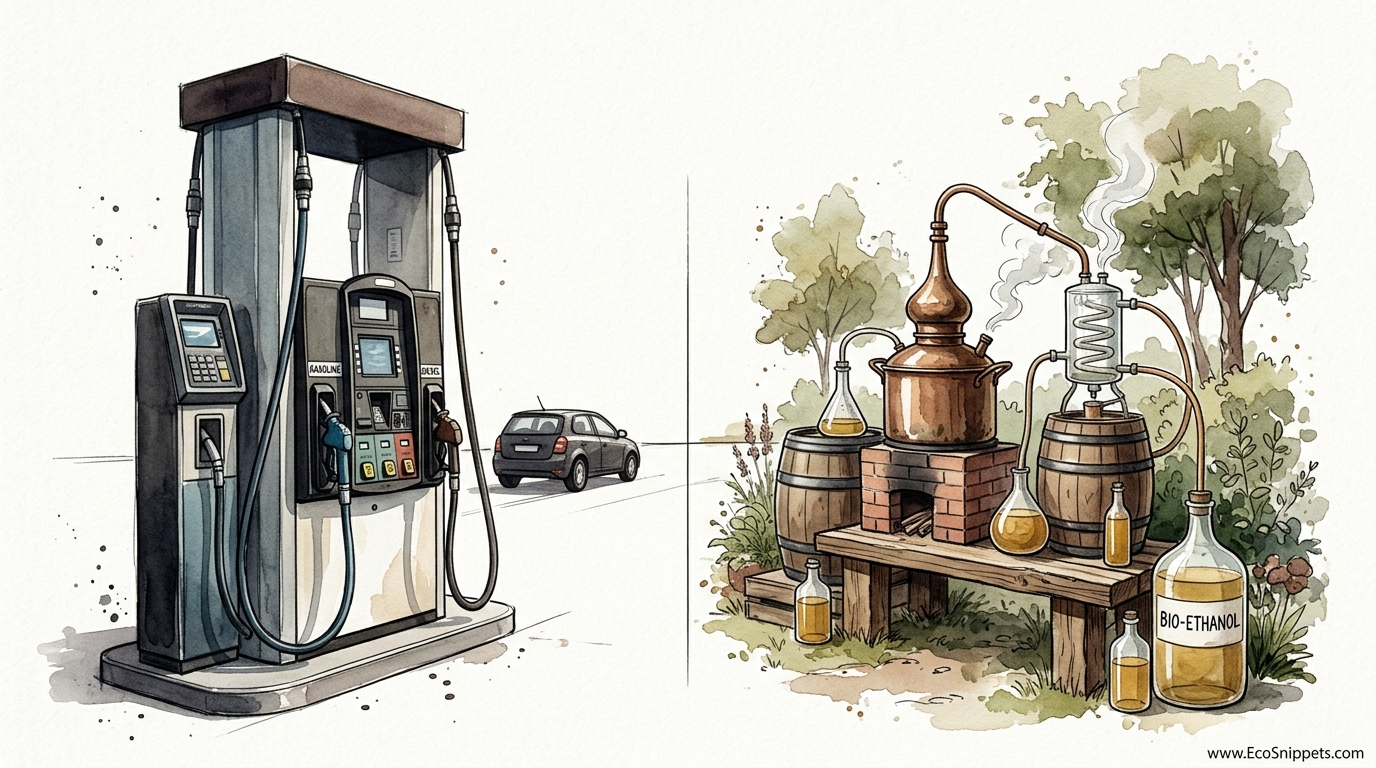
Gas Station Pump vs. Backyard Still
| Feature | Gas Station Gasoline | DIY Bio-Ethanol |
|---|---|---|
| Energy Density | High (114,000 BTU/gal) | Lower (76,000 BTU/gal) |
| Octane Rating | 87 – 93 | 100 – 105 |
| Source | Finite (Petroleum) | Renewable (Crops/Waste) |
| Production Cost | Market Price ($/gal) | Labor + Feedstock + Heat |
| Engine Impact | Carbon Build-up | Clean Burning / Corrosive to rubber |
Practical Tips for Maximum Efficiency
To get the most out of your setup, focus on heat recovery. Distillation requires a lot of energy to boil the mash. If you can use the heat from your condenser water to pre-warm the next batch of mash, you will significantly reduce your wood or gas consumption.
Always “denature” your fuel if you are storing large amounts. Adding a small amount of gasoline or kerosene to the finished ethanol makes it undrinkable. This is often a legal requirement and prevents any confusion between your fuel supply and your liquor cabinet.
Monitor your fermentation pH. Yeast prefers a slightly acidic environment (around pH 4.0 to 5.0). If your mash is too alkaline, the fermentation will be sluggish and prone to infection. A simple squeeze of lemon juice or a dash of citric acid can bring the pH into the “goldilocks zone” for the yeast.
Advanced Considerations: The Legal Landscape
In the United States, producing alcohol—even for fuel—is regulated by the Alcohol and Tobacco Tax and Trade Bureau (TTB). You are required to obtain an Alcohol Fuel Plant (AFP) permit. For small-scale homesteaders producing less than 10,000 proof-gallons per year, this is handled via **TTB Form 5110.74**.
The permit is free, but it is not optional. It grants you the legal right to operate a still for fuel purposes. You will need to provide a diagram of your production area and keep records of how much fuel you produce. Failing to do this can result in severe federal penalties, so treat the paperwork as seriously as the distillation itself.
Additionally, consider the “stillage”—the solids left over after distillation. This material is rich in protein and nutrients. If you used corn or grain, the spent mash (often called Distillers Dried Grains) makes excellent high-protein supplemental feed for hogs or cattle. This turns your fuel production into a dual-purpose operation that supports your livestock.
Scenario: Fueling a Small Tractor with Orchard Waste
Let’s look at a practical application. A homesteader has an old 20-horsepower garden tractor used for tilling and hauling wood. The tractor normally consumes about 10 gallons of gasoline per season. By collecting roughly 600 pounds of wind-fallen apples from their small orchard, they can produce enough mash to yield approximately 10 to 12 gallons of 190-proof ethanol.
The homesteader spends one weekend mashing and fermenting the fruit in three 55-gallon drums. The following weekend, they run the mash through a 15-gallon reflux still. After a day of distillation and a final pass through molecular sieve beads, they have 10 gallons of anhydrous fuel.
To prepare the tractor, they unscrew the carburetor jet and carefully enlarge the opening with a micro-drill bit. They advance the ignition timing slightly and replace the old fuel line with a new, ethanol-ready hose. The tractor now runs on the very apples that fell from the trees it helps maintain. The cost of fuel? Zero dollars in cash, a few bags of yeast, and two weekends of pioneer-grit labor.
Final Thoughts
Mastering the art of bio-ethanol production is a return to a more grounded way of living. It replaces the fragile convenience of the modern world with the rugged stability of self-reliance. When you understand how to turn waste into energy, you become more than a consumer; you become a producer and a steward of your own survival.
This path requires patience, attention to detail, and a respect for the chemistry of the natural world. It is not always the easiest way to power a machine, but it is undoubtedly the most rewarding. Every gallon produced in your backyard is a vote for independence and a testament to the wisdom of those who came before us.
Start small, focus on purity, and respect the power of the still. As you gain experience, you will find that the “forgotten” fuel is the key to a homestead that truly sustains itself, regardless of what happens at the gas station down the road. Encouraging this level of autonomy is the first step toward a future that is built to last.
