How To Become More Self-Sufficient Without Starting a Full-Blown Farm…
Want to start preserving your harvest, making your own soap, or building a backyard root cellar — but not sure where to begin? “Homesteading Advice” gives you instant lifetime access to 35+ practical homesteading books on food preservation, veggie gardening, DIY natural cleaning products (save over $250 per year with this skill alone), brewing, off-grid energy, and a whole lot more…
Click Here To Check It Out Now!
A plastic liner is a ticking clock to a leak, but a clay-sealed pond is a self-healing biological masterpiece. Nature doesn’t use rubber membranes to hold water, so why do we? Plastic liners eventually crack, leak, and leach chemicals into your ecosystem. Using sodium bentonite clay creates a permanent, self-healing seal that allows plants to take root and the water to stay alive. Build a pond that works with biology, not against it.
Building a pond is an act of legacy. Most modern landowners reach for a roll of black plastic because it offers the illusion of an instant solution. They want to see water reflecting the sky by evening, forgetting that the earth has its own rhythm and requirements. A synthetic liner is a dead barrier; it isolates the water from the soil, creates a stagnant environment, and begins its journey toward the landfill the moment it is unrolled. Sunlight, shifting earth, and even a determined turtle can compromise a plastic membrane, leaving you with a costly repair and a broken ecosystem.
Choosing a living clay seal is a return to ancestral wisdom. For centuries, farmers and pioneers relied on the swelling properties of high-quality clays to turn porous basins into reliable reservoirs. This method uses sodium bentonite—a natural volcanic ash clay—to create a dense, impermeable layer that expands up to fifteen times its dry volume when it meets water. It does not just sit there; it breathes and moves with the earth. If a small crack forms or a root pushes through, the surrounding clay swells to fill the void. This is the difference between a “dead” pond and a “living” one.
This guide will walk you through the grit and science required to build a pond that lasts for generations. You will learn how to read your soil, calculate your needs, and apply the clay with the precision of a craftsman. This is not a project for the impatient, but for those who value resilience and biological integrity, there is no better way to hold water on the land.
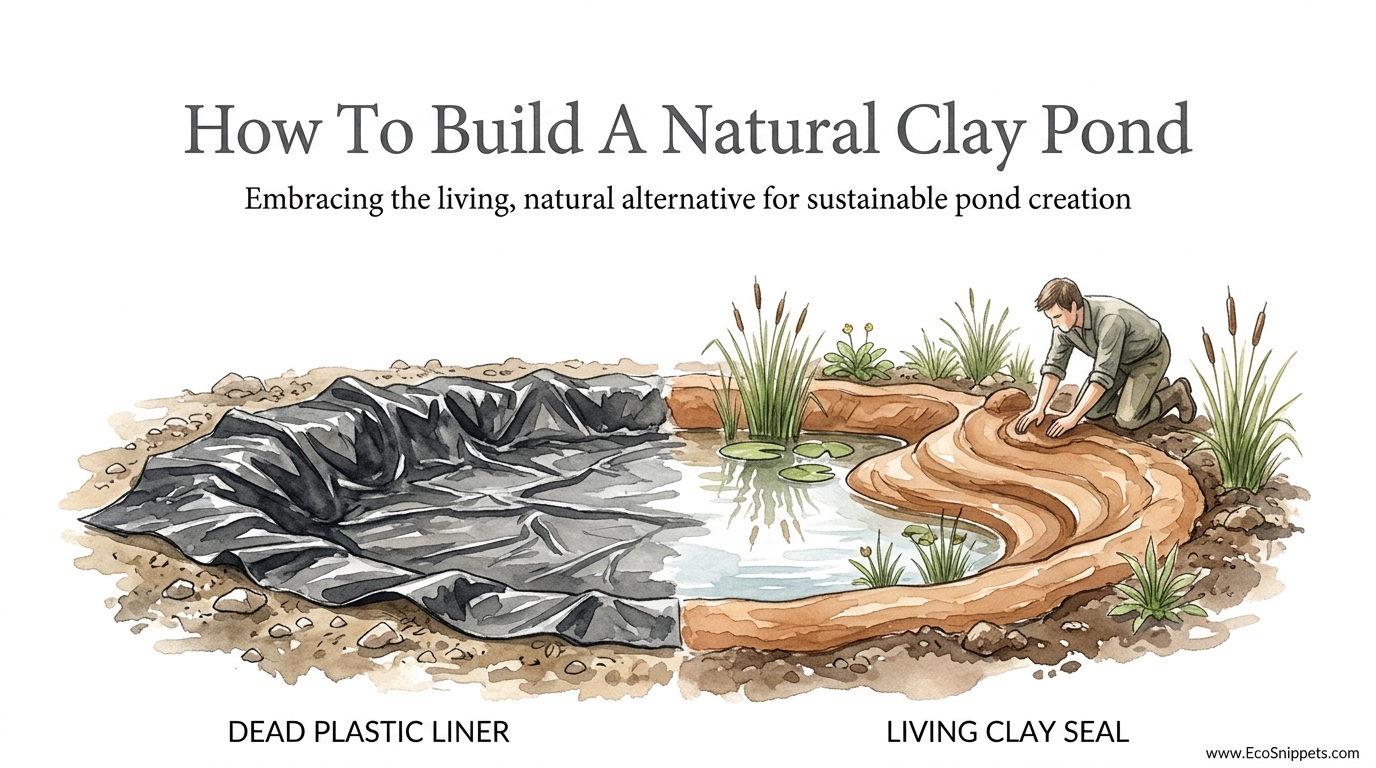
How To Build A Natural Clay Pond
A natural clay pond is a water feature that uses the geological properties of the earth to maintain its level, rather than relying on synthetic barriers. It exists where the soil has a high enough clay content to be compressed into a watertight seal, or where a mineral amendment like sodium bentonite is added to create that seal. Historically, these were known as “puddled” ponds, named for the process of “puddling” or tamping wet clay with boots or livestock to drive out air and lock the particles together.
In the real world, you see this principle at work in ancient dew ponds on the English downs and in the massive livestock tanks of the American West. These ponds serve as more than just mirrors; they are biological hubs. Because there is no plastic floor, aquatic plants can push their roots directly into the mineral-rich pond bed. This creates a massive surface area for beneficial bacteria to thrive, which naturally filters the water and supports a food web of insects, amphibians, and fish. A clay pond is an extension of the local geology, not a foreign object inserted into it.
This method is used primarily in homesteading, permaculture design, and large-scale agricultural water management. It is ideal for those who want a pond that looks and functions like a natural wetland. While a plastic-lined pond often has an “edge problem” where the black liner is visible and difficult to hide, a clay pond transitions seamlessly from water to mud to meadow. It is the gold standard for anyone practicing self-reliance, as the materials are derived from the earth and the maintenance requires observation rather than replacement parts.
The Science of the Sodium Bentonite Seal
Sodium bentonite is often called the “clay of a thousand uses,” but for the pond builder, its most vital trait is its high cation exchange capacity and its molecular structure. Unlike common “pottery” clays, sodium bentonite is composed of microscopic, plate-like particles. When these plates come into contact with water molecules, they draw them in, causing the plates to push apart. This expansion creates a thick, gelatinous slurry that is physically impossible for water to move through.
The magic happens in the “confinement” of the soil. When you mix bentonite into your native dirt and compact it, the clay particles are trapped within the soil matrix. As they try to expand, they find themselves blocked by the surrounding earth. This pressure forces the expanding clay into every tiny pore, crack, and void in the soil. It creates a pressurized seal that is far more durable than a simple layer of mud. This is why proper application requires more than just throwing powder into a hole; it requires mechanical force to set the stage.
There is a distinct difference between sodium bentonite and calcium bentonite. You must ensure you are using the sodium variety for pond sealing. Calcium bentonite has a much lower swell rate and is better suited for clarifying wine or making face masks. Sodium bentonite is the workhorse of the industry, sourced primarily from the deep volcanic deposits in Wyoming and Montana. It is a raw, unrefined mineral that brings the power of the deep earth to your landscape.
Site Assessment and Soil Testing
Before you move a single shovelful of dirt, you must know what you are working with. Not every soil is a candidate for a clay pond without significant help. The goal of site assessment is to determine the “seepage potential” of your land. Sand and gravel are the enemies of a pond, as they provide high-speed highways for water to escape into the water table. Silt and native clay are your allies.
The “Jar Test” is the most reliable way for a homesteader to analyze their soil. Take a clean glass jar, fill it one-third with a representative soil sample from the depth where your pond bottom will be, and fill the rest with water. Add a pinch of salt to help the particles settle, shake it vigorously, and let it sit for 24 hours. You will see three distinct layers: sand at the bottom, silt in the middle, and clay on top. If your clay layer is less than 20% of the total volume, you will need to add sodium bentonite to achieve a seal.
Another field test is the “Ribbon Test.” Take a handful of moist soil and squeeze it into a ball. If it crumbles, you have too much sand. If you can squeeze it into a long, flat ribbon between your thumb and forefinger that holds its weight for two inches or more, you have a high native clay content. This tells you how much “help” your pond will need. A site with 30% or more native clay might only need compaction to hold water, while a sandy site will require a heavy application of bentonite.
Methods of Application: How to Do It
There are three primary ways to apply sodium bentonite to a pond. Each has its own set of requirements and success rates. Your choice will depend on whether you are building a new pond, repairing a leak, or working with a full or empty basin.
1. The Mixed-In Method (Recommended for New Construction)
This is the most reliable method because it creates a reinforced soil-clay matrix. After excavating your pond to the desired shape, you spread the dry bentonite powder evenly over the entire surface. You then use a rototiller or a disc to mix the clay into the top 4 to 6 inches of soil. This ensures the clay is “trapped” and ready to expand into the soil pores. Once mixed, the area is hydrated slightly and then compacted heavily. This method uses less material because the clay is integrated into the structure of the basin itself.
2. The Blanket Method
The blanket method is used when the native soil is too rocky or porous to mix properly. In this scenario, you spread a pure layer of bentonite over the excavated surface, creating a “white blanket” of clay. This layer is usually 1/4 to 1/2 inch thick. Crucially, this blanket must be covered with at least 4 to 6 inches of clean, rock-free soil to protect it from erosion and animal traffic. This protective layer provides the confinement needed for the clay to swell effectively without washing away. It is more expensive in terms of material but offers a higher degree of certainty in difficult soils.
3. The Sprinkle Method (The Last Resort)
The sprinkle method is used for ponds that are already full but are losing water too quickly. You broadcast granular bentonite (not powder) onto the surface of the water over the suspected leak area. The granules sink to the bottom and are drawn into the leak by the suction of the escaping water. Once there, they swell and plug the hole. This method has a lower success rate because you cannot compact the clay, and it is often a temporary fix rather than a permanent solution. It is the “emergency patch” of the pond world.
The Vital Importance of Compaction
If there is one secret to a successful clay pond, it is compaction. You can buy the highest quality bentonite in the world, but if you do not pack it down, the water will find a way through. Compaction removes the air pockets between soil particles, creating a dense barrier that forces the clay to work as a sealant rather than just mud. Think of it as forging a piece of steel; the pressure makes the material stronger and more resistant.
The best tool for this job is a “sheepsfoot roller.” This is a heavy drum with metal “feet” that reach deep into the soil to compact it from the bottom up. For smaller homestead ponds, you can use the tires of a heavy tractor or a vibratory plate compactor. The goal is to reach 90% to 95% Proctor density, which is an engineering term for “as tight as it can get.” You should make at least four to six passes over every square inch of the pond bottom and sides.
Moisture control is the partner of compaction. If the soil is too dry, it won’t pack; if it is too wet, it will turn into a swampy mess. The “Ball Test” is your guide: take a handful of the mixed soil and squeeze it into a ball. If it stays together but doesn’t leave mud on your hands, you have reached “optimum moisture.” If it crumbles, add a light mist of water. If it’s sticky, let it dry. Only when the moisture is right should you begin the heavy rolling.
Benefits of a Living Clay Seal
Building with clay is a choice for the long term. While it requires more effort up front than a plastic liner, the rewards are measured in decades and centuries. A clay pond is an investment that grows more stable over time, whereas a plastic pond begins to degrade from the day it is installed.
Practical and measurable benefits include:
- Self-Healing Properties: If the ground shifts or a small puncture occurs, the surrounding sodium bentonite will naturally hydrate and expand to seal the gap. This makes the pond resilient to minor earthquakes and settling.
- Longevity: Clay is a mineral, not a chemical compound. It does not “rot” or break down under UV light. A properly built clay pond can last hundreds of years, as evidenced by ancient agricultural reservoirs that are still holding water today.
- Biological Integration: Unlike plastic, clay allows for a full riparian ecosystem. Plants like cattails, water lilies, and rushes can root directly into the pond bed, providing habitat for fish and natural filtration for the water.
- Chemical-Free Environment: Many synthetic liners leach plasticizers and other chemicals into the water over time. A clay pond is 100% natural and safe for livestock, wildlife, and even human swimming.
- Cost-Effective for Large Ponds: On a large scale, the cost of a high-quality EPDM liner becomes astronomical. Sodium bentonite is a bulk commodity that is significantly more affordable for half-acre or larger projects.
Challenges and Common Mistakes
The road to a perfect natural pond is paved with lessons learned the hard way. Most failures in clay ponds are not due to the material itself, but to human error during the installation process. Understanding these pitfalls is the first step toward avoiding them.
Common errors include:
- Skimping on Material: Many people try to save money by using 1 pound of bentonite per square foot when their soil requires 3 or 4 pounds. This results in a “leaky sieve” rather than a sealed basin. Always follow the application rates based on your soil test.
- Poor Site Preparation: Leaving roots, sticks, or large rocks in the pond bed is a recipe for disaster. As organic material like roots decays, it leaves “veins” or hollow tubes in the soil that water will quickly exploit.
- Neglecting the Slopes: Clay is heavy and slippery when wet. If your pond banks are too steep (anything more than a 3:1 ratio), the sealing layer will eventually slump or slide down into the center of the pond, leaving the upper banks exposed and leaking.
- Allowing the Pond to Dry Out: Once a clay pond is filled, it should stay filled. If a bentonite seal is allowed to dry out completely, it can develop deep “desiccation cracks.” While it may re-seal when refilled, extreme drying can compromise the integrity of the compacted layer.
- Animal Damage: While clay is tough, the hooves of cattle or the burrowing of crayfish can damage a thin seal. If you have heavy livestock, you must protect the seal with a layer of “road crush” or large gravel in high-traffic areas.
Limitations: When This May Not Be Ideal
Honesty is a pioneer virtue. While a clay pond is a masterpiece, it is not the right choice for every situation. There are environmental and logistical constraints that might make a synthetic liner or a different water-holding strategy a better fit for your specific land.
One major limitation is the water table. If you are building in an area with a high seasonal water table, the upward pressure of the groundwater can actually lift or “bubble” a clay liner. In these cases, you need a heavy overburden of soil or a different engineering approach to ensure the pond doesn’t turn into a mud-volcano during the rainy season.
Another constraint is water chemistry. Sodium bentonite depends on fresh water to hydrate and swell. If your water source is highly saline or has a very high concentration of calcium, it can inhibit the swelling process. This is why bentonite is rarely used in coastal environments or near salt-water estuaries without specialized “salt-stable” additives.
Finally, consider the availability of equipment. A clay pond is not a “shovel and bucket” project for anything larger than a garden pool. It requires a tractor, a tiller, and a heavy roller. If you do not have access to machinery and the skill to operate it, the manual labor required to achieve proper compaction can be physically overwhelming.
Comparison: Living Clay vs. Dead Plastic
To help you decide which path to take, consider the following comparison based on long-term value and ecological impact.
| Feature | Natural Clay (Bentonite) | Plastic/Rubber Liner |
|---|---|---|
| Lifespan | Centuries (Geological material) | 15–30 years (UV degradation) |
| Self-Healing | Yes (Swells to fill cracks) | No (Requires manual patches) |
| Ecosystem Support | High (Plants root in pond bed) | Low (Rooting can puncture liner) |
| Installation Difficulty | High (Requires heavy compaction) | Medium (Requires careful handling) |
| Initial Cost | Variable (Cheap for large areas) | High (Expensive for large areas) |
| Chemical Safety | 100% Natural | Potential leaching of phthalates |
Practical Tips for Success
Building a pond is a conversation with the land. You must listen as much as you dig. Here are some actionable tips to ensure your project succeeds on the first try.
- Order Extra Bentonite: Always order 10-15% more clay than your calculations suggest. You will inevitably find a soft spot, a sandy vein, or a corner that needs extra attention. Having the material on hand is better than stopping mid-project.
- Protect the Inflow: Where water enters the pond (via a pipe or a stream), the force of the water can erode your clay seal. Place a large flat rock or a “rip-rap” splash pad at the entry point to dissipate the energy and protect your hard work.
- Plant Native Species: Once the pond is filled, get your plants in early. Species like sedges and rushes have “matted” root systems that help stabilize the banks and prevent the clay from slumping. They also compete with algae for nutrients, keeping your water clear.
- Monitor the Fill Rate: Fill the pond slowly. If you rush it with a high-pressure pump, you can wash away the loose soil covering your bentonite before it has a chance to hydrate and lock into place.
- Keep a “Leak Log”: For the first season, mark the water level on a stake. Some initial “drawdown” is normal as the soil fully saturates. If the level continues to drop more than an inch a day (accounting for evaporation), you may have a spot that needs a sprinkle of extra clay.
Advanced Considerations: Biological Gleying
For the serious practitioner who wants to go beyond mineral amendments, there is a biological method known as “gleying.” Originally developed in Russia, this technique mimics the natural process that creates peat bogs and marshes. It involves lining the pond with a thick layer of fresh, green animal manure (pig or cow is best), covering it with vegetable matter like grass clippings or hay, and then sealing it with a layer of soil.
The organic matter ferments anaerobically (without oxygen) beneath the soil. This fermentation produces a thick, biological slime or “bio-plastic” that is incredibly effective at sealing porous soils. This is the method popularized by permaculture pioneers like Sepp Holzer. While it is virtually cost-free in terms of materials, it requires a high degree of management and can be quite “fragrant” during the fermentation period. It is a testament to the fact that biology, given the right conditions, is the most powerful engineer on the planet.
Project Scenario: The 1/4 Acre Farm Pond
Imagine you have a flat acre of land with silty-sand soil. You want to build a 1/4 acre pond (roughly 10,890 square feet) for irrigation and fire protection. After doing your Jar Test, you find your soil is 60% sand, 30% silt, and only 10% clay. This means you need a heavy application of sodium bentonite.
At a rate of 4 pounds per square foot for sandy soil, you would need approximately 43,560 pounds (about 22 tons) of bentonite. You would excavate the pond to an 8-foot depth with 3:1 side slopes. Using the Mixed-In method, you would spread the 22 tons of clay, till it into the top 6 inches, and then use a sheepsfoot roller to compact it. This project would take about three days with a skid-steer and a tractor. The result is a reservoir that will hold water through the heat of the summer and serve your farm for a century.
Final Thoughts
Building a natural clay pond is a rejection of the “disposable” culture. It is a commitment to using the materials that the earth has provided to solve a human need. While it requires more sweat, more observation, and more mechanical force than a plastic liner, the result is a feature that feels inevitable—as if it has always been part of the landscape.
A clay-sealed pond is not just a tank of water; it is a living system. It is a place where dragonflies hunt, where frogs sing, and where the water is purified by the very earth that holds it. By choosing this path, you are working with the biology of your land, creating a self-healing masterpiece that will endure long after the plastic membranes of today have turned to dust. Experiment on a small scale first, learn the feel of your soil, and then build a legacy that holds water.
