How To Become More Self-Sufficient Without Starting a Full-Blown Farm…
Want to start preserving your harvest, making your own soap, or building a backyard root cellar — but not sure where to begin? “Homesteading Advice” gives you instant lifetime access to 35+ practical homesteading books on food preservation, veggie gardening, DIY natural cleaning products (save over $250 per year with this skill alone), brewing, off-grid energy, and a whole lot more…
Click Here To Check It Out Now!
Your trash can is actually a gold mine for your garden’s future harvest. Every banana peel you toss is a missed opportunity for potassium-rich tomatoes. Discover how to turn your daily kitchen waste into the most expensive soil on the market for zero dollars.
Pioneer grit was never about buying a solution from a store shelf. It was about seeing the value in what others threw away. Our ancestors didn’t have bags of synthetic 10-10-10 fertilizer; they had the remains of last night’s supper and the wisdom to return it to the earth.
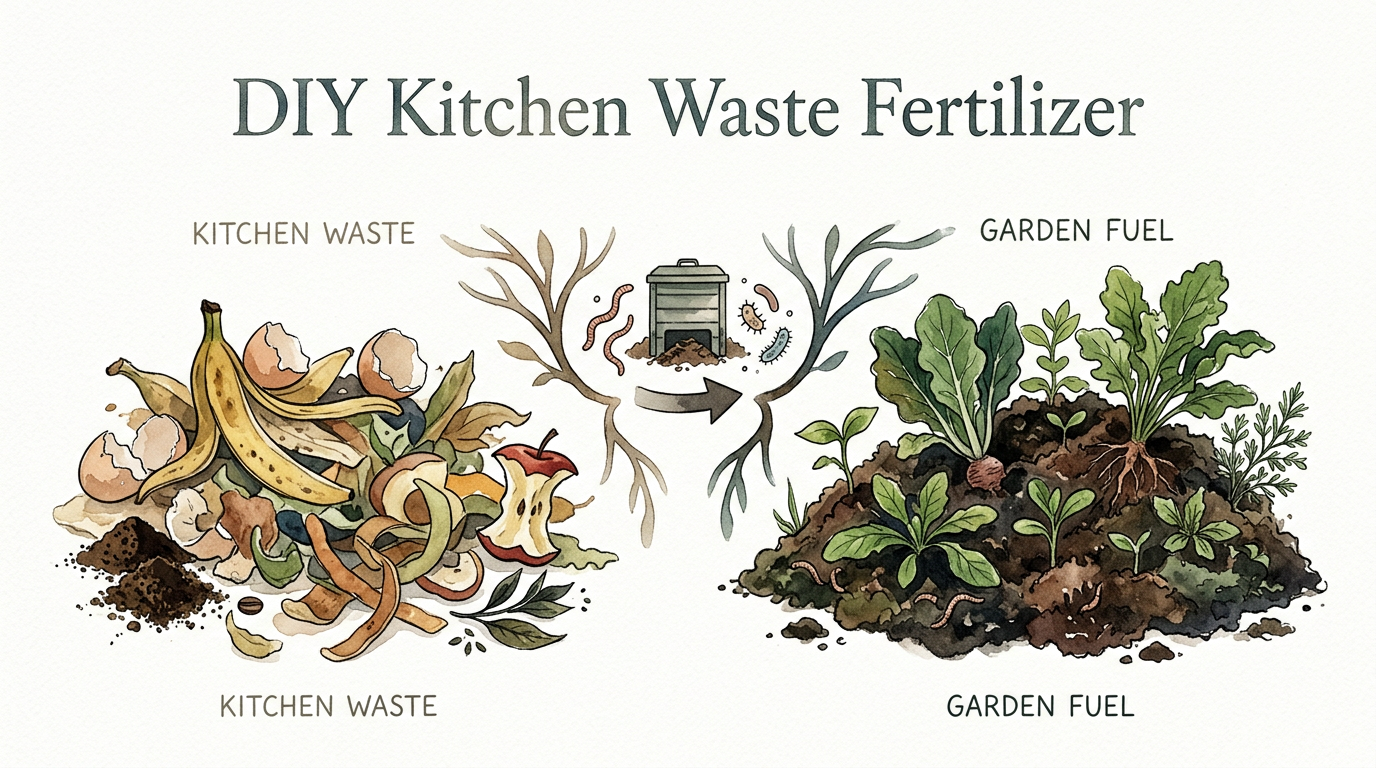
This guide will walk you through the transition from seeing KITCHEN TRASH to identifying GARDEN FUEL. You will learn how to harness the chemical potential of scraps and build soil that is alive, resilient, and productive.
DIY Kitchen Waste Fertilizer
DIY kitchen waste fertilizer is the art of reclaiming nutrients from organic scraps and converting them into a form that plants can readily absorb. In a world of fast-moving consumer goods, this practice is a quiet rebellion that restores the natural cycle of birth, growth, and decay.
Organic matter from your kitchen contains the primary macronutrients every plant craves: nitrogen, phosphorus, and potassium (NPK). When you throw a potato peel or an onion skin into a landfill, these nutrients are locked away in anaerobic conditions, producing methane gas. When you put them in your garden, they become the building blocks for your next meal.
This method exists because soil is not just dirt; it is a biological engine. In real-world agricultural history, this was the standard before the industrial revolution. Farmers knew that if you take from the land, you must give back. Today, this practice is used by homesteaders, urban gardeners, and anyone who wants to grow food without chemical dependencies.
Think of your kitchen scraps as a slow-release vitamin for your soil. Just as you wouldn’t survive on synthetic supplements alone, your garden thrives best when it is fed a diverse diet of real, organic material. This is where “black gold” is forged—not in a factory, but in your own backyard or under your kitchen sink.
How It Works: Converting Scraps to Soil
Turning waste into fertilizer requires a basic understanding of decomposition. Nature uses two primary pathways to break down organic matter: aerobic (with oxygen) and anaerobic (without oxygen). For the home gardener, there are three main ways to facilitate this process.
The Liquid Steep Method
This is often called “compost tea” or “scrap juice.” You simply place nitrogen-rich scraps like vegetable peels and coffee grounds into a bucket of water. Over a few days, the water extracts the soluble nutrients. Straining this liquid gives you a potent, fast-acting tonic that can be poured directly at the base of your plants.
Trench Composting
Direct burial is the most traditional “pioneer” method. You dig a hole or a trench at least 12 inches deep in your garden bed, drop in your kitchen scraps, and cover them back up with soil. This method hides the waste from pests and allows worms and soil microbes to process the nutrients exactly where they are needed.
Dry Powder Amendment
For scraps like eggshells and banana peels, drying and grinding them into a powder is highly effective. Eggshells are roughly 95% calcium carbonate. By baking them until brittle and grinding them into a fine dust, you make that calcium available to the soil much faster than if you simply crushed them by hand.
Benefits of Home-Grown Nutrients
Choosing to make your own fertilizer offers measurable advantages that extend beyond just saving a few dollars at the garden center. The most immediate benefit is soil structure improvement. Synthetic fertilizers feed the plant but ignore the soil; organic matter feeds the microbes that create the crumbly, porous structure roots love.
Nutrient density is another factor. Commercial fertilizers often focus on NPK but miss the trace minerals. Kitchen waste provides a spectrum of micronutrients like magnesium, sulfur, and boron. For instance, coffee grounds provide nitrogen but also add organic bulk that helps the soil retain moisture during dry spells.
Self-reliance is perhaps the greatest reward. When you master the cycle of waste-to-food, you are no longer at the mercy of supply chain disruptions or price hikes. You are creating a closed-loop system where your home provides for your garden, and your garden provides for your home.
Environmental impact cannot be ignored. Diverting organic waste from landfills reduces greenhouse gas emissions. Furthermore, organic fertilizers don’t leach harmful chemicals into the groundwater or local streams, protecting the local ecosystem for future generations of gardeners.
Challenges and Common Mistakes
The most frequent error for beginners is improper balance. In the world of composting, we talk about “Greens” (nitrogen) and “Browns” (carbon). If you add too many green kitchen scraps without enough brown material like dried leaves or shredded paper, your fertilizer will become a slimy, stinking mess.
Adding the wrong ingredients is another pitfall. Meat, dairy, and oils should never go into a standard DIY fertilizer pile. These items rot differently than plant matter, attracting rodents, raccoons, and flies. They can also harbor pathogens that you do not want near your food crops.
Impatience often leads to “nutrient lock.” If you add fresh, uncomposted wood chips or large amounts of raw scraps directly to the base of a plant, the microbes may temporarily steal nitrogen from the soil to break down the waste. This can actually cause your plants to turn yellow and struggle until the decomposition is finished.
Limitations and Realistic Constraints
While DIY fertilizer is powerful, it is not a magic wand for every situation. In small apartment settings, the space required for traditional composting or trenching is non-existent. While liquid steeps or small-scale indoor systems like Bokashi work, they cannot produce the volume needed for a large-scale vegetable farm.
Climate plays a massive role. In the dead of winter, microbial activity slows to a crawl. If you live in a northern region, your “trash to gold” pipeline will likely freeze for several months, requiring you to store scraps or find indoor alternatives. Decomposition is a temperature-dependent chemical reaction.
There is also a limit to how much a specific scrap can provide. You cannot fix a massive soil deficiency using only banana peels. If your soil is severely lacking in a specific mineral, you may need a concentrated organic amendment like bone meal or greensand to bridge the gap until your long-term composting efforts take hold.
Comparison of Composting Methods
Choosing the right system depends on your space, time, and how much “grit” you want to put into the process.
| Method | Complexity | Speed | Best For |
|---|---|---|---|
| Liquid Steeping | Low | 3-5 Days | Houseplants & Seedlings |
| Trenching | Moderate | 3-6 Months | Direct garden beds |
| Bokashi | High | 2-4 Weeks | Small spaces/Meat scraps |
| Vermicomposting | Moderate | 2-3 Months | High-quality castings |
Practical Tips and Best Practices
Always use dechlorinated water when making liquid fertilizers. Chlorine is designed to kill bacteria, but your garden depends on those same bacteria to process nutrients. If you use tap water, let it sit in an open bucket for 24 hours to allow the chlorine to evaporate before adding your scraps.
Shredding and chopping is your best friend. A whole banana peel takes weeks to break down, but a finely diced peel increases the surface area for microbes to attack. If you are serious about soil health, spend an extra five minutes in the kitchen chopping your scraps before they head to the bin.
Bury your scraps deep if you are trenching. At least 12 inches of soil on top prevents local wildlife from digging up your garden. It also keeps the smell contained while the anaerobic-to-aerobic transition happens underground.
Combine your scraps for a balanced NPK profile. Used tea leaves provide nitrogen (N), crushed eggshells offer calcium and phosphorus (P), and onion skins or banana peels contribute potassium (K). Mixing these together ensures your plants get a complete “multivitamin” rather than just a single nutrient.
Advanced Considerations: Fermentation and Bio-Enzymes
For the seasoned practitioner, basic steeping is just the beginning. Bio-enzymes are made by fermenting citrus peels with sugar and water for up to three months. This creates a powerful concentrate that not only fertilizes but also acts as a natural pest repellent and soil conditioner.
Understanding pH is another advanced step. Coffee grounds are slightly acidic (pH 6.5–6.8), which is perfect for blueberries or azaleas but can be detrimental if overused on alkaline-loving plants like lavender. Testing your homemade mixtures with a simple pH meter ensures you aren’t accidentally shifting your soil chemistry too far in one direction.
Chelation is a natural process where organic acids from decomposing waste wrap around minerals, making them easier for roots to pull in. By allowing your kitchen waste to ferment properly before application, you are essentially “pre-digesting” the nutrients for your plants, leading to faster growth and more vibrant harvests.
Examples and Realistic Scenarios
Consider the “Tomato Success Story.” A gardener noticed their tomatoes were suffering from blossom-end rot, a clear sign of calcium deficiency. Instead of buying a chemical spray, they began collecting eggshells. After washing, drying, and grinding them into a fine flour, they applied two tablespoons to the base of each plant. Within two weeks, the new fruit was healthy and firm.
In an urban apartment scenario, a resident used the “Rice Water Trick.” Every time they rinsed rice for dinner, they saved the cloudy water. This water is rich in starch and trace B vitamins. By using this to water their indoor pothos and spider plants, they saw a noticeable increase in leaf glossiness and new growth within a month—all without spending a dime.
Another example is the “Potato Bed Trench.” Before planting potatoes in the spring, a homesteader spent the winter trench-composting their kitchen scraps into a specific row. By the time planting season arrived, the soil was teeming with worms and the scraps had vanished into rich, dark humus. The resulting potato yield was nearly double that of the control row.
Final Thoughts
The transition from a consumer to a producer starts with how you handle your waste. Your kitchen is not just a place for food preparation; it is the starting point for your garden’s fertility. By embracing these DIY kitchen waste fertilizer methods, you are stepping back into a tradition of self-reliance that has sustained humanity for millennia.
Start small by saving your coffee grounds or eggshells this week. As you see the results in your soil, you will find yourself looking at every scrap as a precious resource. This shift in perspective is the essence of ancestral wisdom—nothing is wasted, and everything has a purpose.
Experiment with different steeps, try a trench in a corner of your yard, and observe how your plants respond. The garden is the best teacher you will ever have. As you build your soil, you are building a legacy of health and sustainability that will feed you and your family for years to come.
