How To Become More Self-Sufficient Without Starting a Full-Blown Farm…
Want to start preserving your harvest, making your own soap, or building a backyard root cellar — but not sure where to begin? “Homesteading Advice” gives you instant lifetime access to 35+ practical homesteading books on food preservation, veggie gardening, DIY natural cleaning products (save over $250 per year with this skill alone), brewing, off-grid energy, and a whole lot more…
Click Here To Check It Out Now!
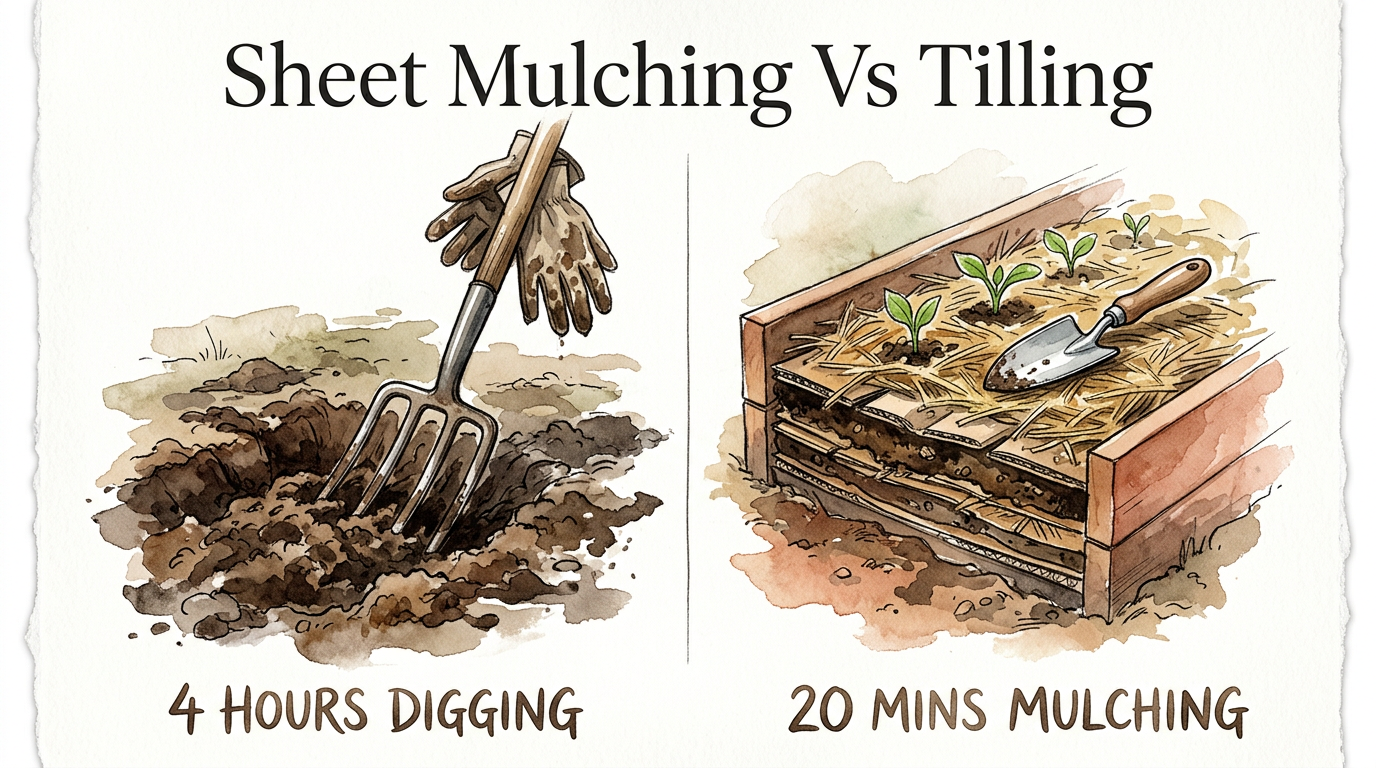
What if the secret to perfect soil was putting down your shovel forever? Stop breaking your back for a garden that doesn’t want to be tilled. Sheet mulching preserves the soil’s fungal networks while the cardboard smothers weeds for you. Work with nature, not against it.
In the old days, our ancestors understood that the earth was a living, breathing entity. They didn’t have heavy diesel rototillers to pulverize the ground into a fine dust. They watched how the forest floor managed itself, layering leaves and fallen wood to create a rich, damp humus that never needed a spade. This article explores how to reclaim that ancestral wisdom through sheet mulching—a method that turns 4 hours of digging into 20 minutes of mulching while building a soil legacy that lasts for generations.
Whether you are a seasoned homesteader or a suburban gardener looking for a better way, the shift from tilling to sheet mulching is a return to a more resilient way of life. It is about stewardship rather than conquest. Let us look at how you can transform your land without the mechanical noise and back-breaking labor of the past.
Sheet Mulching Vs Tilling
Sheet mulching is the practice of building soil from the top down, mimicking the natural decomposition cycle found in wild ecosystems. Instead of turning the earth over to bury weeds and loosen the soil, you lay down a biodegradable barrier—usually cardboard or heavy paper—and pile organic materials on top of it. This process, often called “lasagna gardening,” smothers existing vegetation and allows worms and microbes to do the heavy lifting of aeration and nutrient cycling.
Tilling, by contrast, is a mechanical intervention that disrupts the delicate balance of the soil. While it provides an immediate, soft planting bed, it often destroys the very structures that keep soil healthy. When a tiller blades through the ground, it shreds the mycelial threads of arbuscular mycorrhizal fungi (AMF), which are the unseen highways that transport nutrients to your plants. This mechanical disruption also introduces a massive flush of oxygen, causing soil microbes to rapidly consume organic matter and release stored carbon into the atmosphere as CO2.
In real-world terms, tilling often leads to a “plow pan”—a hard, compacted layer of soil just beneath the reach of the blades. This prevents deep root growth and causes drainage issues. Sheet mulching avoids this entirely by keeping the soil structure intact and protecting the “soil carbon sponge,” a term used by practitioners to describe the soil’s ability to hold water and resist drought. While tilling is a short-term fix that often creates long-term dependency on fertilizers, sheet mulching is a slow-burn investment in the permanent fertility of your land.
How the Layering Process Works
Creating a productive sheet mulch bed is a rhythmic process of balancing carbon and nitrogen. You are essentially building a compost pile directly on top of your future garden. The goal is to create an environment where earthworms and microorganisms feel at home, invited by the moisture and the darkness provided by your barrier.
The first step is preparation. You do not need to pull every weed or strip the sod. If the grass is tall, simply mow it or stomp it down to ensure it lays flat. This trapped green material becomes the first nitrogen-rich “snack” for the microbes. If your soil is exceptionally dry, water the area thoroughly before you begin layering; once the cardboard is down, it acts like a lid, keeping moisture trapped underneath for weeks.
Next comes the weed barrier. Lay down large sheets of plain brown cardboard, overlapping the edges by at least six inches. This prevents sunlight from reaching the weeds below, effectively starving them. Avoid glossy, white, or heavily printed cardboard, as these can contain bleaching agents or coatings that are not ideal for the soil. Once the cardboard is in place, soak it with water until it is soft and pliable.
Above the cardboard, you build your “lasagna” layers. A common approach is to follow a 4-layered system. Start with a thin layer of nitrogen-rich material like fresh grass clippings, manure, or kitchen scraps. Follow this with a thicker layer of “browns” or carbon-rich materials like fallen leaves, straw, or wood chips. Aim for a carbon-to-nitrogen (C:N) ratio of roughly 25:1 to 30:1 for the fastest decomposition. This balance ensures the microbes have enough energy (carbon) and enough protein (nitrogen) to build their populations and break down the organic matter into rich, dark tilth.
Benefits of a No-Dig Approach
The practical benefits of sheet mulching are measurable and often visible within a single season. One of the most significant advantages is the preservation of soil aggregates. These are the “crumbs” of soil held together by a sticky protein called glomalin, which is produced by fungal hyphae. Healthy aggregates create pores in the soil, allowing air and water to reach plant roots easily. Research shows that reducing tillage preserves these aggregates, leading to better water infiltration and resistance to erosion.
Moisture retention is another hallmark of the sheet mulch system. Because the soil is always covered, evaporation is drastically reduced. In some trials, no-till systems maintained significantly higher moisture levels in the top 15 inches of soil compared to tilled land, especially during high-heat periods. For a gardener, this means less time standing with a hose and more resilience during the dog days of summer.
Furthermore, sheet mulching creates a “weed-free” environment without the use of chemicals. The cardboard barrier smothers current weeds, and because you aren’t tilling, you aren’t bringing dormant weed seeds to the surface where they can germinate. Instead of spending your weekends weeding, you spend them observing your plants and enjoying the silence of a garden that is largely taking care of itself.
Challenges and Common Mistakes
While sheet mulching is simpler than digging, it is not without its pitfalls. One of the most frequent errors is using the wrong materials for the barrier. Using white bleached cardboard or cardboard with heavy plastic tape still attached can introduce unwanted chemicals or microplastics into the soil. Pioneers of this method emphasize the importance of “clean” inputs—relying on the waste products of the land rather than industrial debris.
Pests can also be a challenge in a mulched garden. Slugs and snails love the damp, dark environment beneath a layer of straw or hay. In particularly wet climates, a thick mulch can become a sanctuary for these pests, which may decimate young seedlings. To avoid this, some practitioners, like the well-known gardener Charles Dowding, suggest using well-rotted compost as the primary mulch layer instead of loose straw, as it provides fewer hiding spots for slugs while still offering the benefits of soil protection.
Another common mistake is layering too thin. If your mulch layer is only a couple of inches deep, the cardboard will dry out and blow away, or the weeds will find a gap and push through. A “bombproof” sheet mulch often starts at 8 to 12 inches high, knowing that it will shrink by half or more as the materials settle and decompose. If you scrimp on the materials at the beginning, you will likely find yourself fighting the same weeds you tried to smother within a few months.
Limitations and Environmental Constraints
Sheet mulching is a powerful tool, but it is not a universal solution for every landscape. In extremely arid desert environments, the process of decomposition can stall. Without consistent moisture, the cardboard and organic matter will simply sit on top of the soil without breaking down, potentially creating a hydrophobic layer that sheds water rather than absorbing it. In these regions, a modified approach with buried organic matter (like hugelkultur) or specialized irrigation may be necessary.
Soil temperature is another realistic constraint. Thick mulch acts as an insulator, which is great in the summer but can be a drawback in early spring. Mulched soil takes longer to warm up than bare, tilled earth. If you live in a cold climate with a short growing season, you may need to pull back the mulch a week or two before planting to let the sun hit the soil, or accept that your planting dates might be slightly later than your neighbors who till.
Finally, consider the geography of your site. On steep slopes, heavy layers of mulch can be prone to sliding during intense rainstorms if they aren’t pinned down with branches or plantings. In these cases, the natural “pioneer-grit” approach might involve building small swales or terraces to hold the organic matter in place until the roots of your plants can anchor the system.
Comparing Tilling and Sheet Mulching
When deciding between these two methods, it helps to look at the measurable factors that impact a homesteader’s daily life.
| Factor | Mechanical Tilling | Sheet Mulching |
|---|---|---|
| Labor Intensity | High (digging/operating machinery) | Low (layering materials) |
| Initial Cost | High (tiller purchase/fuel) | Low (recycled cardboard/manure) |
| Soil Structure | Destroyed (aggregates pulverized) | Preserved (built over time) |
| Weed Pressure | Stimulated (seeds brought to surface) | Suppressed (smothered by barrier) |
| Water Retention | Poor (high evaporation) | Excellent (trapped moisture) |
| Biological Life | Disrupted (fungi/worms killed) | Encouraged (habitat created) |
Practical Tips for Success
If you are ready to put down the shovel, start with these actionable steps to ensure your first sheet mulch bed is a success.
- Source local “waste”: Contact local tree services for wood chips and neighbors for bagged leaves. These are often free and provide the diverse carbon sources your soil craves.
- The “Bead” Test: When sourcing cardboard, test it for water-resistance (PFAS). Drop a bit of oil or water on it; if it beads up perfectly like a half-dome, it likely has a coating you don’t want. If it soaks in, it’s good for the garden.
- Water between every layer: Don’t wait until the end to use the hose. Watering each layer as you go ensures the “composting in place” process starts immediately and prevents dry pockets.
- Timing is everything: Fall is the ideal time to start a sheet mulch bed. The winter rains will help settle the materials, and by spring, the cardboard will be soft enough for worms to pass through and for you to plant directly into the underlying soil.
- Remove the non-organics: Take the time to pull off all plastic tape, staples, and shipping labels from your cardboard. It is a tedious task, but it keeps your soil clean for the long haul.
Advanced Considerations for the Serious Steward
For those looking to go beyond the basics, consider integrating mineral amendments and fungal inoculants into your layering process. Adding a dusting of rock dust (like basalt or azomite) between your layers can provide trace minerals that have been leached out of the soil over decades of conventional use. This mimics the natural deposition of minerals from volcanic ash or glacial silt.
You can also supercharge the biological activity of your new bed by using “compost tea” or mycorrhizal inoculants. Spraying a liquid inoculant directly onto the cardboard before you add the nitrogen layers can jumpstart the colonization of beneficial fungi. Some advanced practitioners also incorporate biochar—porous charcoal that has been “charged” with nutrients—into the lower layers. This biochar acts as a permanent “coral reef” for microbes, providing them with a stable home that lasts for hundreds of years.
Scaling a sheet mulch system also requires thinking about “mulch crops.” If you have a large acreage, you may not be able to source enough cardboard and external mulch. In this scenario, you can grow high-biomass crops like comfrey, vetiver, or rye, and “chop and drop” them directly onto the soil. This creates a self-sustaining system where the land produces its own protective covering, reducing your reliance on outside inputs.
Example: Converting a Weed-Choked Lawn
Imagine a 1,000-square-foot patch of compacted lawn and invasive thistles. A traditional approach would involve a weekend of renting a heavy sod-cutter, hauling away the grass, and then tilling the remaining dirt. This would likely take 10 to 15 hours of intense physical labor and cost upwards of $200 in rentals and fuel.
Instead, the sheet mulch approach begins with 20 minutes of mowing the grass as short as possible. You then spend an afternoon laying down free cardboard collected from a local appliance store. You top this with six inches of fall leaves raked from the neighborhood and two inches of aged manure from a nearby farm. Total active labor: about 4 hours. Cost: $0.
By the following spring, the thistles are dead, the sod has rotted into rich organic matter, and the soil is teeming with earthworms. You simply pull back the remaining mulch, cut a small “X” in the softened cardboard, and tuck your tomato starts into the dark, crumbly earth below.
Final Thoughts
The transition from tilling to sheet mulching is more than just a change in gardening technique; it is a shift in philosophy. It acknowledges that we are part of a complex biological community and that our role is to facilitate the natural processes that have sustained life on this planet for eons. By protecting the fungal networks and feeding the soil from above, we build a foundation of health that translates directly into more nutrient-dense food and a more resilient landscape.
As you look at your garden this season, ask yourself if the work you are doing is building the land or depleting it. Perfect soil isn’t something you create with a machine; it is something you allow to happen by stepping out of the way. Put down the shovel, pick up some cardboard, and start the slow, rewarding work of working with nature. Your back, your soil, and the generations that follow will thank you for it.
