How To Become More Self-Sufficient Without Starting a Full-Blown Farm…
Want to start preserving your harvest, making your own soap, or building a backyard root cellar — but not sure where to begin? “Homesteading Advice” gives you instant lifetime access to 35+ practical homesteading books on food preservation, veggie gardening, DIY natural cleaning products (save over $250 per year with this skill alone), brewing, off-grid energy, and a whole lot more…
Click Here To Check It Out Now!
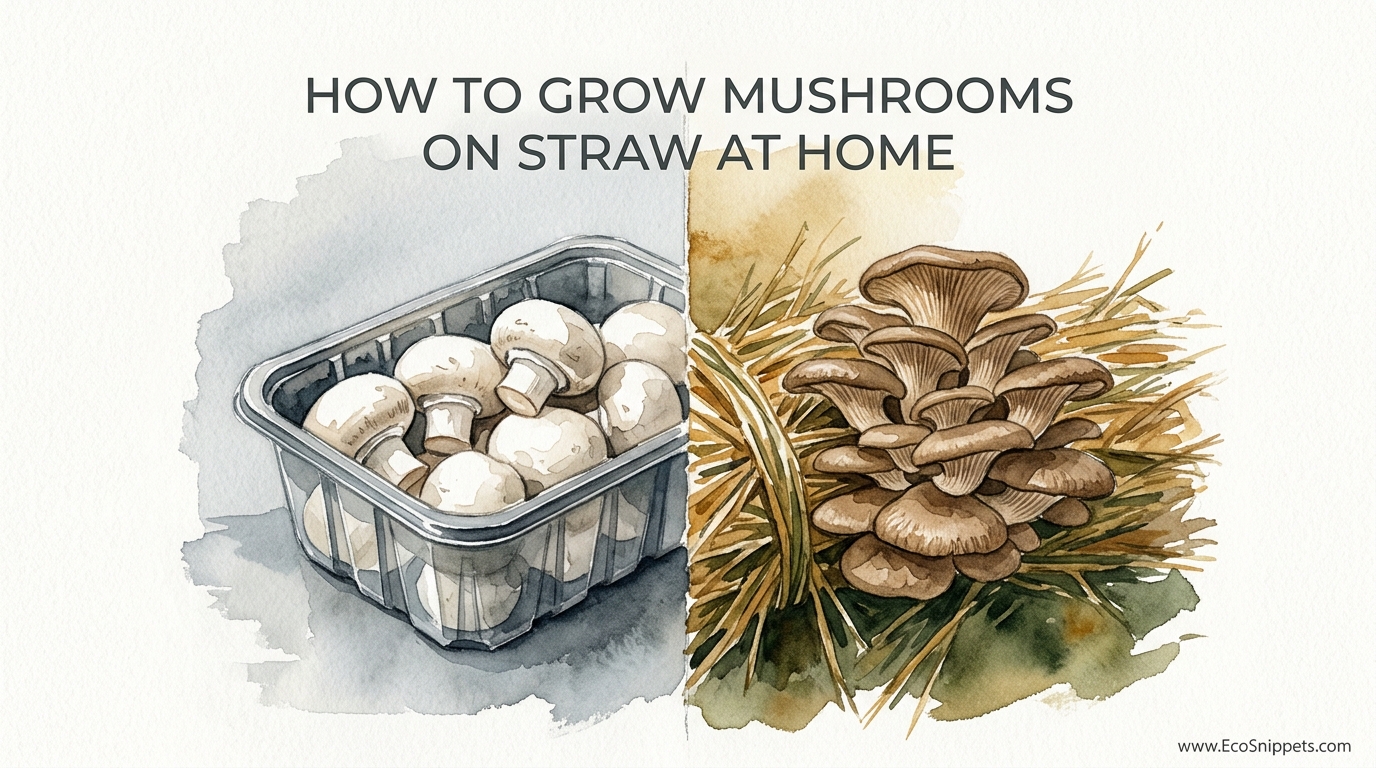
Stop paying gourmet prices for plastic-wrapped fungi when your backyard could be a high-output protein factory for pennies. Most people walk past the mushroom section and see a luxury they can’t afford. I see a resource I can grow in the shade behind my shed. One of these was flown across the country in a plastic coffin; the other was harvested five minutes ago from a pile of leftover straw. Your backyard isn’t just for vegetables—it’s a hidden lab for the highest-quality protein on earth.
Growing your own food is the ultimate act of self-reliance, but most folks stop at tomatoes and peppers. They overlook the fungal kingdom, assuming it’s too complex or requires a laboratory. The truth is far simpler. If you have access to a bale of clean wheat straw and a bit of determination, you can produce pounds of fresh, savory oyster mushrooms every single week. This is ancestral wisdom meeting modern necessity, turning agricultural waste into a nutrient-dense harvest with minimal input.
Mushrooms don’t need the sun; they need the right environment and a clean slate to begin their work. When you master the art of growing on straw, you aren’t just gardening; you are managing a lifecycle that has sustained humans for millennia. It’s about grit, patience, and understanding the quiet power of mycelium. Let’s look at how you can turn that pile of straw into a literal goldmine of gourmet mushrooms.
How To Grow Mushrooms On Straw At Home
Growing mushrooms on straw is one of the most accessible entry points for the aspiring home mycologist. Straw, the dried stalks of cereal grains like wheat, rye, or oats, is essentially a high-cellulose fuel source for certain types of fungi. In its raw state, straw is a waste product of the grain industry, but to a mushroom, it is a feast. The process involves taking this straw, treating it to remove competing microbes, and “seeding” it with mushroom mycelium, known as spawn.
This method is popular because straw is cheap and widely available at any local feed store. It has a high surface area, which allows the mushroom roots—the mycelium—to tear through the material at incredible speeds. Unlike growing on logs, which can take a year to fruit, a straw-based system can move from inoculation to your dinner plate in as little as three weeks. It is the “fast food” of the fungal world, but without the chemicals or the cardboard aftertaste.
In real-world applications, this method is used by small-scale farmers and homesteaders to maximize vertical space. You can grow these in hanging bags, laundry baskets, or even 5-gallon buckets with holes drilled in the sides. The versatility of straw makes it the perfect substrate for anyone dealing with limited space or a tight budget. It is a proven system that scales perfectly from a single bucket on a porch to a full-scale backyard operation.
Choosing Your Mushroom Species
Not every mushroom thrives on straw. If you want success on your first try, you need to pick the right partner. The Oyster Mushroom (Pleurotus ostreatus) is the undisputed king of straw cultivation. They are aggressive, fast-growing, and highly resistant to minor mistakes in the process. Within the oyster family, you have options: Blue Oysters love the cold, Pearl Oysters are the reliable all-rounders, and Pink or Golden Oysters thrive when the summer heat is at its peak.
Another excellent candidate is the Wine Cap (Stropharia rugosoannulata), often called the “Garden Giant.” These are better suited for outdoor straw beds and can actually be used to mulch your vegetable garden, improving the soil while they produce massive, meaty caps. Identifying the right species for your local climate and your specific setup is the first step toward a successful harvest.
The Step-by-Step Process: From Bale to Plate
Success in mushroom growing is built on a foundation of cleanliness and timing. You are essentially inviting a specific guest (the mushroom) to a party, and your job is to make sure no uninvited guests (mold and bacteria) show up first. This requires a process called pasteurization. While sterilization kills everything, pasteurization simply knocks back the competition, giving your mushrooms the head start they need to win the race for resources.
Preparation begins with chopping the straw. Standard straw from a bale is usually 10–12 inches long. For the best results, you want to chop it down to 1–3 inch pieces. This smaller size allows the straw to be packed more tightly, eliminating large air pockets where the mycelium might struggle to jump from one piece to the next. You can use a weed whacker in a clean trash can or a leaf shredder to get the job done quickly.
Method 1: Hot Water Pasteurization
This is the tried-and-true pioneer method. You submerge your chopped straw in water heated to between 160°F and 170°F for about one to two hours. This temperature is the “sweet spot”—it’s hot enough to kill most harmful mold spores and bacteria but leaves behind certain beneficial thermophilic bacteria that actually protect the straw later on. Use a large pot over a propane burner or a 55-gallon drum for larger batches. Once the time is up, drain the straw thoroughly until it reaches “field capacity”—when you squeeze a handful, only a drop or two of water should come out.
Method 2: The Cold Water Lime Soak
If you don’t want to mess with boiling water, the lime soak is a brilliant low-tech alternative. This involves soaking the straw in a high-pH solution. You add hydrated lime (calcium hydroxide) to a tub of water at a rate of roughly 1 gram per liter. This spikes the pH to around 12, which chemically “burns” the competitors without damaging the straw. After a 12–24 hour soak, you drain the straw and it is ready for inoculation. This is often preferred for large-scale outdoor projects because it requires zero energy for heating.
Benefits of Growing on Straw
The primary advantage of straw is its cost-to-yield ratio. A single $10 bale of straw, when fully processed, can produce upwards of 25 to 50 pounds of fresh mushrooms across several flushes. Compared to the $15-per-pound prices often seen at farmers’ markets, the return on investment is staggering. Straw also offers a unique structural advantage; its hollow stems hold moisture internally while providing a network of tunnels for air exchange, which mycelium requires to breathe.
Beyond the economics, there is a profound environmental benefit. Using straw is a form of upcycling. Instead of the straw being burned or left to rot in a field, it is converted into high-quality protein and then turned into a rich, fungal-active compost for your garden. It’s a closed-loop system that honors the land. Furthermore, straw is far more forgiving than wood-based substrates, making it the ideal learning tool for those new to the craft.
Challenges and Common Mistakes
The most common pitfall for beginners is improper moisture control. If the straw is too wet, it becomes anaerobic, leading to “sour rot”—a bacterial infection that smells like rotting garbage and will kill your mushroom culture instantly. If it’s too dry, the mycelium will simply stop growing. Achieving that “field capacity” squeeze test is the most important skill you will develop. Another frequent error is using hay instead of straw. Hay contains seeds and high levels of nitrogen, which act as a magnet for green mold (Trichoderma). Always ensure you are buying clean, weed-free straw.
Contamination is another reality of the hobby. If you see green, black, or orange patches appearing on your straw, it’s a sign that your pasteurization wasn’t effective or your handling wasn’t clean enough. You must treat the inoculation phase like a surgical procedure. Wash your hands, wear gloves, and work in a draft-free environment. If a bag does get contaminated, don’t despair—toss it in the compost far away from your grow area and try again. Each failure is a lesson in the invisible ecology of your backyard.
Limitations and Environmental Constraints
While straw is a powerhouse substrate, it has its limits. It is not suitable for all mushroom types. For instance, medicinal mushrooms like Reishi or culinary favorites like Shiitake require the dense lignin found in hardwood to thrive. Straw simply doesn’t provide the long-term nutrition these slow-growing species need. Additionally, straw has a shorter “lifespan” than wood. A straw bag might produce two or three good harvests over six weeks before the nutrients are exhausted, whereas an inoculated log can fruit for five years.
Temperature and humidity are also critical factors. If you live in an extremely arid climate, keeping a straw bed or bucket hydrated can be a full-time job. Conversely, in very humid, stagnant air, you may struggle with mold growth. You must work with your local environment, choosing species that match your seasons. Growing Pink Oysters in the middle of a snowy winter is a recipe for frustration, just as growing cold-loving Blue Oysters in a Texas summer will result in nothing but withered primordia.
Supermarket Plastic vs. Backyard Clusters
Understanding the difference between commercial mushrooms and home-grown clusters helps clarify why this effort is worth it. Store-bought mushrooms are often bred for “shelf stability”—meaning they are tough enough to survive shipping and sitting in a cooler for a week. When you grow your own on straw, you can select for flavor, texture, and nutritional density.
| Feature | Supermarket Mushrooms | Backyard Straw Clusters |
|---|---|---|
| Freshness | Days or weeks old; often slimy or dried out. | Minutes old; peak flavor and texture. |
| Cost | $10 – $20 per pound for “gourmet” varieties. | Less than $1 per pound (after initial spawn cost). |
| Waste | Plastic trays, plastic wrap, carbon footprint. | Compostable straw, reusable buckets. |
| Variety | Limited to what ships well (Button, Cremini). | Dozens of Oyster strains, Wine Caps, etc. |
| Nutrition | Degrades over time in storage. | Maximum bioavailability and vitamin content. |
Practical Tips for Maximum Yields
To get the most out of your straw, consider supplementing your substrate. While straw is great on its own, adding 5–10% of a nitrogen-rich supplement like wheat bran or coffee grounds can significantly boost your “Biological Efficiency” (the weight of fresh mushrooms compared to the dry weight of the substrate). However, be warned: supplements also increase the risk of contamination, so your pasteurization must be spot-on if you choose to add them.
Another tip is to manage your Fresh Air Exchange (FAE). Mushrooms breathe oxygen and exhale CO2, just like we do. In a bucket or bag system, CO2 can build up, causing the mushrooms to grow long, spindly stems and tiny caps—a look often called “coral-like.” If you see this, it’s a cry for more air. Ensure your grow area has a gentle breeze or that you are fanning your bags several times a day. Fresh air is the trigger that tells the mycelium it’s time to produce the actual mushroom fruiting bodies.
- Always use non-chlorinated water if possible, as chlorine can inhibit delicate mycelial growth.
- Label your bags with the date and species; time moves fast, and you don’t want to forget when a batch is due to fruit.
- Use a “spawn rate” of about 10%. For every 10 pounds of wet straw, use 1 pound of grain spawn for the fastest colonization.
- Keep a notebook. Record what worked, what failed, and how the weather affected your yields.
Advanced Considerations: The Cold Fermentation Method
For those looking to scale up without any chemicals or heat, anaerobic fermentation is a fascinating advanced technique. You submerge a whole bale of straw in a tank of water for 7–14 days. During this time, anaerobic bacteria take over, consuming the easy sugars and killing off the aerobic molds. When you pull the straw out, it will smell quite strong (often compared to a farmyard), but once exposed to the air, the anaerobic bacteria die off, leaving a “clean” substrate that only your mushrooms can inhabit. This is the ultimate “set it and forget it” method for large-scale outdoor beds.
You can also look into creating your own spawn. Once you are comfortable with straw, learning to grow your own mycelium on waste cardboard or grain can lower your costs even further. This moves you from being a consumer of mushroom supplies to a producer, completing the circle of self-reliance. It requires a bit more equipment, like a pressure cooker and a still air box, but the independence it provides is well worth the investment.
Example Scenario: The 5-Gallon Bucket Setup
Let’s walk through a realistic example of a weekend project. You buy a 2lb bag of Pearl Oyster grain spawn for $25. You find a local farmer and buy a wheat straw bale for $7. You take two 5-gallon buckets and drill 1/2-inch holes every 6 inches around the sides. After chopping and pasteurizing about 1/5th of that straw bale, you layer the wet straw and the crumbled grain spawn into the buckets, packing it down firmly as you go.
You place these buckets in a shady spot behind your shed where the temperature stays around 65°F. For the first two weeks, you do nothing. The mycelium turns the golden straw into a solid white block. Then, small “pins” begin to emerge from the holes. You mist them twice a day with a spray bottle. Within five days, those pins transform into massive, overlapping clusters of silver-grey oysters. From that single inoculation, you harvest 4 pounds of mushrooms in the first week, with another 2 pounds following ten days later. You’ve just produced $90 worth of gourmet food for a fraction of the cost, and you still have 80% of your straw bale left for the next batch.
Final Thoughts
Growing mushrooms on straw is more than just a hobby; it’s a shift in perspective. It’s about realizing that the “waste” of the agricultural world is actually the fuel for a hidden, high-protein economy right in your backyard. By stepping away from the plastic-wrapped offerings of the supermarket and embracing the grit of home cultivation, you gain a level of food security that few people today possess. You are participating in a cycle of decay and rebirth that is as old as the earth itself.
The beauty of this system lies in its simplicity. You don’t need a lab coat or a PhD; you need a bale of straw, a bucket of water, and the patience to let nature do its work. Whether you are looking to supplement your family’s diet with high-quality protein or simply want to master a new skill of self-reliance, the fungal kingdom is waiting. Start with one bucket, learn the language of the mycelium, and soon you’ll be seeing every pile of wood chips and every bag of straw as a potential harvest.
As you move forward, remember that mycology is a journey of observation. Pay attention to the smells, the colors, and the way the air moves through your garden. Each successful cluster of mushrooms is a testament to your ability to provide for yourself. Experiment with different varieties, try different pasteurization methods, and don’t be afraid to fail. The mycelium is resilient, and with a little pioneer spirit, you will be too. Happy growing.
