
How To Become More Self-Sufficient Without Starting a Full-Blown Farm…
Want to start preserving your harvest, making your own soap, or building a backyard root cellar — but not sure where to begin? “Homesteading Advice” gives you instant lifetime access to 35+ practical homesteading books on food preservation, veggie gardening, DIY natural cleaning products (save over $250 per year with this skill alone), brewing, off-grid energy, and a whole lot more…
Click Here To Check It Out Now!
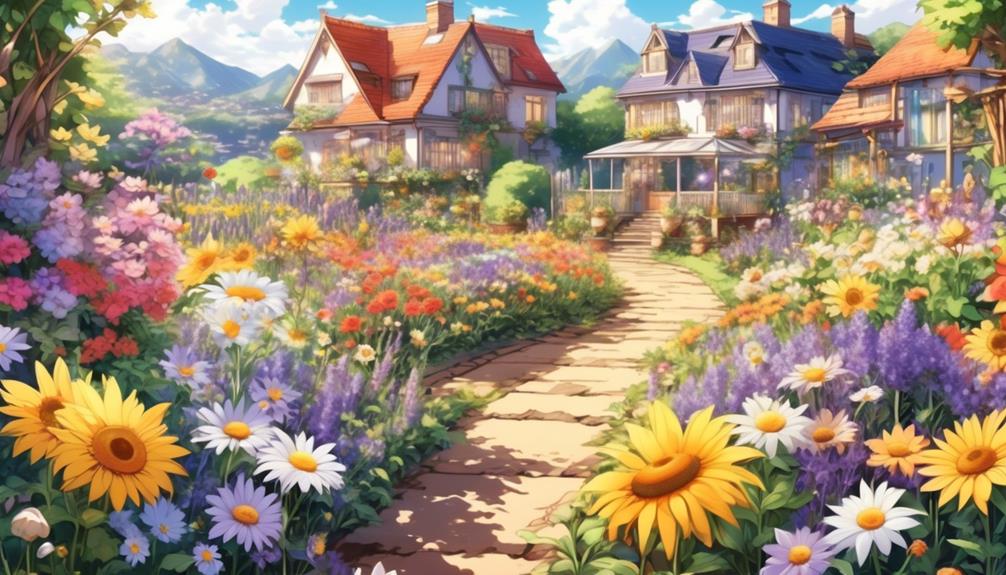
Did you know that you can easily cultivate your own cut flower patch at home? It’s a fascinating and fulfilling endeavor that allows you to enjoy the beauty of fresh flowers right in your own backyard.
Not only will you have a constant supply of stunning blooms to adorn your home, but you’ll also be contributing to the preservation of local pollinators and biodiversity.
But how do you get started? Where should you plant your flowers? What varieties should you choose?
In this discussion, we’ll explore the essential steps and tips to help you create your own flourishing cut flower patch, so you can enjoy the therapeutic benefits and the joy of having your own homegrown blooms.
Cut Flower Patches
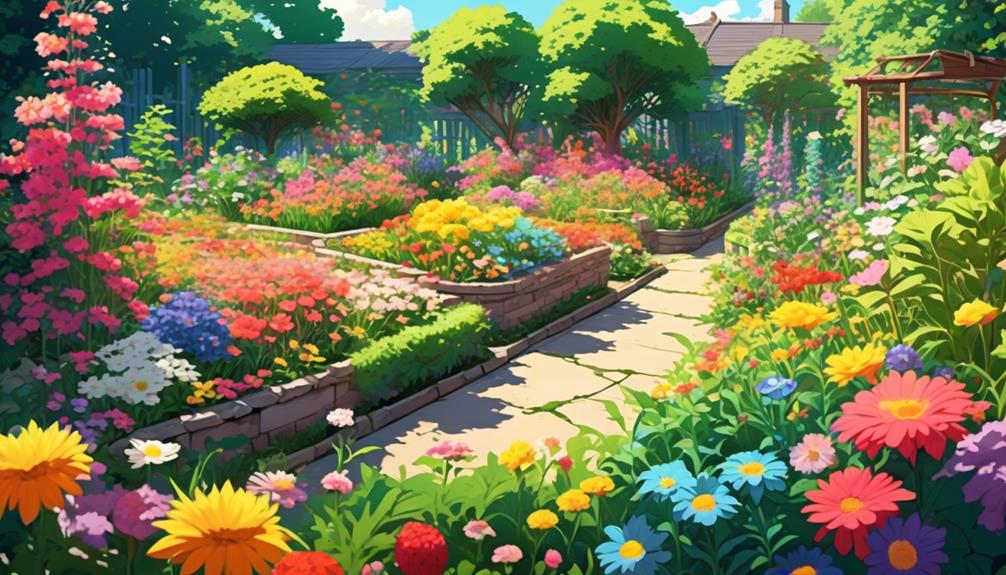
- A cut flower patch is a dedicated space for growing flowers specifically for cutting – allowing you to enjoy your own homegrown blooms indoors or for gifting to friends.
- Consider climate and soil conditions when selecting flower varieties for your cut flower patch.
- Choose a sunny location with good drainage and wind protection for optimal flower growth.
- Prepare the soil by clearing the area, loosening the soil, incorporating organic matter, and testing the pH level.
- Plant your cut flower seeds in shallow drills, provide regular watering and care, and monitor for pests and diseases.
Choosing the Right Flower Varieties
When choosing the right flower varieties for your cut flower patch, it’s important to consider the climate and soil type in your area.
Different flowers thrive in different conditions, so it’s essential to select varieties that are well-suited to your specific environment.
Heat-Tolerant Flowers
If you live in a region with hot summers and mild winters, you may want to choose heat-tolerant flowers such as zinnias, marigolds, and sunflowers.
Here are 15 different flower varieties that are heat tolerant and suitable for a warmer climate that you might like to consider:
| Flower Variety | Characteristics | Time Until Bloom | Other Information |
|---|---|---|---|
| Zinnia | Vibrant colors, long-lasting blooms | 6-8 weeks | Easy to grow from seeds |
| Marigold | Bright, cheerful flowers | 6-8 weeks | Good for repelling pests |
| Sunflower | Large, yellow blooms | 10-14 weeks | Provide support for tall varieties |
| Verbena | Clusters of small, fragrant flowers | 6-8 weeks | Drought tolerant |
| Celosia | Unique, feathery flower heads | 8-10 weeks | Good for drying |
| Cosmos | Delicate, daisy-like flowers | 8-10 weeks | Attracts butterflies and bees |
| Gaillardia | Bold, daisy-like blooms | 8-10 weeks | Drought and heat tolerant |
| Lantana | Clusters of small, colorful flowers | 8-12 weeks | Attracts butterflies and hummingbirds |
| Portulaca | Bright, succulent-like flowers | 6-8 weeks | Drought tolerant |
| Salvia | Spikes of tubular flowers | 8-10 weeks | Attracts hummingbirds |
| Vinca | Glossy, star-shaped flowers | 10-12 weeks | Heat and drought tolerant |
| Pentas | Clusters of small, star-shaped flowers | 8-10 weeks | Attracts butterflies and bees |
| Gomphrena | Globe-shaped, papery flowers | 8-10 weeks | Good for drying |
| Cleome | Tall, spiky flowers | 10-12 weeks | Self-seeds easily |
| Lisianthus | Ruffled, rose-like blooms | 12-16 weeks | Long-lasting cut flowers |
These flower varieties are known for their ability to thrive in hot climates and are perfect for creating a beautiful and vibrant cut flower garden.
Cold-Hardy Flowers
On the other hand, if you have cooler temperatures and shorter growing seasons, you might opt for cold-hardy flowers like pansies, snapdragons, and dianthus.
Here are 15 different flower varieties that are cold hardy and suitable for a cooler climate that you might like to consider:
| Flower Variety | Flower Characteristics | Time Until Bloom | Other Information |
|---|---|---|---|
| Snowdrop | Small, white bell-shaped flowers | Early spring | Prefers partial shade and moist soil |
| Crocus | Cup-shaped flowers in various colors | Early spring | Plant in well-drained soil |
| Daffodil | Trumpet-shaped flowers in yellow or white | Early spring | Deer-resistant |
| Tulip | Wide range of colors and shapes | Late spring | Plant in full sun and well-drained soil |
| Primrose | Clusters of small, colorful flowers | Spring | Prefers partial shade and moist soil |
| Pansy | Rounded flowers in various colors | Spring | Withstands light frost |
| Bleeding Heart | Heart-shaped flowers in pink or white | Spring | Prefers partial shade and moist soil |
| Peony | Large, fragrant flowers in various colors | Late spring | Requires well-drained soil and full sun |
| Iris | Showy flowers in various colors and patterns | Late spring | Plant in well-drained soil |
| Columbine | Bell-shaped flowers in various colors | Late spring | Attracts hummingbirds and butterflies |
| Snapdragon | Spiky flowers in various colors | Late spring | Prefers cool temperatures and full sun |
| Lupine | Tall spikes of flowers in various colors | Late spring | Requires well-drained soil and full sun |
| Delphinium | Tall spikes of flowers in various colors | Early summer | Stake plants to prevent lodging |
| Larkspur | Spikes of flowers in various colors | Mid-summer | Reseeds easily |
| Shasta Daisy | White, daisy-like flowers with yellow centers | Summer | Long blooming period |
Please note that specific bloom times may vary depending on your location and climate. It’s always recommended to check the specific growing requirements for each flower variety before planting.
Similarly, the type of soil in your garden can impact the success of your flower patch. Some flowers prefer well-draining soil, while others thrive in moist or sandy soil.
Conduct a soil test to determine the pH level and nutrient content of your soil, and choose flower varieties that are compatible with those conditions.
Did You Know? Flowers have been used for centuries to convey messages and emotions. In Victorian times, certain flowers had specific meanings, allowing people to express their feelings without words. For example, a red rose symbolized love, while a yellow rose represented friendship. This language of flowers, known as floriography, added an extra layer of depth and sentiment to gift-giving and floral arrangements.
Selecting the Ideal Location
To ensure the success of your cut flower patch, it’s crucial to carefully select the ideal location that provides optimal conditions for your flowers to thrive.
Consider the following factors when choosing the perfect spot for your cut flower garden:
- Sunlight and Wind Protection: Choose a sunny area with good drainage and protection from wind. Flowers need ample sunlight to grow and bloom, so select a location that receives at least six hours of direct sunlight each day. Additionally, wind can damage delicate flower stems, so ensure the chosen spot offers some form of wind protection.
- Accessibility and Visibility: When selecting the ideal spot for your cut flower patch, consider its accessibility and visibility. You want a location that’s easily accessible for maintenance tasks like watering, weeding, and harvesting. Additionally, choose a visible spot where you can enjoy the beauty of your flowers and showcase your hard work to others.
- Sufficient Space: Ensure the chosen area has sufficient space for the flowers to grow and for you to navigate around the patch easily. Flowers need room to spread their roots and foliage, so avoid overcrowding them. This will also make it easier for you to tend to the plants and harvest the blooms.
- Obstructions: Check for any potential obstructions like trees or structures that could affect sunlight and air circulation in the chosen location. These obstructions can cast shadows over your flowers or create stagnant air pockets, both of which can hinder their growth.
- Soil Quality: Evaluate the soil quality and pH level in the area to ensure it’s suitable for growing a variety of flowers. Most flowers prefer well-draining soil with a slightly acidic to neutral pH. If the soil in your chosen location is lacking, consider creating a raised bed or amending the soil to improve its quality.
Preparing the Soil for Planting
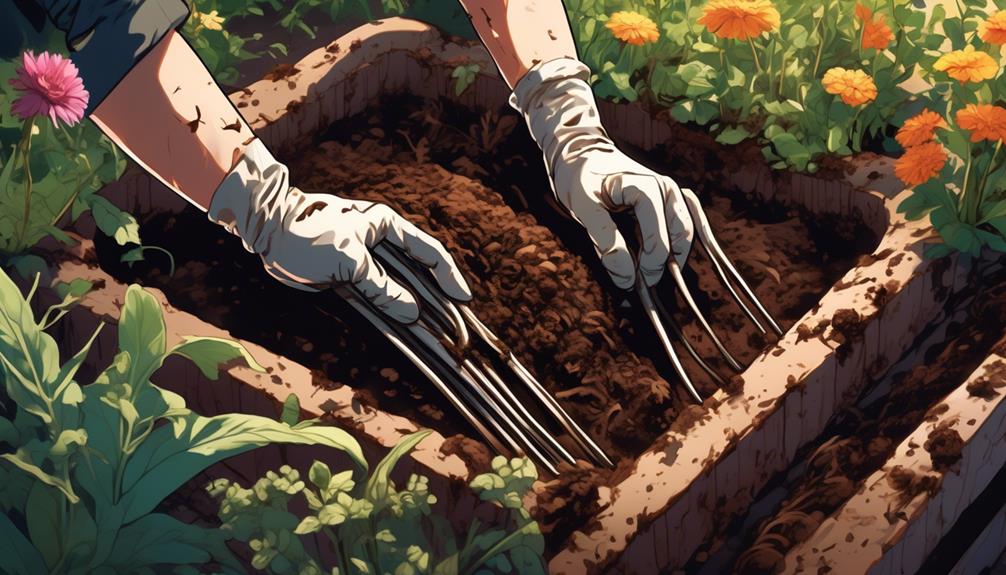
The first thing to do is to start preparing the soil for planting.
Clear the area by removing any existing vegetation or weeds. This step is essential to create a clean canvas for your cut flower patch.
Once the area is cleared, it’s time to loosen the soil.
Using a garden fork or tiller, gently break up the soil to ensure good aeration and drainage. This will provide a favorable environment for the flowers to grow and thrive.
To further enrich the soil, incorporate organic matter such as compost or well-rotted manure. These natural amendments will provide essential nutrients to the plants, promoting healthy growth and vibrant blooms.
Don’t forget to test the soil pH and make any necessary amendments. Different varieties of flowers prefer different pH levels, so it’s important to create an optimal growing environment for your specific cut flower patch.
Lastly, consider adding a layer of mulch to your prepared soil. Mulch helps retain moisture in the soil, reducing the need for frequent watering. It also acts as a barrier, suppressing weed growth and keeping the area tidy.
Choose a mulch that complements your cut flower patch, such as wood chips or straw.
Planting Your Cut Flower Seeds
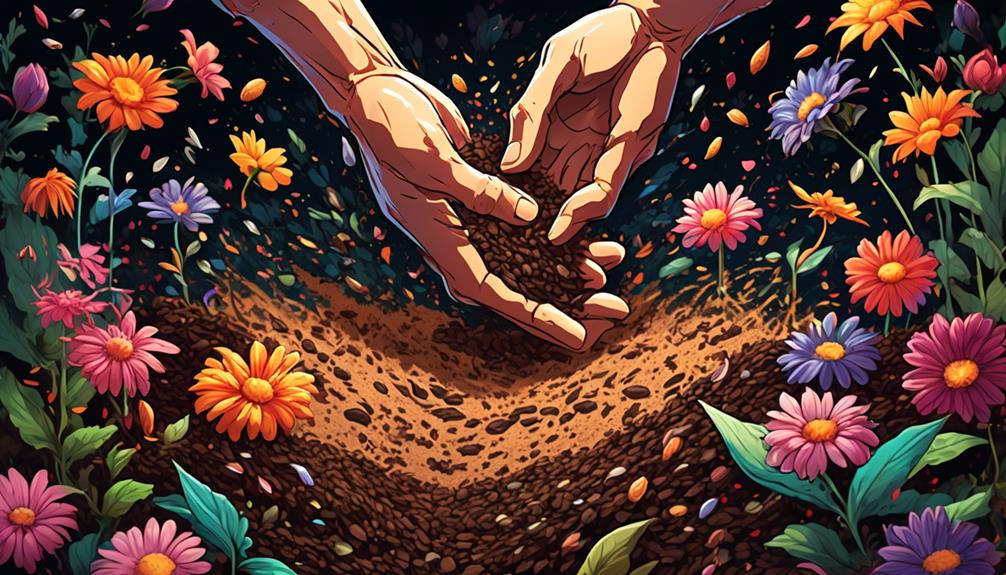
Now that you have prepared the soil for your cut flower patch, it’s time to start planting your chosen cut flower seeds. Follow these steps to ensure successful cultivation of your own vibrant and beautiful cut flower patch:
- Selecting the seeds: Begin by sourcing your cut flower seeds from trusted sources. Look for a variety of flowers that bloom at different times to ensure a continuous supply of fresh blooms.
- Preparing the area: Choose a sunny location for your cut flower patch, as most flowers thrive in full sunlight. Ensure the area has good drainage to prevent waterlogging. Clear any weeds or debris and plan paths for easy access.
- Making shallow drills: Use a rake or your hands to create shallow drills in the prepared soil. These drills should be about half an inch deep and spaced according to the planting instructions provided on the seed packets.
- Planting pattern: Consider the spacing requirements of each flower variety and place the seeds accordingly. This will prevent overcrowding and allow each plant to receive adequate sunlight and nutrients as they grow.
- Watering regularly: After planting the seeds, water the area gently to provide moisture for germination. Continue to water regularly, keeping the soil moist but not waterlogged. This will help the seeds sprout and establish strong roots.
Did you know? Flowers have been used for centuries in traditional medicine for their healing properties. From soothing teas to skin treatments, different flowers offer a variety of therapeutic benefits.
Providing Proper Watering and Care
Make sure to monitor soil moisture levels and provide regular watering for your cut flower patch to ensure proper hydration.
Watering your cut flower patch is essential for the health and longevity of your blooms. Different flower varieties have varying watering needs, so it’s important to consider these needs when creating a watering schedule.
In addition to regular watering, providing proper care for your cut flower patch is crucial. This includes removing weeds, deadheading flowers, and maintaining overall garden health.
Weeds compete with your flowers for water and nutrients, so regular weeding is necessary. Deadheading, or removing spent blooms, encourages the plant to produce more flowers.
It’s also important to monitor the overall health of your garden by checking for pests and diseases and taking appropriate action.
To conserve soil moisture and reduce the need for frequent watering, consider using mulch in your cut flower patch. Mulch helps retain moisture in the soil and suppresses weed growth. This will not only save you time and effort but also contribute to the overall health of your flowers.
If you want to ensure consistent and efficient watering for your cut flower patch, you may want to invest in a drip irrigation system. This system delivers water directly to the roots, minimizing water loss through evaporation and ensuring that each plant receives the right amount of water.
Harvesting and Enjoying Your Blooms
To ensure the longest vase life for your cut flowers, it’s best to harvest them in the morning when they’re most hydrated.
Here are some tips to help you harvest and enjoy your blooms from your own cut flower patch:
- Use sharp, clean tools: Using dull blades can crush the stem, making it difficult for the flower to take up water. So, always make sure your tools are sharp and clean before cutting your flowers.
- Remove foliage below the water line: To maintain a clean and beautiful arrangement, remove any foliage that will be below the water line. This not only gives your arrangement a cleaner look, but also prevents bacterial growth in the water.
- Place flowers in water immediately: After cutting your flowers, place them in water immediately. This will help to maintain their freshness and prevent wilting.
- Arrange flowers in vases with fresh water and flower food: When arranging your flowers, use vases filled with fresh water and add flower food. This will provide essential nutrients to your blooms and help to enhance their longevity.
- Change the water regularly: To keep your blooms looking fresh, make sure to change the water in your vases regularly. This will prevent the build-up of bacteria and keep your flowers hydrated.
‘Did you know? Adding a penny to the water in your vase can help prolong the life of your flowers? The copper in the penny acts as an antimicrobial agent, preventing bacterial growth and keeping your flowers fresh for longer.’
Extending the Flowering Season
Consider planting a variety of flowers that bloom at different times to ensure a continuous supply of beautiful blooms throughout the flowering season. By extending the flowering season, you can enjoy fresh cut flowers from your own patch for a longer period of time.
One way to do this is by deadheading spent flowers regularly. This simple task encourages new growth and prolongs the blooming period.
Another technique to try is succession planting.
Stagger the bloom times of different flower varieties by planting them at different intervals. This way, as one variety finishes blooming, another one will start, ensuring a continuous display of color in your cut flower patch.
It’s also important to research and select flowers known for their extended flowering season. Look for varieties that bloom for a long period of time, so you can maximize the length of time your cut flower patch is in bloom.
Additionally, consider using cold frames or row covers to protect delicate blooms and extend the growing season. These structures provide a little extra warmth and protection, allowing your flowers to thrive even when the weather starts to cool.
With these strategies in place, you can create a cut flower patch that brings beauty and joy to your home for an extended period of time.
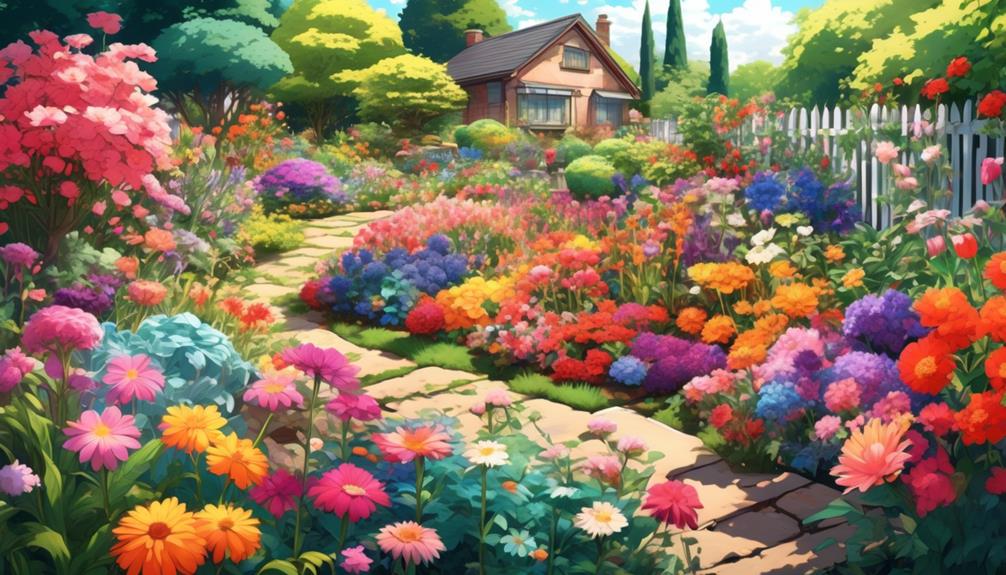
Bountiful Blooms
In the end, as you gather your bountiful blooms, your heart dances with the joy of accomplishment.
Your cut flower patch, a masterpiece of nature’s colors, has become a sanctuary of beauty and solace. With each carefully tended petal, you’ve created a haven for pollinators, a haven for your soul.
So continue on this journey, nurturing your flowers with knowledge and care, and let the rhythm of nature’s melody serenade your every step.
