How To Become More Self-Sufficient Without Starting a Full-Blown Farm…
Want to start preserving your harvest, making your own soap, or building a backyard root cellar — but not sure where to begin? “Homesteading Advice” gives you instant lifetime access to 35+ practical homesteading books on food preservation, veggie gardening, DIY natural cleaning products (save over $250 per year with this skill alone), brewing, off-grid energy, and a whole lot more…
Click Here To Check It Out Now!
The mushroom craze is off and running at high speeds and we are here to help you catch up. It can be a daunting task to add new ingredients to your diet, especially when it comes to mushrooms. You may be wondering “how do I cook mushrooms so they are not slimy or taste bad” or “where can I get mushrooms to cook at home”. Here is some good news: it is actually pretty easy to do with a little know-how.
Sometimes, the best gourmet mushrooms are ones that you grow yourself.
Trust us, it is easier than it sounds! Not only that, but it can be quite a bit of fun as well. In this article we will describe the process of growing gourmet mushrooms at home using mushroom liquid cultures and even give you a few recipes to help get you started.
How to Easily Grow Gourmet Mushrooms at Home Using Liquid Cultures
1. Choose Which Mushroom(s) to Grow
First things first, let’s decide which gourmet mushroom(s) you would like to grow. This may be based on materials you have available, the ease of growing, how fast they grow, or it can be based on the flavors you want in your recipes. Here is a quick guide to help you decide:
| Mushroom Type | Materials Needed | Ease of Growth | Speed of Growth | Flavor |
| Lion’s Mane | Hardwood sawdust and soy hulls | Medium | Medium | Savory , likened to seafood, meaty |
| Shiitake | Hardwood sawdust, bran, and logs | Medium | Medium | Rich, savory, earthy, deep umami |
| Oyster Mushroom | Pasteurized straw or coffee grounds | Easy | Fastest | Mild, delicate, somewhat seafood-like |
2. Purchase a Liquid Culture & Other Supplies.
When you have decided which mushroom to grow, now you need to purchase your supplies. The first thing you need to do is buy a mushroom liquid culture. These can be found on company websites and Amazon. Be sure to check reviews for reliable providers.
You will also need grains and substrate. Most people use rye grains. You can either buy these in a ready-to-go mushroom grow bag or fill your own bag with your purchased grains. The substrate you need will be determined by the mushroom species you are attempting to grow. Reference the table in the section above to determine which substrate material to purchase.
The final piece of material you need is either a grow bag for the substrate or a bucket with holes for the substrate. This is where the mushrooms will end up growing.
If you use a bucket, drill ½ inch holes about 4 inches apart around the middle and upper portion bucket. Cover these holes with micropore tape.
Drill more holes toward the bottom of the bucket to allow for moisture drainage. These should not be covered with micropore tape.
Supplies:
- Mushroom liquid culture
- Grains (rye is most common)
- Mushroom grow bag(s)
- Substrate (see table in section above)
- Bucket with holes and lid
- Micropore tape
3. Inoculate Grain
This is where the fun begins. First, fill your grow bag with grains (skip this if you bought a ready-made mushroom grow bag).
Now, open your liquid culture and sterilize the needle with alcohol and/or heat. Bacteria is your enemy so be as sterile as possible!
Inject 3mL of liquid culture per pound of grain. So if you have 3 pounds of grain, inject 9mL of liquid culture.
Shake the bag of grains to evenly distribute the liquid culture throughout.
Once you see about 30% of the grains have been colonized, you can break up the grains while still in the bag and shake it around. This will continue to spread the mycelium growth.
You can do the break and shake when the grains are 90% colonized.
Once the grains are 100% colonized, let them sit and continue to grow for about a week to ensure the interior grains are colonized just as well as the exterior grains.
4. Transfer to Substrate
Now it is time to fill your grow bag or bucket with your substrate and colonized grains. Again, refer to the table in section 1 above to determine your best substrate material. If you are using a bucket, make sure it has properly drilled holes to allow for airflow and moisture drainage. See section 2 for more specific details on the hole drilling. Make sure to seal the bag or put a lid on the bucket.
Mix the colonized grains and substrate in a 1:2 ratio (double the amount of substrate). Fill this mixture into your mushroom grow bag or bucket.
Let the bag or bucket sit in a warm and dark place while the mycelium colonizes the substrate. It should be about 70-80? consistently.
5. Induce Fruiting
Once the substrate is fully colonized (this can take a few weeks), it is time to induce fruiting! If you used a mushroom grow bag, cut some X’s every 5 inches up the sides of the bag. If you used a bucket, remove the micropore tape from the drilled holes and slightly remove the lid for airflow..
Now, move your bag or bucket to a place with indirect sunlight and high humidity. You may need to dedicate a special room in your house for this 2-3 week process. Humidity should be in the 90’s. If the substrate is looking at all dry, you can lightly mist it.
After about 7 days, you should see pins begin to form. After another 7 days, you should see full clusters begin to form from the pins.
6. Harvest
Lion’s Mane
Harvest when the teeth are about ¼ inch long
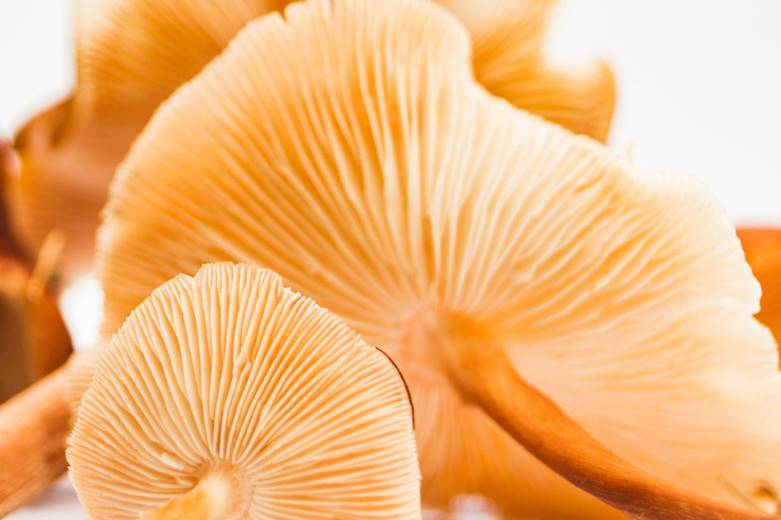
Photo by Timothy Dykes on Unsplash
Oyster
Harvest when the edges flatten out and before they begin to curl upward
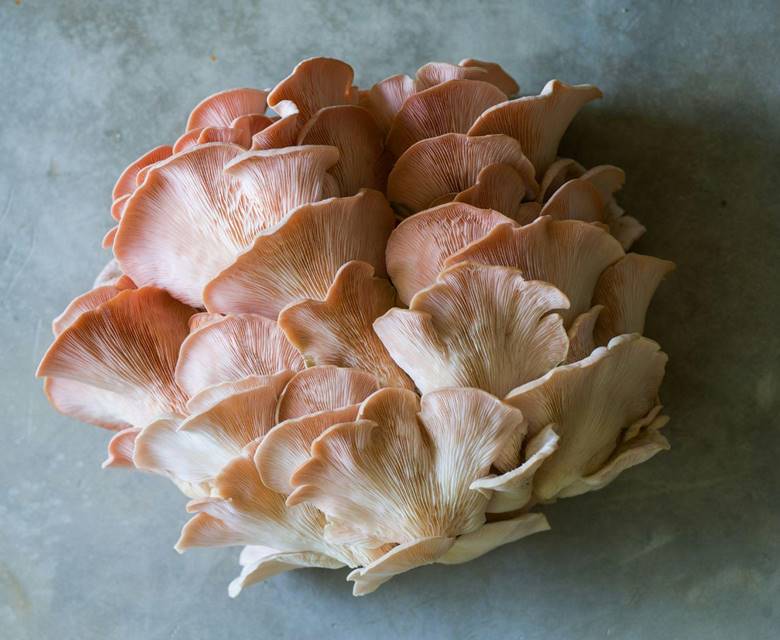
Photo by Odiseo Castrejon on Unsplash
Shiitake
Harvest when the caps are 50-75% open and the edges are still curled under
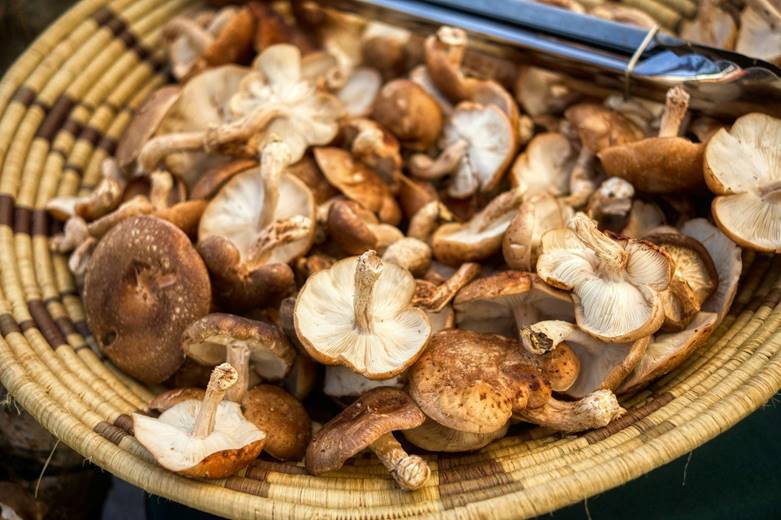
Photo by Yuval Zukerman on Unsplash
Gourmet Mushroom Recipes
Pan-Seared Lion’s Mane “Crab Cakes”
Ingredients
- 8 oz Lion’s Mane mushrooms, torn into chunks
- 1 tbsp olive oil or butter
- 1 clove garlic, minced
- 2 tbsp mayonnaise
- 1 tsp Dijon mustard
- 1/2 cup breadcrumbs (panko)
- 1 tbsp lemon juice
- Salt, pepper, and Old Bay seasoning to taste
Instructions
- Sauté the Lion’s Mane chunks in oil/butter for 5–7 minutes until lightly browned and all moisture is gone.
- Transfer to a bowl, shred them with a fork (they’ll look like crab meat).
- Mix in mayo, mustard, breadcrumbs, lemon juice, and seasoning.
- Form into small patties.
- Pan-fry 2–3 minutes per side until golden brown.
- Serve with lemon wedges or a spicy aioli.
Garlic Butter Oyster Mushrooms
Ingredients
- 10 oz Oyster mushrooms, torn or sliced
- 2 tbsp butter
- 1 tbsp olive oil
- 3 cloves garlic, minced
- 1 tbsp soy sauce
- Salt and black pepper to taste
- Fresh parsley (optional)
Instructions
- Heat butter and olive oil in a pan over medium-high heat.
- Add mushrooms in a single layer — don’t stir for 2–3 minutes so they sear.
- Stir and cook for another 3–4 minutes until golden brown.
- Add garlic and soy sauce, cook for 30 seconds more.
- Sprinkle with parsley and serve.
- Great on toast, steak, pasta, or as a topping for rice bowls.
Shiitake & Noodle Stir-Fry
Ingredients
- 6–8 Shiitake mushrooms, stems removed, sliced
- 6 oz rice noodles or soba
- 1 tbsp sesame oil
- 1 tbsp soy sauce
- 1 tbsp oyster sauce (or hoisin)
- 1 tsp ginger, grated
- 2 cloves garlic, minced
- Optional: green onions, sesame seeds
Instructions
- Cook noodles according to package instructions; drain.
- In a skillet, heat sesame oil and sauté garlic and ginger for 30 seconds.
- Add mushrooms and cook until tender (5–6 minutes).
- Add soy sauce, oyster sauce, and noodles; toss to coat.
- Garnish with green onions or sesame seeds.
- Add tofu or a fried egg for a fuller meal.
For more advice on growing mushrooms at home and a wide range of mushroom growing supplies be sure to check out MycologyMen.com
