How To Become More Self-Sufficient Without Starting a Full-Blown Farm…
Want to start preserving your harvest, making your own soap, or building a backyard root cellar — but not sure where to begin? “Homesteading Advice” gives you instant lifetime access to 35+ practical homesteading books on food preservation, veggie gardening, DIY natural cleaning products (save over $250 per year with this skill alone), brewing, off-grid energy, and a whole lot more…
Click Here To Check It Out Now!
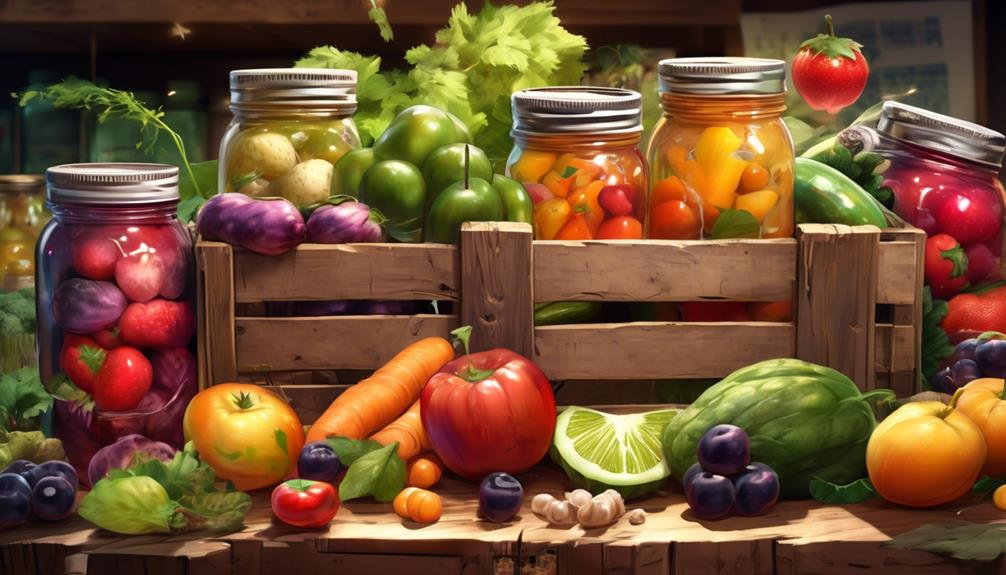
In the realm of fresh produce, time is an ephemeral force that can transform vibrant colors and crisp textures into a dull, wilted mess. But fear not, for there are ways to preserve the essence of these bountiful delights, without the need for canning.
Picture yourself effortlessly savoring the taste of summer, long after the season has bid its farewell. Now, how can you make this vision a reality? Well, my friend, the answers lie within the realm of freezing, dehydrating, quick pickling, and the art of creating delectable sauces and purees.
These easy methods will not only extend the shelf life of your produce, but also ignite your culinary creativity. Intrigued? Let’s explore the world of fresh produce preservation together.
Preserving Your Harvest…
- Blanch vegetables before freezing to preserve their quality and flavor.
- Ferment a variety of produce for food storage by submerging it in a salt and water brine and allowing it to sit at room temperature.
- Dehydrate vegetables and fruit using an oven or dehydrator to remove moisture and store them in airtight containers for longer shelf life.
- Preserve fruit in sugar by cooking it in a simple syrup and storing it in sterilized jars or containers.
- You can also use natural state food preserving techniques such as air drying or brining, and for something totally different, how about making your own wine?
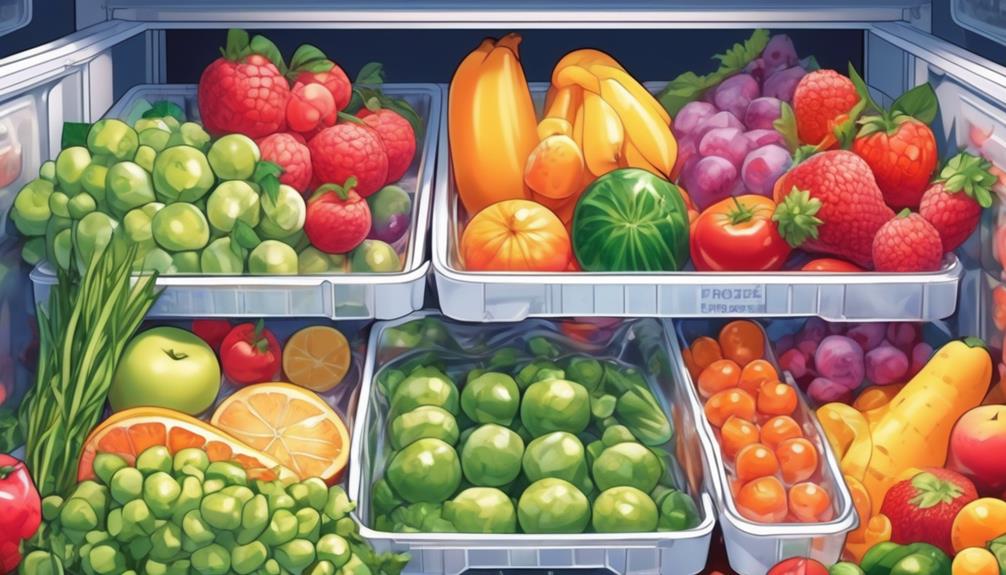
Freezing Fresh Produce
To freeze fresh produce, there are a few steps you need to follow.
First, blanch vegetables or rinse, dry, and chop fruits. This step is important for preserving the quality and flavor of your produce. Blanching vegetables involves briefly boiling them and then transferring them to an ice bath. This helps retain their color, texture, and nutrients. For fruits, rinsing and drying removes dirt and chopping them into smaller pieces makes freezing easier.
After prepping your produce, spread them out in a single layer on baking sheets. This ensures they freeze individually and don’t stick together. It also allows for faster freezing, preserving freshness.
Once frozen, transfer the fruits and vegetables to freezer bags or containers. Remove as much air as possible to prevent freezer burn. Don’t forget to label the bags or containers with the date and type of produce.
Freezing fresh produce is a great way to reduce food waste and extend the shelf life of your favorite fruits and vegetables. It’s a simple and effective method that allows you to enjoy the taste and nutritional benefits of fresh produce all year round.
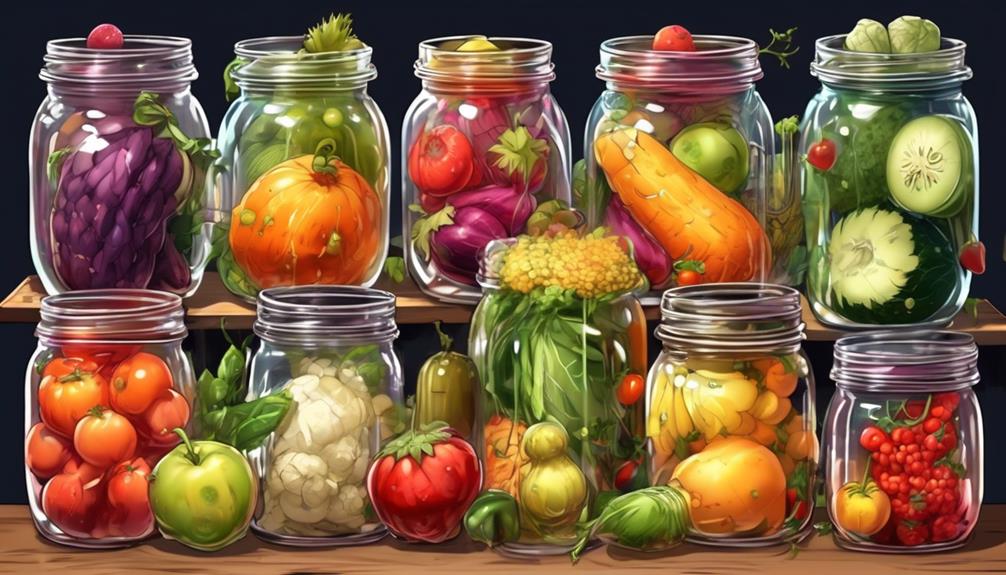
Fermenting for Food Storage
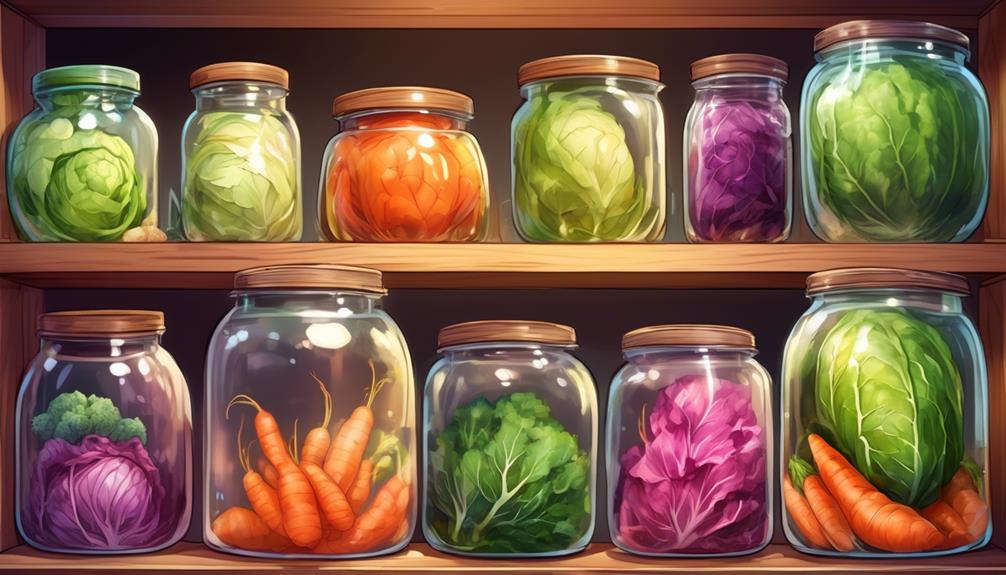
Preserve your fresh produce without canning by exploring the traditional method of fermenting for food storage. Fermenting is an easy way to preserve food while adding unique flavors to your dishes. Not only does it keep your produce edible and nutritious, but it also provides probiotic benefits.
Popular fermented foods include sauerkraut and kimchi, which are packed with good bacteria that promote a healthy gut.
To start fermenting, you’ll need proper fermentation vessels and techniques.
Begin by slicing or shredding your produce into thin pieces. Place them in a single layer in your fermentation vessel, ensuring they’re fully submerged in a brine made of salt and water. Let it sit at room temperature for a few days to several weeks, depending on the desired level of fermentation.
During this time, the bacteria present on the produce will convert sugars into lactic acid, preserving the food and giving it its distinct tangy flavor.
Fermenting is a versatile food preservation method that allows you to store root vegetables, fresh herbs, and even protein sources. It’s easy to preserve a variety of produce through fermentation, and the end result can be enjoyed for months.
Fermenting Vegetables
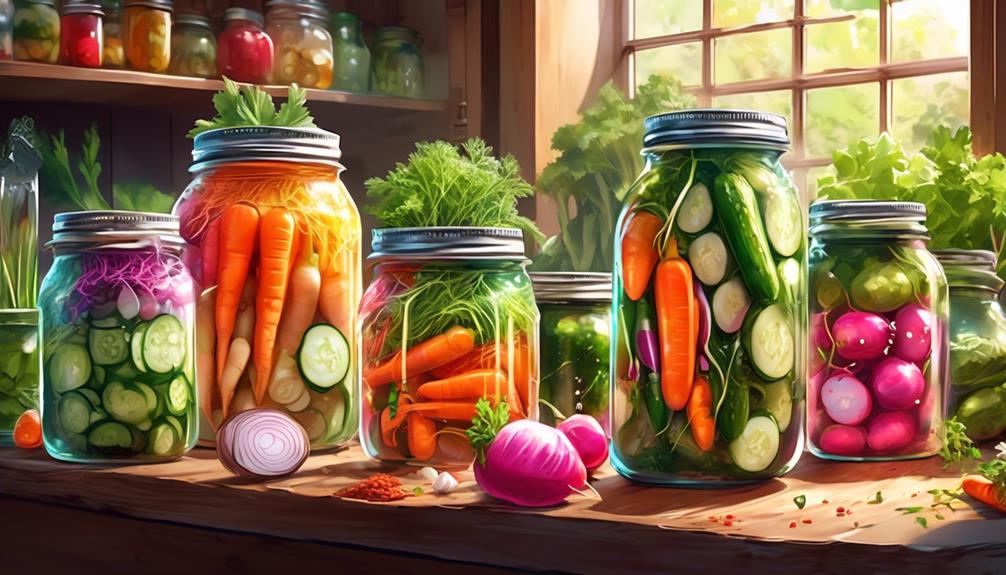
Here’s a list of some of the different types of vegetables that you can ferment for food storage:
| Vegetable | Description | Ingredients | Approximate Time to Ferment |
|---|---|---|---|
| Cabbage | Classic vegetable for sauerkraut, rich in probiotics | Cabbage, water, salt | 1-4 weeks |
| Carrots | Adds a sweet and tangy flavor to fermented veggie blends | Carrots, water, salt | 1-4 weeks |
| Cucumbers | Perfect for making pickles, crunchy and flavorful | Cucumbers, water, salt, dill | 1-3 weeks |
| Radishes | Adds a peppery and tangy kick to fermented recipes | Radishes, water, salt | 1-2 weeks |
| Beets | Earthy and vibrant, great for salads and side dishes | Beets, water, salt, spices (optional) | 1-4 weeks |
| Green Beans | Crisp and versatile, can be enjoyed as a snack or side | Green beans, water, salt, spices | 1-4 weeks |
| Peppers | Adds a spicy and tangy flavor to fermented dishes | Peppers, water, salt, garlic (optional) | 1-4 weeks |
| Cauliflower | Mild and slightly tangy, a great addition to veggie mixes | Cauliflower, water, salt, spices | 1-3 weeks |
| Tomatoes | Sweet and tangy, perfect for salsas and relishes | Tomatoes, water, salt, herbs (optional) | 1-4 weeks |
| Onions | Sharp and pungent, adds depth of flavor to fermented foods | Onions, water, salt, spices (optional) | 1-4 weeks |
Please note that the approximate time to ferment may vary depending on factors such as temperature and personal preference. It’s always a good idea to taste the fermented vegetables regularly to determine your desired level of fermentation.
Fermenting Fruits
Here’s a list of some of the different types of fruits that you can ferment for food storage:
| Fruit | Description | Ingredients | Approximate Time to Ferment |
|---|---|---|---|
| Apples | Crisp and juicy fruit with a sweet or tart flavor | Apples, water, salt, and optional spices | 1-2 weeks |
| Grapes | Small, round fruits with a sweet or tart taste | Grapes, water, salt, and optional spices | 1-2 weeks |
| Plums | Small, juicy fruits with a sweet or tart flavor | Plums, water, salt, and optional spices | 1-2 weeks |
| Peaches | Soft and juicy fruits with a sweet and fragrant taste | Peaches, water, salt, and optional spices | 1-2 weeks |
| Cherries | Small, round fruits with a sweet or tart taste | Cherries, water, salt, and optional spices | 1-2 weeks |
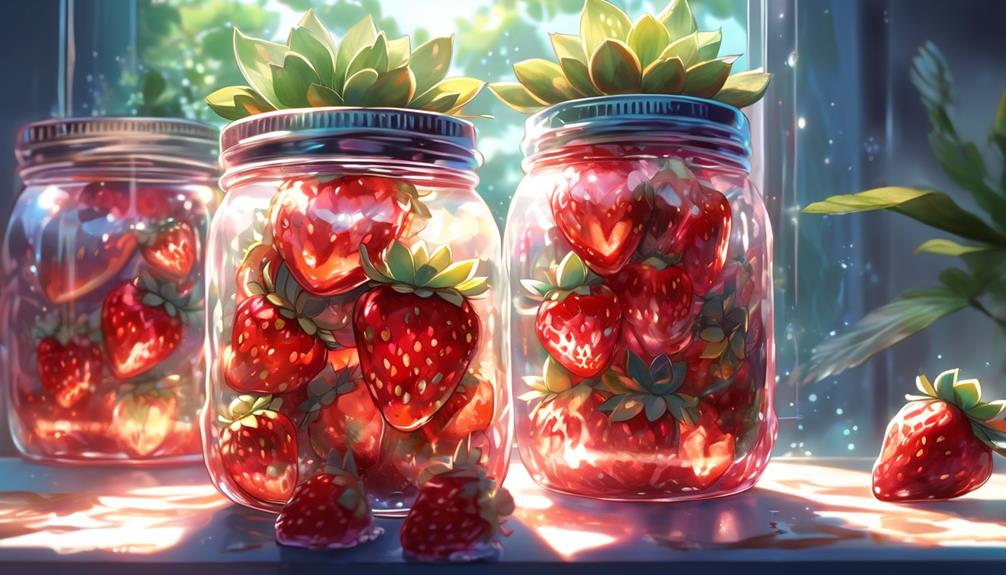
| Berries (e.g., strawberries, raspberries) | Small, colorful fruits with a sweet or tangy taste | Berries, water, salt, and optional spices | 1-2 weeks |
| Pineapple | Tropical fruit with a sweet and tangy flavor | Pineapple, water, salt, and optional spices | 1-2 weeks |
| Mangoes | Sweet and juicy tropical fruits | Mangoes, water, salt, and optional spices | 1-2 weeks |
| Pears | Juicy fruits with a sweet or slightly grainy texture | Pears, water, salt, and optional spices | 1-2 weeks |
| Oranges | Citrus fruits with a tangy and refreshing flavor | Oranges, water, salt, and optional spices | 1-2 weeks |
These are just a few examples, and there are many other vegetables & fruits that can be fermented for food storage. So, if you’re looking to preserve your fresh produce without canning, give fermenting a try and unlock a world of delicious flavors and extended shelf life.
Dehydrating Vegetables and Fruit
When preserving fresh produce without canning, one effective method to consider is dehydrating vegetables and fruit. Dehydrating is a simple yet efficient way of removing moisture from food, allowing you to extend its shelf life. Whether you have a surplus of fresh garden vegetables or want to preserve the abundance of seasonal fruits, dehydrating is a versatile option.
To dehydrate vegetables and fruit, you can either use your oven on low temperatures or invest in a food dehydrator. If you choose to use your oven, set it to the lowest temperature possible and spread the sliced or chopped produce on a baking sheet. Leave the oven door slightly ajar to allow moisture to escape. With a dehydrator, follow the manufacturer’s instructions for the specific vegetables and fruits you’re preserving.
Once your vegetables and fruit have been dehydrated, it’s essential to store them properly. Place them in airtight containers or vacuum seal them using a food saver. Store them in a cool, dry location, away from direct sunlight.
Alternatively, you can store them in the freezer to prolong their shelf life even further.
Dehydrating vegetables and fruit provides you with a convenient way to preserve the freshness of your garden produce. By removing moisture, you can enjoy the intense flavors of sun-dried tomatoes, chewy dried apples, or crispy zucchini chips, even in humid climates. So why not give dehydrating a try and savor the taste of your favorite fruits and vegetables all year round?
‘Did you know? Dehydrating food has been practiced for thousands of years, with ancient civilizations using the sun and wind to dry their produce. It was a way to ensure a steady food supply and prevent spoilage before the invention of modern preservation methods.’
Winemaking With Fresh Produce

For a fun and unique preservation method, consider making homemade wine using fresh produce. Not only does it allow you to make use of excess fruits and vegetables, but it also gives you the chance to experiment with different flavors and create your own signature wines.
Here are some tips to help you get started on your winemaking journey:
- Choose your produce: Select ripe and flavorful fruits or vegetables for your wine. Popular choices include grapes, apples, peaches, and berries. You can even mix different fruits to create interesting blends.
- Follow a recipe: Research and follow specific recipes and techniques for winemaking with fresh produce. This will ensure that you have the right proportions of ingredients and the correct steps to ferment the wine properly. See: Making Your Own Country Wine at Home
- Invest in equipment: Consider investing in winemaking equipment such as fermenting vessels and airlocks. These tools will help you create a controlled environment for fermentation and prevent contamination.
- Proper storage: Once your wine is ready, store it properly to preserve its freshness and flavor. Use dark glass bottles and store them in a cool and dry place. This will allow the wine to age and develop even better over time.
Making homemade wine can be a rewarding and enjoyable experience, especially if you have a big family or love entertaining guests. So why not try your hand at winemaking with fresh produce and create your very own delicious creations? Cheers to preserving fresh produce in a unique and tasty way!
Preserving Fruit in Sugar
If you’re looking for another delicious and simple way to preserve your fresh produce, consider preserving fruit in sugar.
This method involves making a simple syrup by dissolving sugar in water and bringing it to a simmer.
Once the syrup is ready, you can add your chosen fruit, such as peaches, pears, or cherries, and cook until the fruit is slightly tender but not mushy.
After allowing the fruit to cool, you can pack it into sterilized jars and cover it with the syrup, leaving some headspace. Seal the jars and store them in a cool, dark place.
Preserving fruit in sugar is a quick and tasty way to enjoy the flavors of summer all year round. The sugar acts as a natural preservative, extending the shelf life of the fruit. The syrup also adds a sweet and syrupy touch to the fruit, making it a delightful treat.
Whether you choose to enjoy the preserved fruit on its own, as a topping for yogurt or ice cream, or even in baked goods, it’s an easy and satisfying way to make your fresh produce last longer.
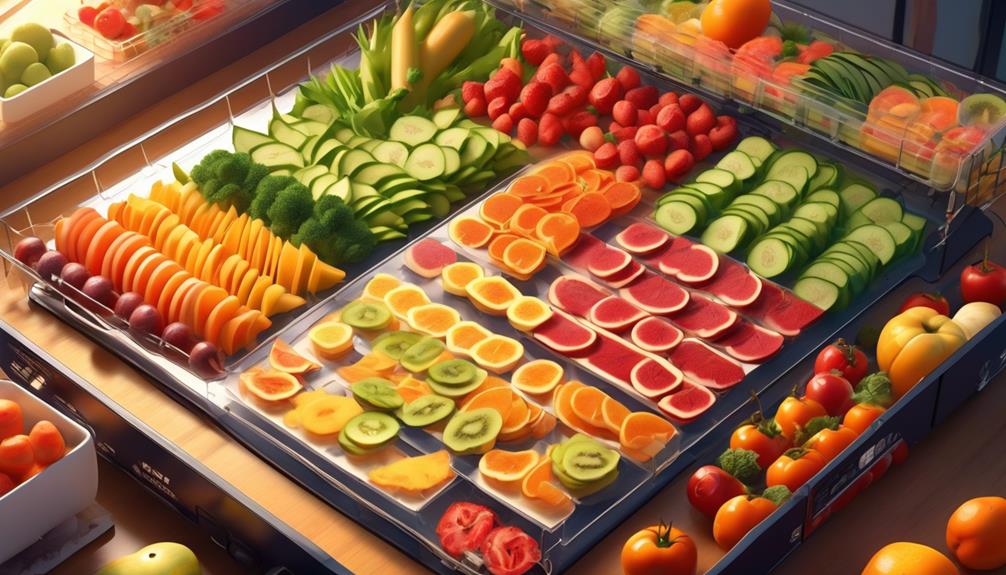
Pickling Fresh Produce
To pickle fresh produce, you can preserve vegetables and even fruit in vinegar, creating a high-acid environment that prevents the growth of dangerous microbes.
Pickling is a simple and effective way to preserve your garden’s bounty without the need for canning. Here are four easy ways to pickle fresh produce:
- Start with the right vegetables: Choose firm and crisp vegetables like cucumbers, carrots, cauliflower, and green beans. Slice or chop them into the desired shape and size.
- Prepare the brine: In a saucepan, combine vinegar, water, salt, sugar, and spices like dill seeds, peppercorns, or garlic. Bring the mixture to a boil, stirring until the salt and sugar dissolve.
- Pack the vegetables: Place the prepared vegetables into clean jars, leaving some headspace. Pour the hot brine over the vegetables, ensuring they’re fully submerged. You can add additional flavors like fresh herbs or chili flakes for an extra kick.
- Store and enjoy: Seal the jars tightly and let them cool to room temperature. Then, refrigerate for at least 24 hours to allow the flavors to develop. Pickled vegetables can last for several weeks in the refrigerator, becoming a delicious addition to sandwiches, salads, or charcuterie boards.
Pickling Cucumbers
Here’s a simple recipe for pickling cucumbers:
Ingredients:
- 4-5 medium-sized cucumbers
- 1 cup white vinegar
- 1 cup water
- 2 tablespoons pickling salt
- 2 cloves of garlic, minced
- 1 tablespoon dill seeds (optional)
- 1 teaspoon black peppercorns (optional)
Instructions:
- Start by washing the cucumbers thoroughly and slicing them into desired shapes, such as slices or spears. Place the cucumbers in a clean glass jar or container.
- In a saucepan, combine the white vinegar, water, and pickling salt. Bring the mixture to a boil, stirring until the salt is fully dissolved.
- Remove the saucepan from heat and add the minced garlic, dill seeds, and black peppercorns to the pickling liquid. Stir well to combine.
- Pour the hot pickling liquid over the cucumbers in the jar, making sure to completely cover them. Leave a little headspace at the top of the jar.
- Allow the pickles to cool to room temperature, then tightly seal the jar with a lid.
- Place the jar in the refrigerator and let the pickles sit for at least 24 hours to develop their flavor. They will become more flavorful the longer they sit. Enjoy your homemade pickled cucumbers!
Note: This recipe makes refrigerator pickles, which means they are not canned and should be stored in the refrigerator. They can last for several weeks if properly stored.
‘Did You Know? Pickles have a long history and have been enjoyed for thousands of years. The process of pickling was developed as a way to preserve food before the days of refrigeration. In fact, the word ‘pickle’ comes from the Dutch word ‘pekel,’ which means ‘brine’ or ‘salt solution.’ So, when you pickle fresh produce, you’re actually carrying on a tradition that dates back centuries!’
Natural State Food Preservation
Preserving fresh produce in its natural state is a simple and effective method that allows you to enjoy the flavors and nutrients of your garden’s bounty for an extended period of time. By using techniques like air drying and salt brining, you can easily preserve your fruits and vegetables without the need for canning.
Air Drying
One method of natural state food preservation is air drying.
This involves removing moisture from the produce to prevent spoilage. Simply wash your fruits or vegetables, cut them into thin slices, and spread them out on a drying rack or baking sheet.
Place them in a well-ventilated area, away from direct sunlight, and let them dry for several days until they’re completely dehydrated. Once dry, store them in an airtight container to maintain their freshness.
Salt Brining
Another method is salt brining, which is particularly useful for preserving vegetables like green beans. Start by washing and trimming the beans, then blanch them in boiling water for a few minutes.
Drain and cool them before placing them in a jar. In a separate container, prepare a brine solution by dissolving salt in water. Pour the brine over the beans, ensuring they’re fully submerged. Seal the jar and store it in a cool, dark place for a few weeks to allow the flavors to develop.
In addition to beans, here are a few more vegetables that you can preserve using the salt brining method:
| Vegetable | Preparation | Brine Ratio | Brining Time |
|---|---|---|---|
| Cucumbers | Sliced or spears | 1:1 | 2-3 days |
| Carrots | Sliced or sticks | 1:1 | 2-3 days |
| Green Beans | Trimmed and cut | 1:1 | 2-3 days |
| Radishes | Sliced or whole | 1:1 | 1-2 days |
| Cauliflower | Florets or small pieces | 1:1 | 2-3 days |
| Bell Peppers | Sliced or strips | 1:1 | 2-3 days |
| Jalapenos | Sliced or whole | 1:1 | 2-3 days |
| Onions | Sliced or rings | 1:1 | 2-3 days |
| Beets | Sliced or quarters | 2:1 | 2-3 days |
| Cabbage | Shredded or wedges | 2:1 | 2-3 days |
Note: The brine ratio refers to the ratio of salt to water (by weight). A 1:1 ratio means equal parts salt and water, while a 2:1 ratio means two parts salt to one part water.
Remember to adjust the brining time based on your preferred level of crispness and flavor intensity. Also, make sure to follow proper brining techniques and guidelines to ensure safe preservation.
Enjoy Your Produce…
Preserving fresh produce using different methods is a simple and effective way to extend its shelf life and reduce food waste. By freezing, dehydrating, pickling, or making sauces and purees, you can enjoy the taste of summer all year round.
These easy methods allow you to create homemade spice blends, dried fruits, savory condiments, and more. So don’t let your excess produce go to waste, try these preservation techniques and savor the flavors for months to come.
