
How To Become More Self-Sufficient Without Starting a Full-Blown Farm…
Want to start preserving your harvest, making your own soap, or building a backyard root cellar — but not sure where to begin? “Homesteading Advice” gives you instant lifetime access to 35+ practical homesteading books on food preservation, veggie gardening, DIY natural cleaning products (save over $250 per year with this skill alone), brewing, off-grid energy, and a whole lot more…
Click Here To Check It Out Now!
Imagine you’re a potato lover who has just harvested a bountiful crop from your garden. You’re thrilled with the abundance, but you’re also concerned about how to keep your potatoes fresh for as long as possible.
That’s where the art of canning comes in.
By canning potatoes for long-term storage, you can ensure that your precious spuds stay delicious and nutritious for months on end. But how exactly do you go about canning potatoes?
In this discussion, we’ll guide you through the process, from selecting the right potatoes to sealing the jars, leaving you with a pantry stocked with preserved potatoes that are ready to be transformed into mouthwatering dishes.
So, let’s dive in and discover the secrets of canning potatoes for long-term storage.
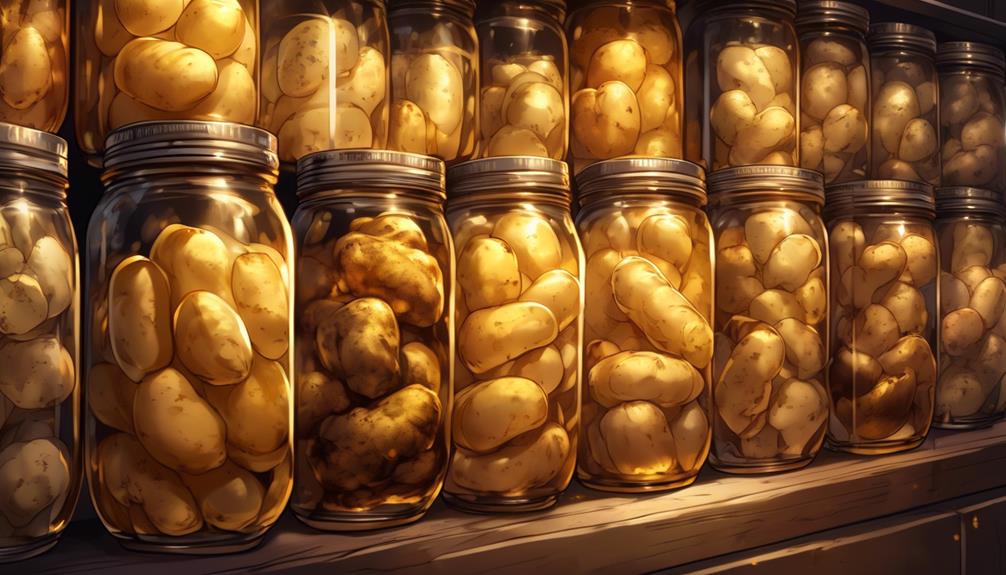
Canning Potatoes
- Pressure canning is necessary for canning potatoes as they are low acid foods.
- Waxy or boiling types of potatoes such as Yukon Gold or Red Bliss are recommended for canning.
- Peel the potatoes to reduce the presence of bacteria.
- Cut larger potatoes into 1-2 inch chunks for even cooking.
- Canned potatoes remain edible for up to 5 years but for the home canner its recommended they be used within 12 to 18 months.
Pressure Canning Basics
To ensure the safety and long-term storage of your canned potatoes, it’s crucial to understand the basics of pressure canning. Pressure canning is necessary for potatoes because they’re low acid foods and require high heat to kill bacteria effectively.
When selecting potatoes for canning, opt for waxy or boiling types as they hold their shape better during the canning process. Before canning, it’s essential to peel the potatoes to reduce the presence of bacteria. Once peeled, cut the larger potatoes into 1- to 2-inch chunks to ensure even cooking and distribution of heat.
To begin the pressure canning process, you’ll need a pressure canner.
Fill the canner with the appropriate amount of water as specified in the manufacturer’s instructions. Place the prepared potato chunks into clean, sterilized jars, leaving a 1-inch headspace. Add a pinch of salt to each jar to enhance the flavor.
Next, carefully place the jars in the canner, ensuring they’re properly spaced to allow for proper circulation of heat. Lock the canner lid securely in place and follow the instructions to bring the canner to the recommended pressure.
Once the canner is at the correct pressure, start the processing time as specified for your altitude. Process the jars for the recommended number of minutes to ensure the potatoes are thoroughly cooked and safe for long-term storage.
After the designated processing time, carefully remove the jars from the canner and place them on a towel-lined surface to cool. As the jars cool, you’ll hear a satisfying ‘pop’ sound, indicating a successful seal. Once completely cool, store the sealed jars in a cool, dark place for optimal long-term storage.
‘Did you know? Pressure canning was developed in the 19th century as a way to safely preserve food for long periods of time, revolutionizing the way we store and consume perishable goods.’
Choosing the Right Potatoes
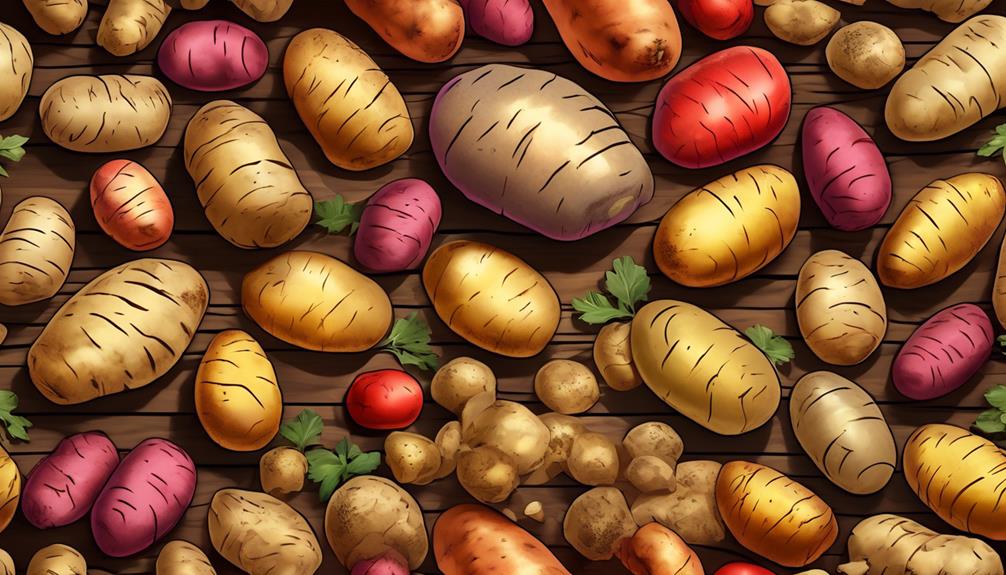
When it comes to canning potatoes, selecting the right variety is crucial for ensuring the best results and long-term storage. The potato varieties you choose will greatly impact the texture and taste of your canned potatoes.
For canning purposes, it’s recommended to choose waxy or boiling types of potatoes. These varieties have a lower starch content, making them less likely to become mushy when canned.
Some popular potato varieties that are suitable for canning include red-skinned, white round, and gold potatoes. These varieties have a firmer texture and hold their shape well when cooked. They’re also known for their delicious flavor, making them a great choice for canning.
On the other hand, it’s best to avoid starchy potato varieties like russets when canning. These potatoes have a high starch content, which can result in a mushy texture when canned. However, if you prefer the taste of russets, you can still use them for canning, but it’s important to test their suitability beforehand.
For canning whole potatoes, new potatoes work exceptionally well.
These small, young potatoes have a thin skin and a creamy texture, making them perfect for canning whole.
Preparing the Potatoes

When preparing the potatoes, start by peeling them to reduce bacteria.
After peeling, cut larger potatoes into 1- to 2-inch chunks to ensure even cooking and canning. It is also recommended to par-boil the potatoes for 10 minutes to partially cook them.
This step helps to maintain their texture and flavor during long-term storage.
To provide a visual representation of the potato preparation process, refer to the table below:
| Preparation Steps | Tips |
|---|---|
| Choose waxy potatoes | Yukon Gold, Red Bliss |
| Peel the potatoes | Reduces bacteria |
| Cut into chunks | 1-2 inch size |
| Par-boil the potatoes | Partially cook for 10 minutes |
| Fill jars with hot potatoes | Leave 1 1/2 inch headspace |
Once the potatoes are prepared, it is time to move on to the next step of the canning process, which involves using a pressure canner to preserve the potatoes for long-term storage.
“Did You Know? Potatoes were first domesticated in the Andes region of South America over 7,000 years ago, making them one of the oldest cultivated crops in the world.”
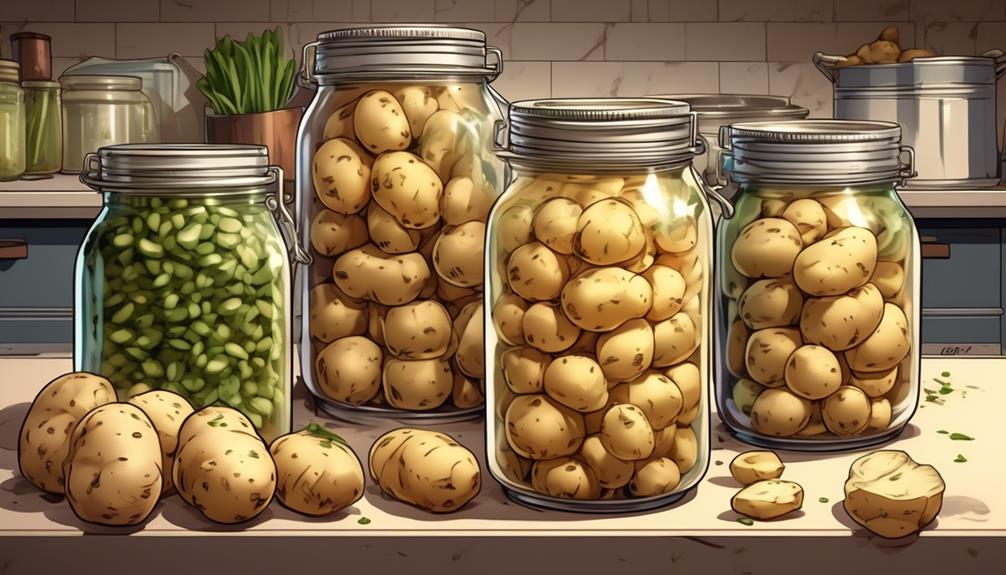
Canning Whole or Chunked Potatoes
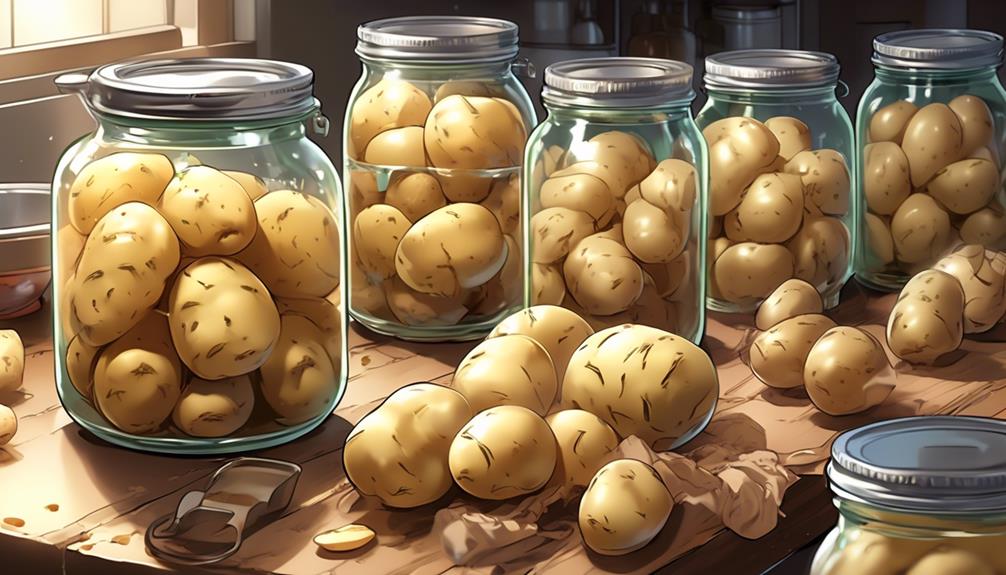
To can whole potatoes, fill sterilized jars with the prepared potatoes, leaving about 1 inch of headspace. Add the canning liquid, which can be water or a light salt brine.
Use a jar lifter to carefully place the jars into the pressure canner, following the manufacturer’s instructions. Process the jars at the recommended pressure and time according to a trusted canning recipe.
For chunked potatoes, you’ll need a canning funnel to pack the jars tightly with the prepared potatoes. Again, leave 1 inch of headspace and add the canning liquid. Place the jars in the pressure canner and process them accordingly.
Once the processing is complete, allow the jars to cool naturally. Check the seals before storing them in a cool, dark place like a root cellar or unheated garage. Remember to avoid using plastic containers for long-term storage.
Step-by-Step Guide to Pressure Canning
To successfully pressure can your potatoes for long-term storage, follow this step-by-step guide:
- Pre-cook the potatoes in boiling water: Start by peeling and cutting the potatoes into desired chunks. Place them in a large pot of boiling water and cook for 2 minutes. This helps to partially cook the potatoes and ensure even processing in the pressure canner.
- Pack the cooked potatoes into canning jars: Using a slotted spoon, carefully transfer the potatoes into quart jars, leaving 1-inch headspace at the top. Gently press down on the potatoes to remove any air pockets.
- Add boiling water and optional salt: Fill the jars with boiling water, leaving 1-inch headspace. If desired, add 1 teaspoon of salt per quart jar for flavoring. Use a non-metallic utensil to remove any air bubbles and adjust the headspace if needed.
- Prepare the canning jars: Wipe the rims of the jars with a clean, damp cloth to remove any food debris or moisture. Place the canning lids on top and screw on the bands fingertip-tight.
- Process the jars in a pressure canner: Place the pressure canner on the stove and add boiling water according to the manufacturer’s instructions. Insert the canning rack. Load the jars into the canner, ensuring they are not touching. Secure the lid and follow the canner’s instructions for processing time, based on jar size and altitude.
“Did You Know? Pressure canning is a safe and effective method for preserving various foods, including potatoes, by using high temperatures and pressure to kill bacteria and other microorganisms. This method allows you to store your favorite foods for an extended period without compromising their taste or quality.”
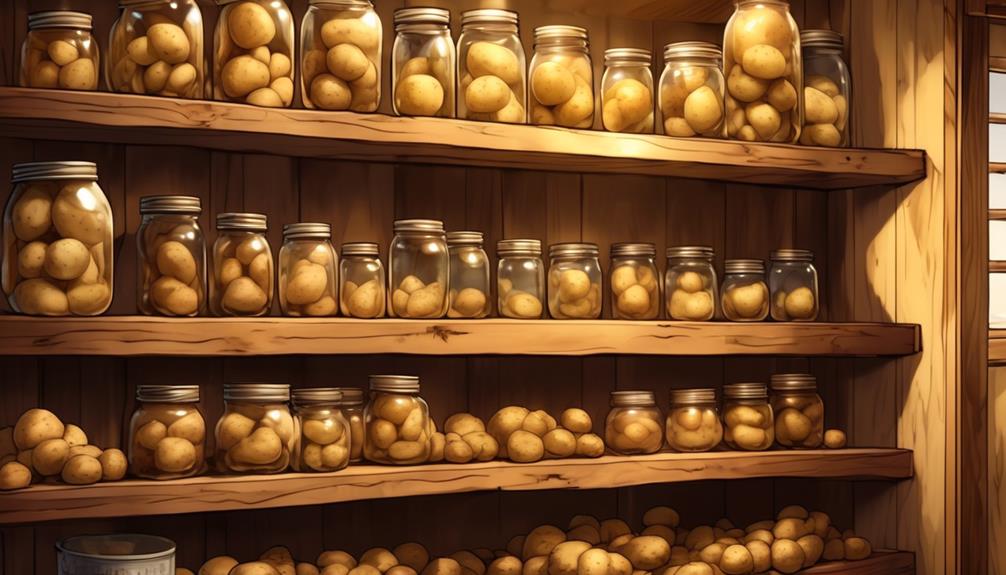
Storing Canned Potatoes for Long Term Use
If you’ve successfully pressure canned your potatoes, it’s important to know how to store them for long-term use while maintaining their quality. Here are some tips to help you store your canned potatoes properly:
Choose the right storage location:
- Find a cool and dark place like a root cellar or an unheated garage to store your canned potatoes. This environment will help maintain their flavor and texture for an extended period.
- Ensure that the storage area remains consistently cool, ideally between 45-55°F (7-13°C), to prevent spoilage and sprouting.
Properly package your canned potatoes:
- Use quart-sized jars to store your canned potatoes. These jars are ideal for long-term storage and can hold a substantial amount of potatoes.
- Make sure the jars are tightly sealed to prevent air and moisture from entering, which can lead to spoilage.
‘Did you know? Canned potatoes were a staple food during World War II due to their long shelf life and nutritional value. They provided a convenient and reliable source of sustenance for soldiers and civilians alike.’
Watch The Process…
Canning potatoes for long-term storage is a practical and convenient way to preserve them while retaining their nutritional value and flavor. By following the steps mentioned and storing them in a cool, dark place, you can ensure a reliable food supply. Whether used in various dishes or enjoyed on their own, canned potatoes provide a tasty and reliable option for future meals.
