
How To Become More Self-Sufficient Without Starting a Full-Blown Farm…
Want to start preserving your harvest, making your own soap, or building a backyard root cellar — but not sure where to begin? “Homesteading Advice” gives you instant lifetime access to 35+ practical homesteading books on food preservation, veggie gardening, DIY natural cleaning products (save over $250 per year with this skill alone), brewing, off-grid energy, and a whole lot more…
Click Here To Check It Out Now!
By chance, have you ever walked into a room and immediately been greeted by a delightful aroma that instantly put you at ease? You may have wondered how to recreate that inviting ambiance in your own home.
Well, you’re in luck! Today, we’ll explore a simple yet effective way to make essential oil tea lights that will infuse your living space with soothing scents.
So, whether you’re a fan of lavender’s calming properties or the invigorating freshness of peppermint, keep reading to discover how to elevate your home with these homemade tea lights.
Tea Light Candles…
- Acquire the necessary supplies such as soy wax flakes, tea light candle tins, cotton wicks, and essential oils for making essential oil tea lights.
- Use high-quality soy wax flakes for a clean and long-lasting burn, and tea light candle tins for a cozy ambiance.
- Ensure you have cotton wicks for a steady flame and even burn, and choose various essential oils like lavender, eucalyptus, or citrus for personalized aroma.
- Follow the steps of melting the wax, adding essential oils, preparing the tea light cups, and pouring and setting the tea lights to create your own homemade essential oil tea lights for your home.
Gathering Supplies
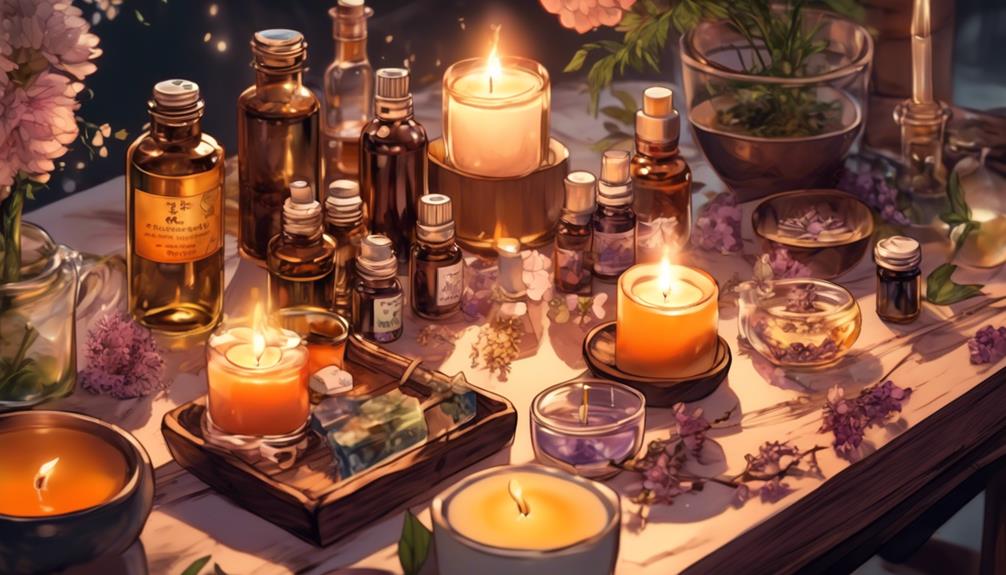
To gather the necessary supplies for making essential oil tea lights, you’ll need to acquire soy wax flakes, tea light candle tins, cotton wicks, and essential oils. These supplies are essential in creating aromatic and soothing tea lights that will enhance the atmosphere of your home.
Start by finding high-quality soy wax flakes, as they provide a clean and long-lasting burn. Tea light candle tins are perfect for housing the wax and creating a cozy ambiance. Ensure that you have cotton wicks to ensure a steady flame and even burn.
When it comes to essential oils, the possibilities are endless. Choose from a variety of scents like lavender, eucalyptus, or citrus to create a personalized and inviting aroma. Remember to use caution when handling the essential oils, as they’re highly concentrated.
With these supplies in hand, you’ll be on your way to creating beautiful tea lights that not only illuminate your space but also fill it with delightful scents. So, gather these essentials and let your creativity shine through!
‘Did You Know? Tea lights were originally used as a way to keep teapots warm in Japan, a practice dating back to the 12th century. They’ve since evolved into popular decorative and aromatic additions to homes worldwide.’
Melting the Wax
To begin melting the wax for your essential oil tea lights, weigh out 1 lb (454 g) of GB 464 soy wax and heat it to 185ºF (85°C) using a double boiler or hot plate. This step is crucial in ensuring that the wax melts evenly and creates a smooth and consistent texture for your tea lights.
Once the wax has reached the desired temperature, it will begin to liquefy, transforming from solid to liquid form. As you watch the wax melt, you can see it slowly turning into a clear, glossy liquid, ready to be infused with the delightful scents of essential oils.
As the wax melts, it’s important to stir it gently to ensure even heat distribution and to prevent any clumps or hot spots from forming. This stirring motion helps to incorporate the essential oils and dye evenly throughout the wax, ensuring that each tea light will have a consistent fragrance and color.
Adding Essential Oils
Now that the wax has been melted and prepared, it’s time to enhance your scented tea lights with a delightful fragrance by adding essential oils. Essential oils are a wonderful way to infuse your candles with natural scents that can create a relaxing and inviting atmosphere in your home.
When choosing essential oils for your tea lights, it’s important to select high-quality oils that are safe for candle use. Plant-based soy wax is an excellent choice for making scented tea lights because it’s non-toxic and burns cleanly. This ensures that the fragrance from the essential oils isn’t compromised by any harmful chemicals.
Essential Oils You Can Add
There are many different types of essential oils that you can add to your tea light candles. Here are just a few ideas you can try, along with their unique benefits, but feel free to experiment:
- Lavender: Lavender essential oil has a calming and soothing effect, making it perfect for relaxation and stress relief.
- Peppermint: Peppermint essential oil has a refreshing and energizing scent, which can help improve focus and mental clarity.
- Eucalyptus: Eucalyptus essential oil has a cool, invigorating aroma that can help clear the airways and promote easier breathing.
- Lemon: Lemon essential oil has a bright and uplifting scent that can help boost mood and promote a sense of positivity.
- Tea Tree: Tea Tree essential oil has strong antibacterial and antifungal properties, making it great for purifying the air and promoting cleanliness.
- Rosemary: Rosemary essential oil has a herbaceous and invigorating scent, which can help improve memory and concentration.
- Ylang Ylang: Ylang Ylang essential oil has a floral and exotic aroma that can help reduce anxiety and promote relaxation.
- Bergamot: Bergamot essential oil has a citrusy and uplifting scent that can help relieve stress and improve mood.
- Frankincense: Frankincense essential oil has a woody and resinous aroma that can help promote feelings of peace and spiritual grounding.
- Geranium: Geranium essential oil has a floral and sweet scent that can help balance emotions and uplift mood.
Remember to use essential oils sparingly when making candles, as they are highly concentrated. Also, make sure to follow proper candle-making instructions and safety guidelines.
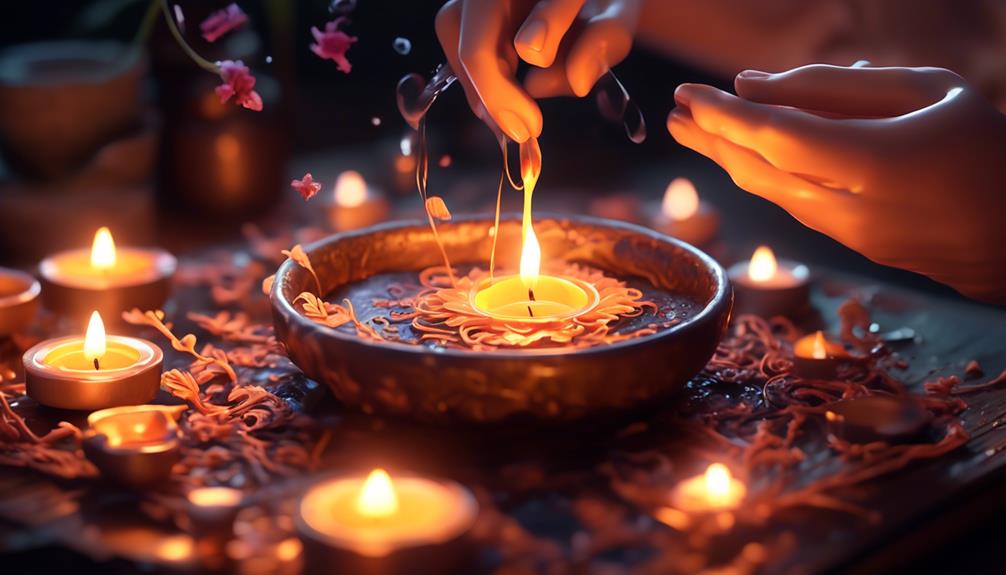
How To Add The Essential Oils
To add essential oils to your melted wax, simply remove the wax from the heat source and let it cool slightly. Then, carefully add a few drops of your chosen essential oil to the wax and stir gently to distribute the fragrance evenly. Be sure to use caution when handling hot wax to avoid any accidents.
The amount of essential oil you add will depend on your personal preference and the strength of the fragrance. Start with a small amount and gradually add more if desired. Remember, a little goes a long way, so it’s best to start with a conservative amount and adjust as needed.
Once the essential oils are added, pour the scented wax into your prepared tea light molds or tins. Allow the wax to cool and solidify completely before using your scented tea lights. One tea light is typically enough to fill a small room with fragrance, but feel free to use multiple tea lights for larger spaces or for a stronger scent.
‘Did You Know? Essential oils have been used for centuries for their therapeutic properties. In addition to adding fragrance to candles, they can also be used for aromatherapy, massage, and even skincare.’
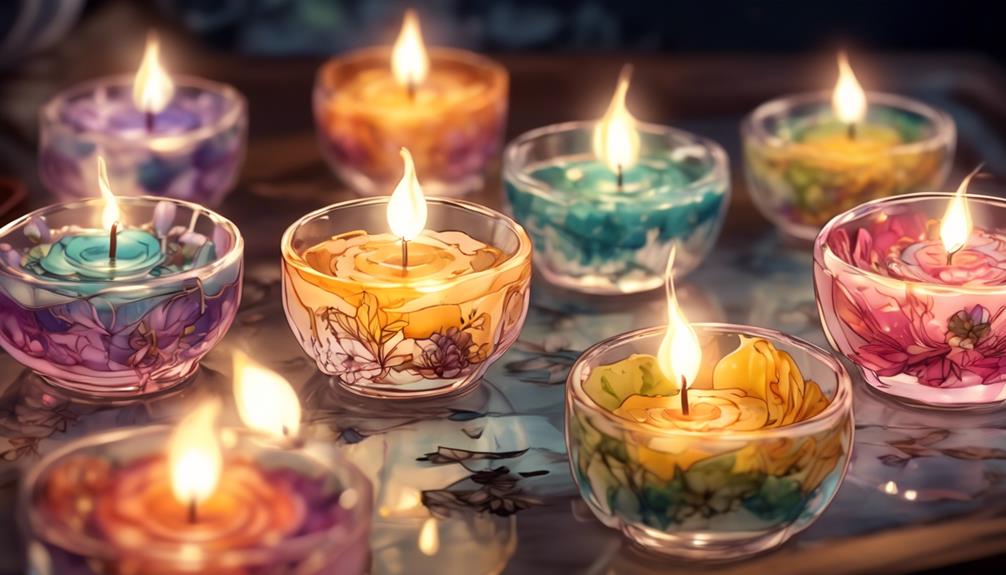
Pouring and Setting the Tea Lights
One your wax has been melted and you’ve added your essential oils, it’s time to move on to pouring and setting the tea lights.
Follow these simple steps to create beautifully scented tea lights for your home.
- Prepare your tea light molds: Make sure your tea light molds are clean and dry. If they have any residue from previous use, wash them thoroughly and dry them completely.
- Place the wick in the mold: Take a pre-tabbed tea light wick and center it in the mold. The metal tab should be at the bottom of the mold, resting on the base.
- Pour the melted wax: Slowly pour the melted wax into the mold, filling it up to just below the rim. Leave a small space at the top to allow for the wax to expand as it cools.
- Let the wax set: Allow the wax to cool and set completely. This may take a few hours, depending on the type of wax you are using.
- Trim the wick: Once the wax has hardened, trim the wick to about ¼ inch above the surface of the tea light. This will ensure a clean and even burn.
- Unmold the tea lights: Gently push on the bottom of the mold to release the tea light. If it doesn’t come out easily, you can place the mold in the freezer for a few minutes to help loosen the wax. Alternatively if you don’t mind the look you can simply light them inside the molds.
- Repeat the process: Repeat steps 2 to 6 for the remaining molds, until all your tea lights have been poured and set.
- Enjoy your scented tea lights: Place your homemade tea lights in a suitable candle holder or on a heat-resistant surface. Light the wick and enjoy the beautiful scent and warm ambiance they provide.
Remember to always follow safety guidelines when working with candles and never leave them unattended while burning. Enjoy your homemade scented tea lights and the cozy atmosphere they create in your home!
Easy Tea Light Candles…
Making essential oil tea lights for your home is a simple and enjoyable process. By following the steps outlined in this article, you can create personalized and beautifully scented candles that will enhance the ambiance of any space. So, why not light up your life with these homemade tea lights and let the sweet smell of success fill the air?
