How To Become More Self-Sufficient Without Starting a Full-Blown Farm…
Want to start preserving your harvest, making your own soap, or building a backyard root cellar — but not sure where to begin? “Homesteading Advice” gives you instant lifetime access to 35+ practical homesteading books on food preservation, veggie gardening, DIY natural cleaning products (save over $250 per year with this skill alone), brewing, off-grid energy, and a whole lot more…
Click Here To Check It Out Now!
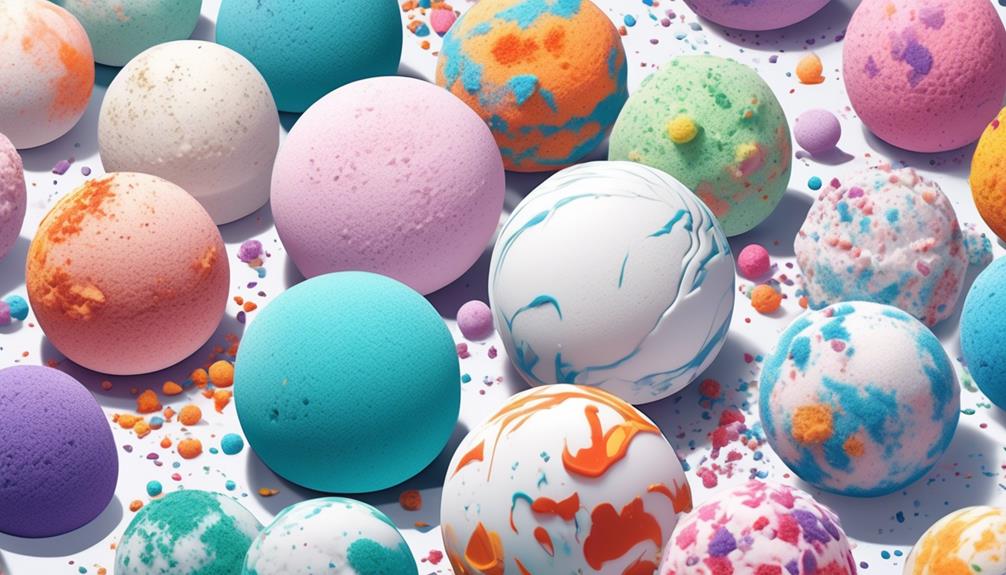
So, you’ve always loved taking relaxing baths and enjoy the soothing effects of bath bombs. But have you ever wondered if you could make your own at home? Well, wonder no more.
With our comprehensive guide to making bath bombs at home, you’ll learn all the tricks of the trade to create your very own luxurious bath bombs. From choosing the perfect ingredients to mastering the art of shaping and molding, this guide will walk you through every step of the process.
So, why settle for store-bought bath bombs when you can create your own personalized creations? Get ready to elevate your bath time experience to a whole new level.
Bath Bomb Basics…
- Baking soda, citric acid, cornstarch, Epsom salt, and essential oils are the key ingredients for making homemade bath bombs.
- The process involves measuring and whisking the dry ingredients, mixing the wet ingredients separately, and slowly combining them together.
- The shaped mixture is then left to dry for 24 hours before use.
- To store DIY bath bombs, it is important to keep them in a dry, airtight container and protect them from moisture, humidity, and direct sunlight.
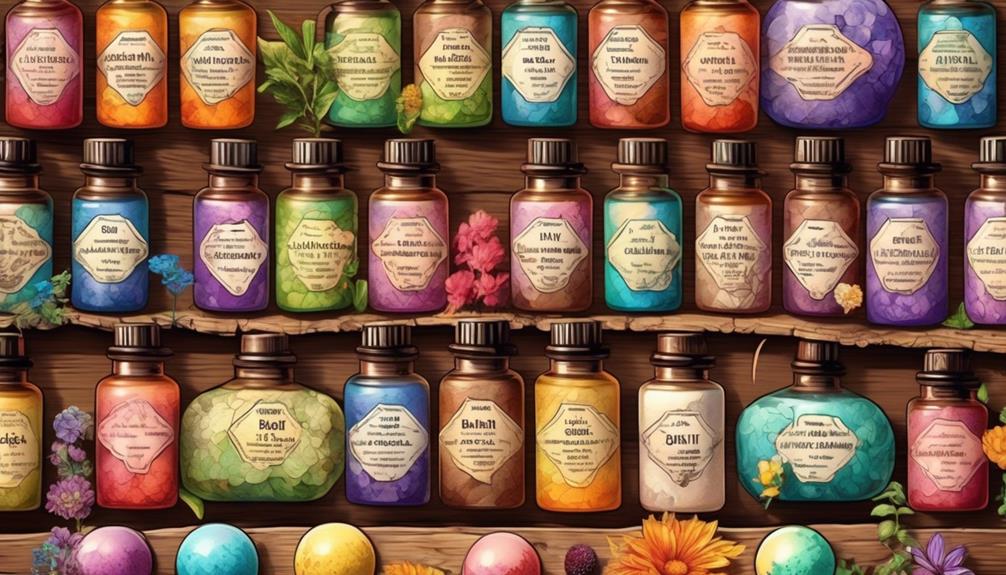
Ingredients for Homemade Bath Bombs
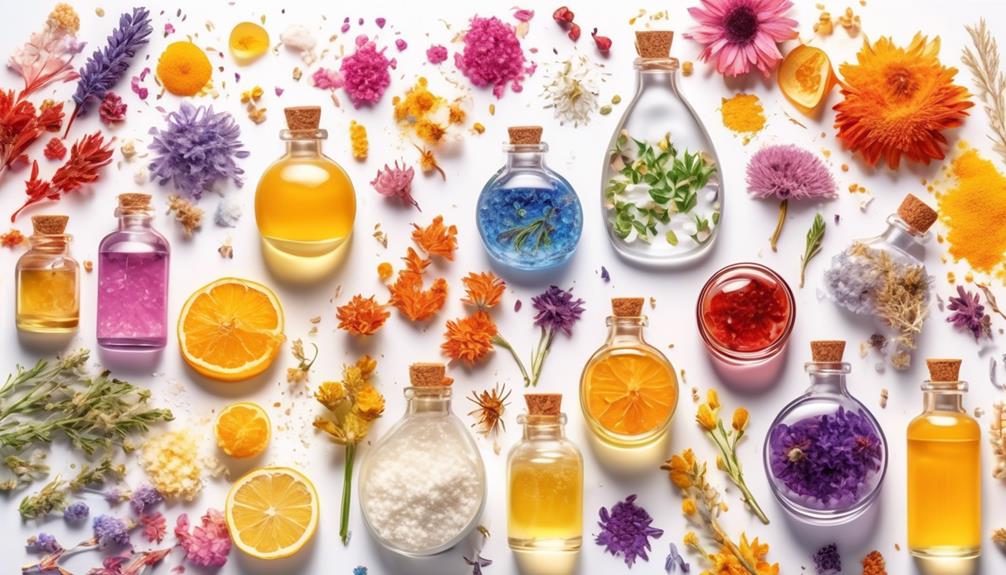
To make homemade bath bombs, you’ll need a few key ingredients: baking soda, citric acid, cornstarch, Epsom salt, and essential oils. These ingredients are the building blocks of a luxurious and soothing bath experience.
Baking soda acts as a gentle exfoliator, while citric acid creates the fizzy reaction that makes bath bombs so fun. Cornstarch helps to bind the ingredients together, ensuring a solid bomb that won’t crumble. Epsom salt, known for its muscle-relaxing properties, adds a touch of tranquility to your bath. And of course, essential oils provide the delightful aroma that will transport you to a spa-like oasis.
When it comes to making your own bath bombs, you have the freedom to experiment with different scents and colors. Simply mix the dry ingredients together, add a few drops of your favorite essential oils, and spritz with water until the mixture holds its shape. Then, press the mixture into bath bomb molds and let them dry for 24 hours.
With a little practice and creativity, you can customize your bath bombs to suit your personal preferences. Whether you prefer floral scents or energizing citrus, making your own bath bombs allows you to create a truly unique bathing experience. So go ahead and dive into the world of DIY bath bombs – your bath time will never be the same again!
‘Did You Know? The concept of bath bombs was first introduced by Lush Cosmetics in 1989. These fizzy, scented bath products quickly became a hit for their ability to turn a simple bath into a luxurious spa-like experience. Today, bath bombs are a staple in many people’s self-care routines around the world.’
Step-by-Step Guide to Making Bath Bombs
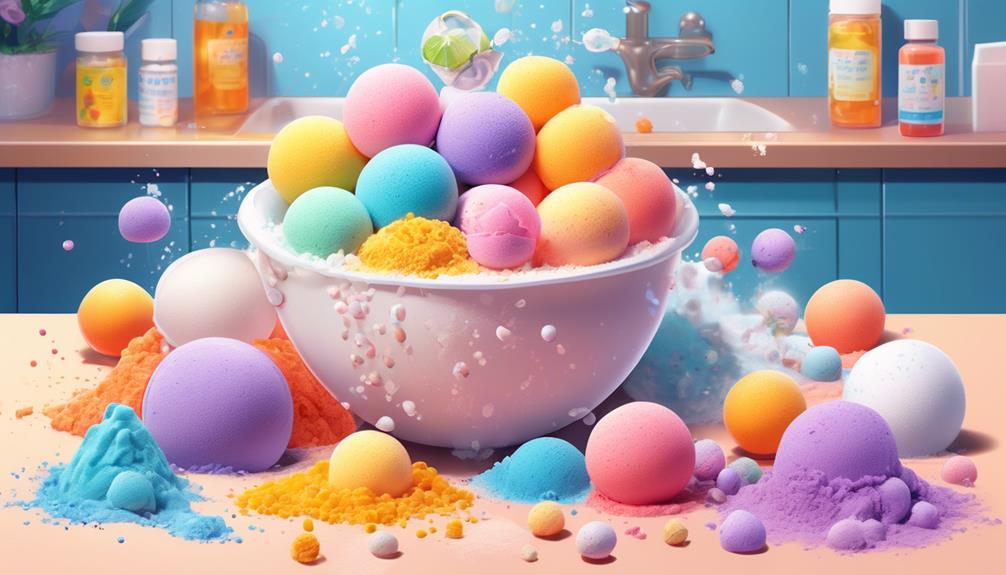
Ready to dive into the world of DIY bath bombs? Let’s get started with a step-by-step guide to making your own luxurious and customizable bath bombs at home.
- Measure and whisk dry ingredients: To start, gather your ingredients – baking soda and citric acid. In a bowl, measure and whisk these dry ingredients together until they’re well combined. This forms the base of your bath bomb recipe.
- Mix wet ingredients including essential oils: In a separate container, mix the wet ingredients. This includes water, any desired colorants, and essential oils for a lovely scent. Be sure to choose oils that are safe for skin and offer great aromatherapy benefits.
- Slowly add wet ingredients to dry ingredients: Carefully pour the wet mixture into the bowl with the dry mixture, while stirring continuously. This will help to evenly distribute the wet ingredients throughout the dry mixture. Keep stirring until the mixture reaches a crumbly, sand-like consistency.
Now that your bath bomb mixture is ready, it’s time to mold them.
Pack the mixture tightly into bath bomb molds or shape them into desired shapes with your hands. Let the bath bombs dry for at least 24 hours before use.
Bath Bomb Mold Ideas
You can also use any number of molds for shaping your creations, from cookie cutters to muffin tins, get creative. Here are just a few unique ideas…
- Silicone ice cube trays: These come in various shapes and sizes, perfect for creating fun and unique bath bomb shapes.
- Soap molds: Look for soap molds with interesting designs such as animals, flowers, or geometric shapes.
- Cookie cutters: Use metal or plastic cookie cutters to create bath bomb shapes that resemble stars, hearts, or other fun designs.
- Plastic candy molds: These molds can be found in various shapes like shells, fruits, or even cartoon characters, offering a wide range of quirky options.
- Mini bundt cake pans: These pans can be used to create bath bombs with intricate designs and patterns.
- Plastic Easter egg molds: These molds are perfect for creating bath bombs shaped like Easter eggs or other oval-shaped designs.
- Playdough molds: Look for playdough molding sets that feature unique shapes like dinosaurs, vehicles, or flowers.
- Plastic toy molds: Repurpose plastic toy molds by filling them with bath bomb mixture to create fun shapes like dinosaurs, robots, or princesses.
- Polymer clay molds: These molds are typically used for creating small clay figurines, but they can also be used for bath bomb making.
- DIY molds: Get creative and make your own molds using materials like silicone putty or food-grade silicone to create custom and unique bath bomb shapes.
Remember to always choose molds that are safe for bath bomb making and made from food-grade or non-toxic materials. Feel free to get creative and experiment with different shapes and designs!
Making homemade bath bombs is a great, easy way to add a touch of luxury to your bath time routine. With these simple steps and a few essential ingredients, you can create your own personalized bath bombs that will leave you feeling relaxed and pampered.
NOTE: For exact quantities of ingredients see the homemade bath bomb recipes below.
Tips for Using and Storing DIY Bath Bombs
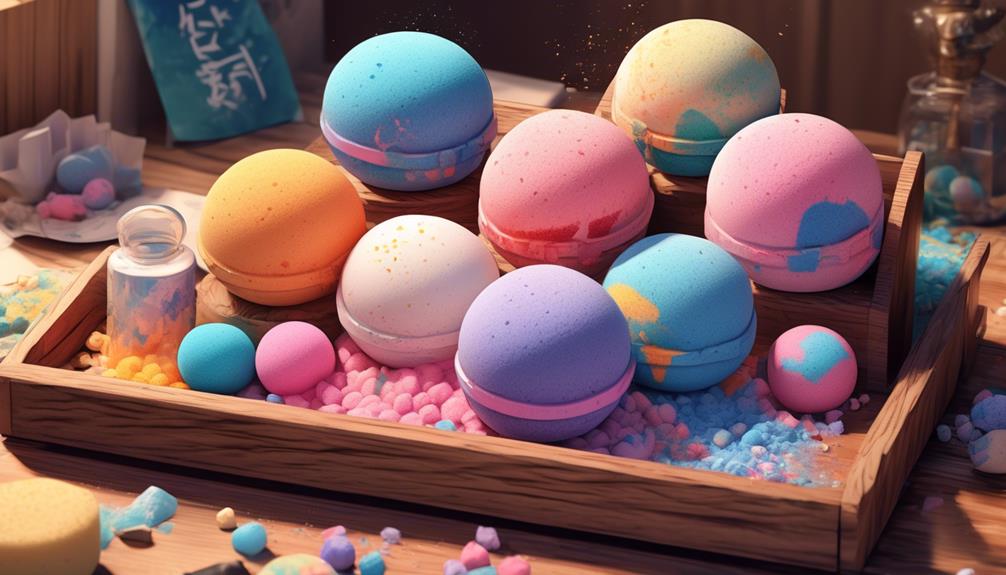
After your bath bombs have dried and hardened, it’s important to store them properly to maintain their quality.
Keep them in a dry, airtight container to prevent them from losing their fizz. Moisture is the enemy here, so make sure to store them away from any moisture, humidity, and direct sunlight. Wrapping them tightly in foil can also help protect them from moisture and preserve their fragrance.
To further extend the shelf life of your bath bombs, consider using silica gel packets in your storage containers. These packets will absorb any excess moisture and keep your bath bombs in top condition for longer.
Remember to use your bath bombs within six months for the best results, as they may lose their effectiveness over time.
Exploring Different Essential Oil Options
When it comes to choosing the perfect essential oil for your DIY bath bombs, the options are endless and the benefits are plentiful. Here are three essential oils that can take your bath bomb experience to the next level:
- Lavender essential oil: Known for its calming and relaxing properties, lavender essential oil is perfect for creating a soothing and stress-relieving bath. Its gentle floral aroma can help you unwind after a long day and promote a sense of tranquility.
- Eucalyptus essential oil: With its refreshing and invigorating scent, eucalyptus essential oil is a great choice for a revitalizing bath. It can help clear your mind, relieve congestion, and provide a cooling sensation on your skin. Perfect for those times when you need a little pick-me-up.
- Peppermint essential oil: If you’re looking for a burst of freshness, peppermint essential oil is the way to go. Its cooling properties can help soothe tired muscles and awaken your senses. Plus, the invigorating scent of peppermint can provide a much-needed energy boost.
When using essential oils in your bath bombs, make sure to follow the recommended usage guidelines and dilute them properly. It’s also a good idea to experiment with different blends of essential oils to create your own unique scent.
And if you have any further questions about making bath bombs after reading this guide, there are many great books available that provide many more easy-to-understand recipes and tips, in addition to those that you’ll find below.
So, go ahead and give it a try – you deserve a relaxing bath experience that’s tailored to your preferences. Just remember to store your essential oils in a glass jar and mix them in a small bowl to ensure proper blending.
‘Did You Know? The use of essential oils dates back to ancient times. Ancient Egyptians, for instance, used them for cosmetic, medicinal, and spiritual purposes. Even today, they’re popular for their potential health benefits and aromatic properties.’
Creative Additions to Customize Your Bath Bombs
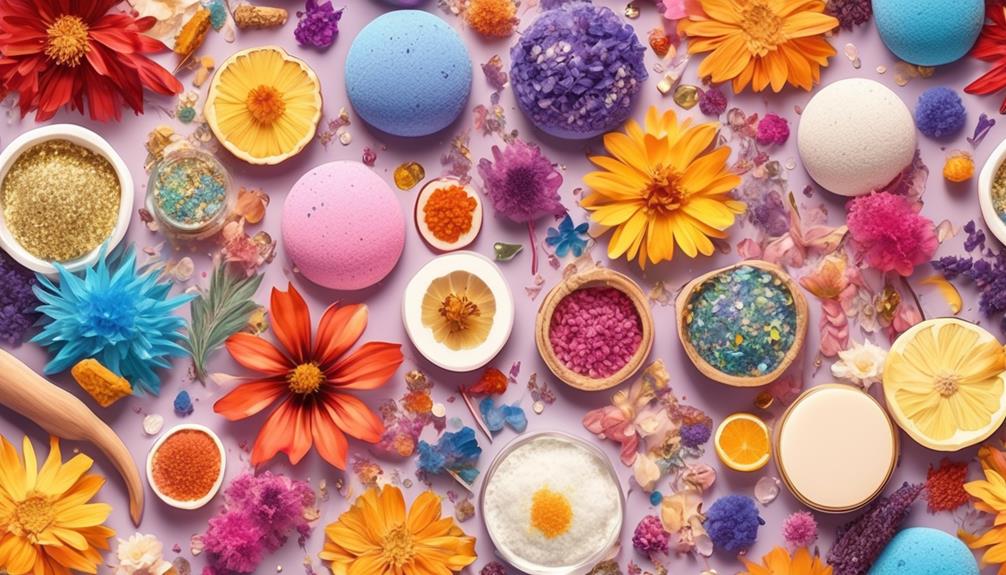
Looking to add some extra flair and customization to your bath bombs? There are plenty of creative additions you can incorporate to make your bath bombs even more exciting and personalized. Check out the table below for some ideas and inspiration:
| Creative Additions | Benefits and Effects |
|---|---|
| Dried flower petals or herbs | Adds a beautiful and aromatic touch to your bath bombs |
| Shea butter or coconut milk powder | Provides extra nourishment for your skin |
| Spirulina powder or turmeric | Natural colorants for vibrant and unique hues |
| Biodegradable glitter or mica powder | Adds sparkle and glamor to your bath bombs |
| Colloidal oats or powdered milk | Creates luxurious and indulgent bath bombs |
You can easily find these ingredients online or at your local store. Simply mix them together with the wet ingredients in your bath bomb recipe to create a customized and delightful bathing experience.
Whether you want to make a relaxing lavender bath bomb with dried lavender petals or a festive Christmas bath bomb with red and green natural colorants, the possibilities are endless. Don’t be afraid to experiment and try different combinations to find your favorite recipes.
Homemade Bath Bomb Recipes
Here are five different homemade bath bomb recipes that you can try, including their ingredients and the qualities they will add to your bath:
Relaxing Lavender Bath Bomb
- 1 cup baking soda
- 1/2 cup citric acid
- 1/2 cup Epsom salt
- 1/2 cup cornstarch
- 2 tablespoons almond oil
- 1 tablespoon dried lavender buds
- 10-15 drops lavender essential oil
This bath bomb will create a calming and soothing bath experience. Lavender is known for its relaxation properties and can help reduce stress and promote better sleep.
Refreshing Citrus Bath Bomb
- 1 cup baking soda
- 1/2 cup citric acid
- 1/2 cup Epsom salt
- 1/2 cup cornstarch
- 2 tablespoons coconut oil
- 1 tablespoon dried citrus zest (orange, lemon, or lime)
- 10-15 drops citrus essential oil (orange, lemon, or lime)
This bath bomb will add a burst of refreshing citrus scent to your bath, leaving you feeling rejuvenated and energized.
Nourishing Oatmeal Bath Bomb
- 1 cup baking soda
- 1/2 cup citric acid
- 1/2 cup Epsom salt
- 1/2 cup cornstarch
- 2 tablespoons jojoba oil
- 2 tablespoons powdered milk
- 1 tablespoon ground oats
- 10-15 drops vanilla or almond essential oil
This bath bomb will provide nourishment to your skin. Oatmeal is soothing and can help relieve dryness or irritation, while jojoba oil adds moisture and leaves your skin feeling soft and smooth.
Uplifting Rose Bath Bomb
- 1 cup baking soda
- 1/2 cup citric acid
- 1/2 cup Epsom salt
- 1/2 cup cornstarch
- 2 tablespoons rosehip oil
- 1 tablespoon dried rose petals
- 10-15 drops rose essential oil
This bath bomb will create a luxurious and uplifting bath experience. Rose essential oil has a lovely floral scent that can boost your mood and promote feelings of self-love and relaxation.
Detoxifying Green Tea Bath Bomb
- 1 cup baking soda
- 1/2 cup citric acid
- 1/2 cup Epsom salt
- 1/2 cup cornstarch
- 2 tablespoons grapeseed oil
- 1 tablespoon matcha green tea powder
- 10-15 drops lemongrass or tea tree essential oil
This bath bomb will help detoxify and rejuvenate your skin. Green tea is known for its antioxidant properties and can help cleanse and purify your skin, while the essential oils add a refreshing scent.
Remember to mix the dry ingredients in one bowl and the wet ingredients in another, then combine them slowly while stirring until the mixture resembles wet sand. Press the mixture into molds or shape them by hand and let them dry for 24-48 hours before using.
Enjoy your homemade bath bombs and the wonderful qualities they bring to your bath!
Its Time For A Bath…
Now that you have all of the information you need to create your own bath bombs get creative! You’ll be able to create bath bombs that are as unique as you are.
Just like a soothing melody that lulls you into tranquility, these homemade bath bombs will transform your bath time into a blissful escape. So go ahead and indulge in the art of bath bomb making, and let the relaxation wash over you like a gentle wave.
Get ready to pamper yourself and create a spa-like experience in the comfort of your own home.
