How To Become More Self-Sufficient Without Starting a Full-Blown Farm…
Want to start preserving your harvest, making your own soap, or building a backyard root cellar — but not sure where to begin? “Homesteading Advice” gives you instant lifetime access to 35+ practical homesteading books on food preservation, veggie gardening, DIY natural cleaning products (save over $250 per year with this skill alone), brewing, off-grid energy, and a whole lot more…
Click Here To Check It Out Now!
One relies on a 14-day ticking clock; the other provides a shelf-stable, gourmet flavor bomb that lasts for months without a fridge. What do you do when your hens produce more than you can eat? Most people watch their eggs expire in the fridge. The resilient homesteader ‘buries’ them. By salt-curing your yolks, you transform a fragile, perishable liquid into a hard, shelf-stable delicacy that tastes like savory parmesan.
This practice is an exercise in patience and a testament to the wisdom of our ancestors. It takes the excess of a productive spring and turns it into the concentrated gold of a lean winter. You are not simply saving an egg; you are creating a culinary tool that adds depth to every dish it touches.
Stepping away from modern refrigeration requires a shift in mindset. You must learn to work with the elements rather than fight against them. Salt, time, and airflow are your allies in this process.
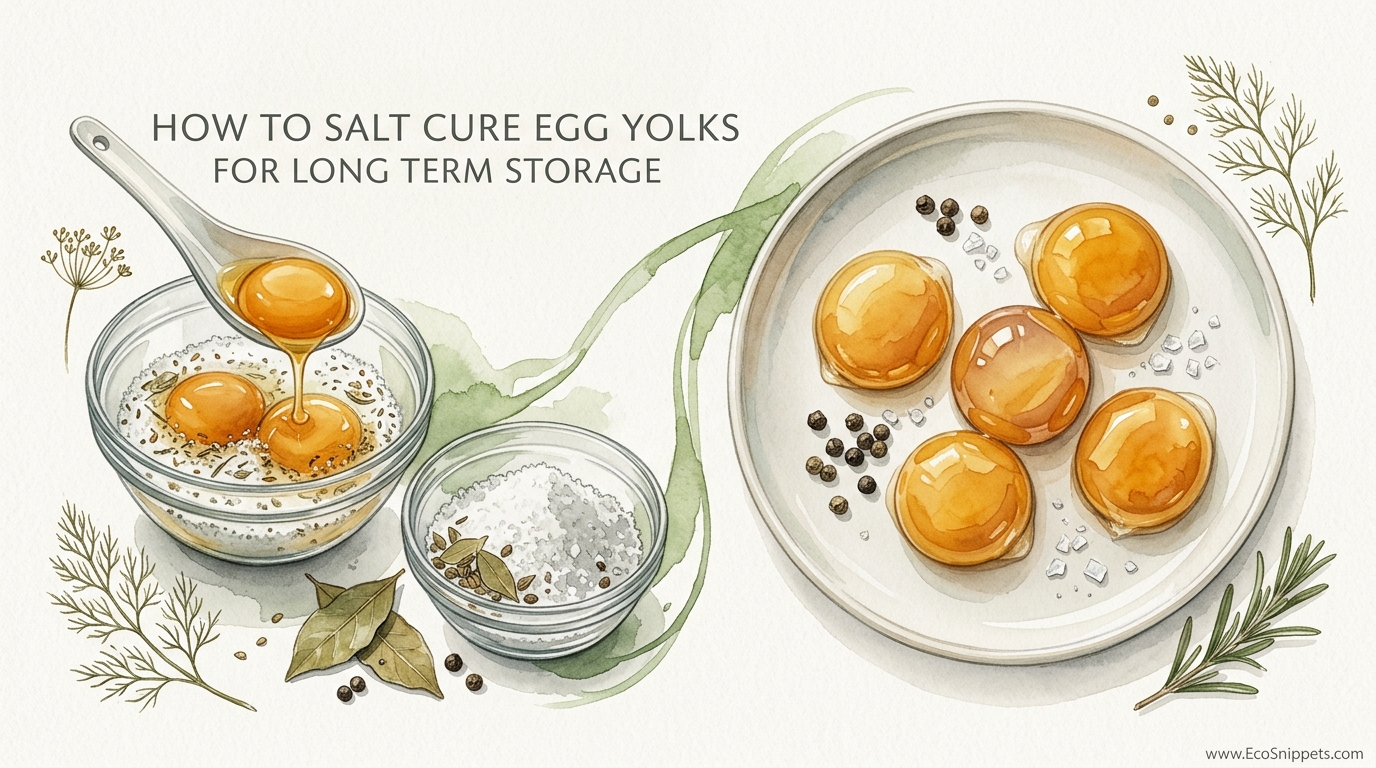
How To Salt Cure Egg Yolks For Long Term Storage
Salt curing is a method of preservation that uses high concentrations of sodium chloride to draw moisture out of the egg yolk. This process changes the chemical structure of the yolk, turning it from a golden liquid into a firm, translucent gem that can be grated or sliced. Traditionally, this was a way to keep protein and fat available when fresh eggs were scarce.
Historical records suggest that salt-curing duck eggs dates back to at least the 5th century in China. Ancient practitioners discovered that packing eggs in a mixture of salt and clay or soaking them in a saturated brine prevented spoilage for months. In Europe, a similar tradition of dry-salting yolks evolved in Mediterranean kitchens, where they were used as a luxury seasoning long before the invention of the refrigerator.
Today, this technique is used in high-end restaurants to create what chefs call “egg yolk parmesan.” It exists at the intersection of old-world preservation and modern gourmet cooking. Whether you are a homesteader with a surplus of chicken eggs or a cook looking for a new flavor profile, salt curing offers a way to extend the life of your harvest significantly.
The Science of Osmosis and Lipid Transformation
Understanding how a liquid yolk becomes a solid starts with the principle of osmosis. Salt is a desiccant, meaning it actively pulls water molecules toward itself. When a raw yolk is buried in a bed of salt, the sodium ions create a hypertonic environment. The water inside the yolk moves across the semi-permeable membrane of the yolk sac to equalize the concentration of salt on the outside.
This dehydration process removes up to 50% of the yolk’s weight in water. As the water leaves, the proteins and fats within the yolk become highly concentrated. The salt does more than just dry the yolk; it also denatures the proteins. High salt concentrations disrupt the ionic bonds that stabilize the protein structure, causing them to unfold and then aggregate into a dense gel network.
Chemical changes also occur in the lipids. Egg yolks are rich in lecithin, a type of phospholipid that acts as an emulsifier. During the curing process, the salt breaks down the lipoprotein structures, causing oil to exude and fill the gaps between the protein particles. This is why a properly cured yolk has a slightly translucent, oily sheen and a “sandy” texture when bitten. The resulting product has a water activity ($a_w$) level low enough to inhibit the growth of most common food-borne pathogens, making it remarkably stable.
The Step-by-Step Curing Ritual
Success in salt curing depends on a clean environment and careful handling. Fresh eggs are essential because their membranes are stronger and less likely to break during the separation process.
1. Prepare the Curing Bed
Fill a non-reactive glass or ceramic dish with a 1-inch (2.5 cm) layer of salt. Kosher salt or sea salt works best because the larger grains provide better airflow and are easier to brush off later. Avoid iodized table salt, as the iodine can impart a bitter, metallic aftertaste.
Use the back of a clean spoon to create shallow indentations in the salt. Space these about 1 inch (2.5 cm) apart to ensure each yolk is completely surrounded. If you want a more complex flavor, you can mix in a small amount of granulated sugar or dried herbs at this stage.
2. Separate and Deposit the Yolks
Crack each egg carefully and separate the yolk from the white. You can save the whites for meringues or egg-white omelets. Ensure no traces of white remain on the yolk, as the proteins in the white cure differently and can create a rubbery texture on the surface.
Gently slide each yolk into one of the salt indentations. If a yolk breaks, remove it immediately and replace the contaminated salt. Moisture from a broken yolk will cause the surrounding salt to clump, which can lead to uneven curing for the remaining yolks.
3. Bury the Gold
Carefully pour more salt over the top of the yolks until they are completely covered by at least half an inch (1.3 cm) of salt. The yolks should not be visible. Covering the dish with plastic wrap or a tight-fitting lid is optional but helps prevent the salt from absorbing unwanted odors from the fridge.
4. The Cold Cure
Place the dish in the refrigerator for 5 to 7 days. During this time, the salt will do the heavy lifting of moisture extraction. After the first 4 days, you may notice the salt looking slightly damp or “clumpy” around the yolks; this is a sign that the process is working.
5. The Rinse and Final Dry
After a week, carefully dig the yolks out of the salt. They should feel firm to the touch, like a gummy candy. Brush off the excess salt and give them a very quick rinse under cold, running water to remove the remaining crystals. Pat them dry immediately with a lint-free towel.
To ensure long-term stability, a final drying step is required. You can place the yolks on a wire rack in an oven set to its lowest temperature—usually around 150°F (65°C)—for 2 to 3 hours. Alternatively, use a food dehydrator at 115°F (46°C) for 12 hours. The yolks are finished when they are hard enough to be grated like a firm cheese.
Benefits of the Cured Yolk
The most immediate benefit is the concentration of flavor. A cured yolk is an umami powerhouse, containing all the richness of a fresh yolk but with a salty, nutty depth that mimics aged cheese or cured meats. This makes it an incredible seasoning for those who need to add richness to a dish without adding bulk or liquid.
Storage life is the primary reason homesteaders turn to this method. While a fresh egg lasts a few weeks in the fridge, a salt-cured yolk can stay viable for months. This allows you to “bank” the high production of the spring and summer months for use in the winter when hens often slow down their laying due to shorter days.
Space efficiency is another often-overlooked advantage. A dozen fresh eggs take up significant space in a refrigerator. Once cured and dried, those same twelve yolks can fit into a small pint jar. For those with limited storage or those living off-grid with small refrigeration units, this reduction in volume is a major asset.
Challenges and Common Mistakes
The most frequent error is using eggs that are not fresh. As an egg ages, the vitelline membrane (the clear casing around the yolk) weakens. When you try to bury an older yolk in salt, the weight of the salt or the movement of the spoon can easily rupture the membrane. Always use eggs that were laid within the last 48 to 72 hours for the best results.
Humidity is another enemy of the curing process. If you live in a very humid environment, the salt may absorb moisture from the air faster than it can draw it from the yolk. This results in a “slushy” salt bed that does not properly preserve the yolk. In these cases, curing in the refrigerator is mandatory, as the fridge acts as a natural dehumidifier.
Incomplete drying is a common pitfall that leads to spoilage. If the center of the yolk remains soft and liquid after the final drying stage, it still contains enough water activity to support bacterial growth. Ensure the yolk is firm all the way through. If you can squeeze it and feel a soft core, it needs more time in the dehydrator or oven.
Limitations and Environmental Constraints
Salt-cured yolks are a specialty ingredient, not a direct replacement for fresh eggs. You cannot use them to bake a cake, make a custard, or fry a sunnyside-up breakfast. They lose the functional properties of fresh eggs, such as leavening and binding. This preservation method is strictly for creating a condiment or a flavor enhancer.
The high sodium content is also a consideration. For individuals on salt-restricted diets, cured yolks should be used sparingly. Because they are intensely salty, they are meant to be grated over food in small amounts, much like you would use a finishing salt or a hard cheese.
Climate also plays a role in the traditional air-drying method. In historical settings, these would be hung in cheesecloth in a cool, breezy larder. In modern homes with central heating or high tropical humidity, this “open-air” method is risky. Without proper airflow and temperature control, the fats in the yolk can go rancid before the drying process is complete.
Comparison: Curing vs. Water Glassing
When managing an egg surplus, many choose between salt curing and water glassing. Both have their place on the homestead, but they serve very different purposes.
| Feature | Salt Curing | Water Glassing |
|---|---|---|
| End Result | Firm, grateable condiment | “Fresh” whole egg |
| Shelf Life | 4–6 months (refrigerated) | 12–18 months (room temp) |
| Complexity | Moderate (multi-step) | Low (submerge and store) |
| Usage | Topping, seasoning, umami bomb | Frying, baking, scrambling |
| Ingredients | Salt, (optional) sugar/herbs | Pickling lime, water |
Water glassing is the choice for those who want to preserve eggs for everyday cooking. Salt curing is for those who want to transform their harvest into something entirely new. Most successful homesteaders use both: water glassing for the bulk of their surplus and salt curing for a portion to be used as a high-value culinary asset.
Practical Tips and Best Practices
Using the right tools can make the process much smoother. When separating the yolks, try using a slotted spoon or your clean hands rather than the “shell-to-shell” method. The sharp edges of a cracked eggshell are the most common cause of punctured yolks.
Maintain a “salt log” if you cure in batches. Write down the date the yolks went into the salt and the date they moved to the drying stage. This prevents you from pulling them out too early, which is the leading cause of failure.
If you plan to reuse your salt, you must treat it first. Moisture and organic proteins from the yolks can stay in the salt. Spread the used salt on a baking sheet and heat it in a 300°F (150°C) oven for 30 minutes to sterilize it and remove any absorbed water. You should only reuse salt once or twice before starting with a fresh batch to ensure food safety.
Advanced Considerations: Botanical and Smoke Infusions
For the experienced practitioner, the basic salt cure is just the beginning. You can infuse the salt bed with various aromatics to change the flavor profile of the yolk.
Dried mushrooms, such as porcini or shiitake, can be pulverized and mixed into the salt to double the umami impact. Smoked paprika, garlic powder, or even finely ground toasted seaweed (nori) can be used to create themed yolks for specific cuisines.
Smoking the yolks is another advanced technique. After the initial salt cure and rinse, but before the final drying, you can cold-smoke the yolks for 1 to 2 hours using mild woods like apple or cherry. This adds a depth of flavor that is incredible when grated over potato soups or creamy pastas.
Examples of Cured Yolks in the Kitchen
Imagine a simple bowl of pasta tossed in olive oil and black pepper. By itself, it is a humble meal. Grate half of a salt-cured yolk over the top, and the dish is immediately elevated. The yolk shavings melt slightly into the warm oil, creating a rich, creamy sauce that tastes like a complex carbonara.
Another scenario involves the classic avocado toast. Instead of standard sea salt, use a microplane to dust the avocado with a cured yolk. The brightness of the lemon juice on the avocado cuts through the fatty richness of the yolk, creating a balanced, professional-quality breakfast at home.
In savory baking, you can finely mince a cured yolk and fold it into biscuit dough. As the biscuits bake, the yolk bits become little “flavor pockets” that provide a savory punch, much like bits of high-quality cheddar cheese would, but with a more refined, egg-forward profile.
Final Thoughts
Mastering the art of salt-curing egg yolks is a bridge between the necessity of preservation and the joy of culinary creation. It takes a common, perishable item and turns it into a resilient gem that can stand the test of time. This process teaches us to value every part of our harvest and to look at “surplus” not as a problem to be solved, but as an opportunity to be explored.
Experimenting with different salts, drying times, and infusions will help you find the perfect balance for your palate. Whether you are preparing for a long winter or simply want to impress guests at your next dinner, these golden gems are a worthy addition to any pantry.
The journey from a fragile liquid to a shelf-stable seasoning is a reminder of the power of simple ingredients. By applying ancestral wisdom to your modern kitchen, you ensure that nothing from your coop goes to waste and that every meal is enriched by the hard work of your hens.
