How To Become More Self-Sufficient Without Starting a Full-Blown Farm…
Want to start preserving your harvest, making your own soap, or building a backyard root cellar — but not sure where to begin? “Homesteading Advice” gives you instant lifetime access to 35+ practical homesteading books on food preservation, veggie gardening, DIY natural cleaning products (save over $250 per year with this skill alone), brewing, off-grid energy, and a whole lot more…
Click Here To Check It Out Now!
You are burning your best crafting materials every time you light the stove – here is how to carve out real value. That knotty oak branch isn’t just firewood—it’s a set of heirloom kitchen tools waiting to be released. Learn how to spot the ‘crafting gold’ in your waste pile before it hits the furnace.
Working with green wood is a return to a more intuitive, visceral form of creation. It is the practice of taking a living branch or a freshly felled log and shaping it while the sap is still high and the fibers are soft. For generations, this was the only way wood was worked, long before the industrial kiln became the standard.
In today’s world of precision-milled, kiln-dried lumber, the art of green woodworking offers a unique bridge to self-reliance. You aren’t just buying a board; you are participating in the entire lifecycle of a tree. This approach requires a deeper understanding of wood anatomy and the way moisture moves through a trunk, but the rewards are measured in tools and furniture that can last for centuries.
Whether you are looking to carve your first spoon or build a ladder-back chair that tightens its own joints over time, understanding green wood is the first step. It is about working with nature’s tendencies rather than fighting against them. By the time you finish this guide, you will see your firewood pile not as fuel, but as a library of potential.
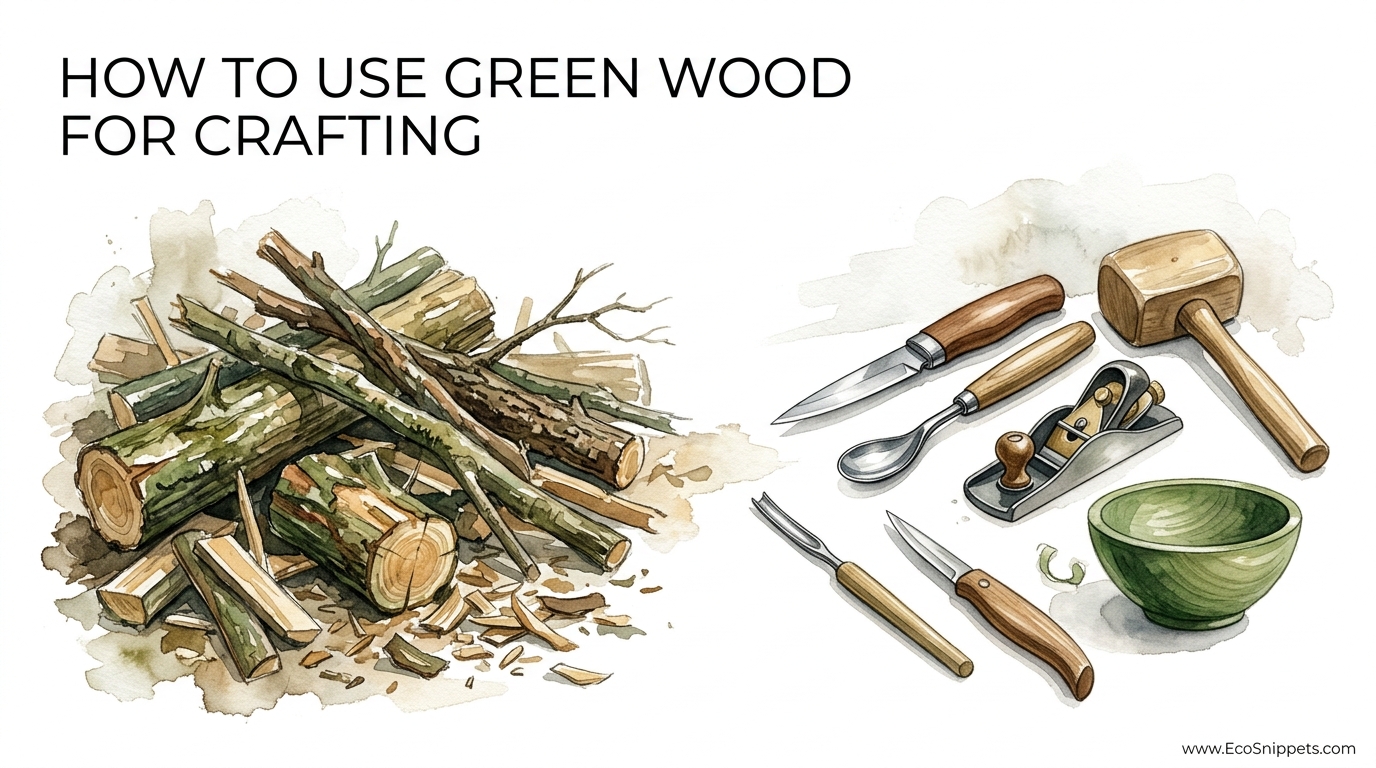
How To Use Green Wood For Crafting
Green wood refers to timber that has been recently harvested and still retains its natural moisture content. While “seasoned” wood has been dried until its moisture levels match the surrounding air—usually between 8% and 12% for indoor use—green wood often has a moisture content of 30% to 100% or more. This “wetness” is exactly what makes it so prized by traditional crafters.
At its core, using green wood involves shaping the material while it is at its most pliable. Because the wood cells are still saturated with water, the fibers are less brittle. This allows a sharp edge to slice through the grain with significantly less resistance than it would find in a piece of dried oak or maple. It is often described as “cutting like cold butter.”
This method is used primarily in “treen” making—the crafting of small household items like spoons, bowls, and spatulas—as well as in traditional chair making. In furniture, green woodworking utilizes the predictable shrinkage of the wood to create “shrink-fit” joints. A dry rung is inserted into a green leg; as the leg dries, it cinches down on the rung, creating a mechanical bond that often requires no glue at all.
Visualizing this concept requires thinking of wood as a bundle of microscopic straws. In green wood, those straws are full of water. As you carve, you are essentially shortening those straws. As they dry, they will shrink in diameter but not significantly in length, which is the fundamental principle behind all green wood design.
How to Process and Work Green Wood Step-by-Step
The journey from a log to a finished piece involves a specific sequence of operations designed to manage the wood’s moisture and tension. If you simply start carving without a plan, the wood will likely split before you are halfway finished.
1. Sourcing and Selection
The best wood for green crafting is usually found in the form of logs or large branches. Look for “straight-grained” sections that are free of large knots. If you are foraging from your own property or a local arborist, try to process the wood as soon as possible after felling. If a log must sit, keep it in the shade and leave it “in the round” (with bark on) to slow the initial drying.
2. Cleaving and Riving
Unlike modern woodworking, which relies on saws to cut through grain, green woodworking uses “riving.” By using a tool called a froe and a wooden mallet (often called a beetle), you split the log along its natural radial lines. This ensures that the wood fibers run the entire length of your piece, which provides maximum strength and reduces the risk of warping later on.
3. Rough Shaping
Once you have your “billet” or “blank,” the next step is rough shaping. This is usually done with a side-axe or a hatchet. The goal here is to remove the bulk of the waste wood while it is still very wet and easy to move. For a spoon, you would axe out the profile and the thickness of the handle. For a bowl, you might use an adze to hollow out the interior.
4. Managed Drying
This is the most critical phase. Because the wood will shrink as it dries, you must control the rate of evaporation. If the surface dries too fast while the core is still wet, the wood will “check” or crack. Common strategies include:
- End Sealing: Applying wax, latex paint, or a commercial sealer to the end grain to force moisture out through the sides.
- Bagging: Placing the rough-carved piece in a paper bag with its own shavings to create a high-humidity micro-environment.
- The Freezer Method: Storing blanks in the freezer to halt drying until you are ready to carve again.
5. Finishing Cuts
After the wood has reached a semi-dry state (sometimes called “leather-hard”), you perform the final finishing cuts. A sharp sloyd knife or drawknife will leave a faceted, polished surface that often requires no sanding. At this stage, the wood is stable enough that these final dimensions will remain relatively true.
Benefits of Green Wood Crafting
The primary advantage of green woodworking is the ease of workability. When you are using hand tools like axes, drawknives, and spokeshaves, the difference between green and dry wood is staggering. You can accomplish in minutes what would take hours of grueling labor on seasoned timber. This makes the craft accessible to those who may not have the physical strength for heavy-duty carpentry.
Another significant benefit is the sustainability and cost. Green wood is often considered a waste product. Arborists, orchard owners, and neighbors with fallen trees are usually happy to have someone haul away branches for free. You aren’t paying for the energy-intensive kiln-drying process or the logistics of a lumber yard. Your “lumber” comes from the forest floor or the firewood pile.
From a health perspective, green woodworking is much cleaner. Because the wood is wet, it produces long, curly shavings rather than fine, airborne dust. This is a massive benefit for those working in small home workshops or apartments, as it eliminates the need for expensive dust collection systems and protects your lungs from respiratory irritants.
Finally, there is the strength of the finished product. By riving the wood (splitting it) rather than sawing it, you maintain the continuous integrity of the wood fibers. A green-wood chair leg or tool handle is significantly stronger than a sawn equivalent of the same thickness because there is no “run-out” where the grain exits the side of the piece.
Challenges and Common Mistakes
The most common mistake beginners make is ignoring the pith. The pith is the very center of the log—the first year’s growth. It is the most unstable part of the wood and almost always causes radial cracks as the wood dries. When splitting your logs, you should always aim to remove the pith entirely. A piece of wood carved “in the round” with the pith included is almost guaranteed to split.
Another pitfall is uneven wall thickness. Whether you are carving a bowl or a spoon, the wood needs to dry at a uniform rate. If one part of your carving is 1 inch (25.4 mm) thick and another part is 1/8 inch (3 mm), the thin section will dry and shrink rapidly, pulling away from the thick section and causing a catastrophic crack. Aim for consistent thickness throughout the piece during the drying phase.
Neglecting tool maintenance is a recipe for frustration. Because green wood is soft, it is easy to assume your tools don’t need to be “scary sharp.” In reality, a dull blade will crush the wet fibers rather than slicing them, leading to a fuzzy surface and increased physical effort. Furthermore, the moisture in green wood can cause carbon steel tools to rust within hours. You must wipe down and oil your blades at the end of every session.
Limitations and Trade-offs
While green wood is excellent for organic shapes and traditional joinery, it is not ideal for high-precision modern joinery. If you try to cut a complex dovetail joint in green wood, the wood will shrink and warp as it seasons, potentially ruining the fit. For projects that require absolute dimensional stability—such as a jewelry box with a fitted lid—seasoned wood remains the superior choice.
The time investment is also a factor. While the carving itself is fast, the drying process requires patience. Depending on the thickness of the piece and the climate, you may need to wait weeks or even months for a rough-carved bowl to be ready for its final finishing. This “slow craft” approach doesn’t always align with the desire for immediate results.
Environmental factors also play a role. In extremely arid climates, green wood can dry so quickly that it becomes difficult to manage even with bagging and sealing. Conversely, in very humid environments, green wood kept in bags for too long is prone to mold and fungal growth, which can stain the wood (sometimes beautifully, as in “spalting,” but often undesirably).
Comparison: Green Wood vs. Seasoned Wood
To help you decide which material is right for your next project, consider the following differences in cost, effort, and application.
| Factor | Green Wood | Seasoned (Dry) Wood |
|---|---|---|
| Workability | Very soft; cuts easily with hand tools. | Hard; often requires power tools or extreme effort. |
| Sourcing | Free or low-cost from local trees/arborists. | Expensive; purchased from lumber yards. |
| Dust Level | Negligible; produces wet shavings. | High; produces fine airborne dust. |
| Stability | High shrinkage and potential for warping. | Dimensionally stable; minimal movement. |
| Ideal Projects | Spoons, bowls, rustic furniture, tool handles. | Fine furniture, cabinetry, precision boxes. |
Practical Tips and Best Practices
If you are ready to start, follow these best practices to ensure your first few projects are successful. These tips are the difference between a functional heirloom and a piece for the kindling bin.
- Start with “Beginner-Friendly” Species: Birch, Willow, and Alder are incredibly soft and forgiving. Fruitwoods like Apple or Cherry are beautiful but much harder and more prone to cracking.
- Use a Sharp Hatchet: When rough-shaping, use a light hatchet (under 2 lbs or 0.9 kg). A heavy felling axe will tire you out and provide less control for detail work.
- Work with the Grain: Always carve “downhill.” This means following the direction the fibers are growing. If the wood starts to tear or “chunk” out, you are likely carving against the grain; flip the piece over and work from the other direction.
- Keep Your Shavings: When you put a project in a paper bag to dry, fill the bag with the wet shavings you just carved. This regulates the moisture and slows the drying process perfectly.
- Seal End Grain Immediately: As soon as you cut a log into a blank, seal the ends. Even a few hours of exposure to a dry breeze can start microscopic cracks that will grow later.
Advanced Considerations: Shrinkage and Fiber Compression
For the serious practitioner, understanding shrinkage ratios is essential. Most hardwoods shrink twice as much tangentially (parallel to the growth rings) as they do radially (from the center out). This is why a round green branch will always dry into an oval shape. Advanced carvers use this to their advantage, “pre-distorting” their designs so that they shrink into the desired final shape.
Another advanced technique involves fiber compression. When you use a very sharp knife on green wood, you are sometimes compressing the soft fibers rather than cleanly severing every one. When the wood dries, these fibers may “rebound,” leading to a slightly fuzzy surface. The solution is to let the piece dry until it is nearly seasoned, then take one final, whisper-thin pass with a freshly stropped blade to achieve a “glass-like” tool finish.
Steam bending is also much more effective with green wood. Because the lignin (the glue that holds wood cells together) is already hydrated, it takes less heat and time to make the wood pliable enough to bend into dramatic curves for chair backs or basket rims.
Example Scenario: The Heirloom Cooking Spoon
Imagine you have a freshly fallen Silver Birch branch about 4 inches (10 cm) in diameter. Here is the workflow for a standard 12-inch (30 cm) cooking spoon:
First, you use a saw to cut a 14-inch (35 cm) length of the branch. Immediately, you take your froe and split the log through the center, discarding the half with the pith. You now have a “slab” of green birch. Using a hatchet, you axe away the bark and start tapering the handle while leaving a blocky “bulb” at the end for the bowl.
Next, you move to a shave horse or a simple workbench and use a drawknife to refine the handle’s thickness to about 3/4 inch (19 mm). With a hook knife (a curved blade), you hollow out the bowl of the spoon. At this stage, the wood is soaking wet, and you can feel the moisture on your hands.
You place the rough spoon into a brown paper bag filled with birch shavings. You leave it in a cool, dark corner of your workshop for 10 days. When you take it out, the spoon feels lighter and the wood is noticeably harder. You then take your sloyd knife and perform the final “finishing cuts,” removing the rough marks left by the hatchet and leaving a series of beautiful, shimmering facets. A light coat of food-safe linseed oil or walnut oil completes the project.
Final Thoughts
Embracing green wood is about more than just making “things.” It is about developing a relationship with the natural world and the materials it provides. When you learn to read the grain and anticipate the way a branch will shrink, you are tapping into a body of knowledge that sustained our ancestors for millennia. It is a slow, meditative process that rewards patience and observation.
The transition from burning your waste wood to carving it is the ultimate form of upcycling. Instead of a few minutes of warmth in a stove, a single branch can provide a lifetime of utility in the kitchen or the home. It is a practical skill that builds self-reliance and connects you to the specific trees in your own backyard or neighborhood.
Don’t be afraid of the cracks and warps that will inevitably happen when you first start. Every failed piece is a lesson in wood anatomy. Start small, keep your tools sharp, and soon you will find yourself scanning every fallen branch not for its BTU value, but for the “crafting gold” hidden beneath the bark. Experiment with different species, observe how they dry, and let the wood guide your hands.
