How To Become More Self-Sufficient Without Starting a Full-Blown Farm…
Want to start preserving your harvest, making your own soap, or building a backyard root cellar — but not sure where to begin? “Homesteading Advice” gives you instant lifetime access to 35+ practical homesteading books on food preservation, veggie gardening, DIY natural cleaning products (save over $250 per year with this skill alone), brewing, off-grid energy, and a whole lot more…
Click Here To Check It Out Now!
That dark, ‘useless’ corner of your yard is actually the highest-earning square footage on your property. Most gardeners see a dark, damp corner as a problem. Smart homesteaders see it as the perfect environment for gourmet mushrooms. Stop trying to grow sun-loving grass in the mud and start harvesting fungal gold using nothing but old logs and shade.
The traditional approach to backyard landscaping often treats shade as a liability. We spend hundreds of dollars on shade-tolerant fescues or struggle with mossy patches that never quite look like a lawn. Meanwhile, a different kind of agriculture—one practiced for centuries in the mountains of Japan and the forests of Europe—thrives in exactly these conditions. By leaning into the natural biology of the forest floor, you can turn a forgotten patch of dirt into a perennial pantry of Shiitake, Oyster, and Lion’s Mane mushrooms.
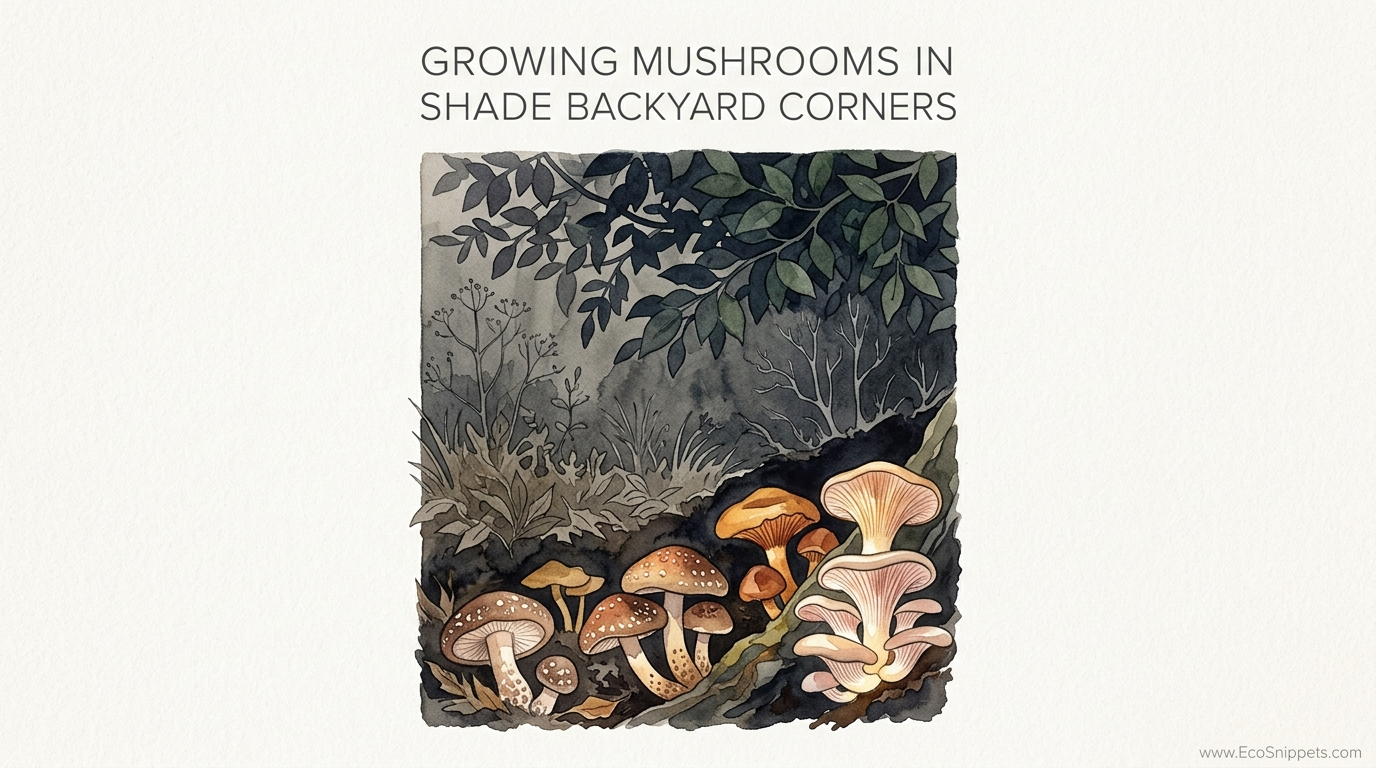
Growing Mushrooms In Deep Shade Backyard Corners
Growing mushrooms in deep shade is the practice of utilizing low-light, high-moisture environments to cultivate saprophytic fungi on natural wood substrates. Unlike green plants that require photosynthesis to create energy, mushrooms are decomposers. They thrive where the sun cannot reach because those areas naturally retain the humidity and cooler temperatures essential for fungal life.
In a real-world backyard setting, this translates to the north side of your garage, the space under a dense evergreen canopy, or the damp alleyway between a fence and a shed. These are areas where the soil may stay too wet for standard vegetables and the light is too weak for even “partial shade” perennials. In these microclimates, logs inoculated with mushroom spawn act as biological batteries, slowly converting the carbon and cellulose of the wood into nutrient-dense, high-value food.
This method is particularly effective for those looking to maximize self-reliance on small acreage. While a traditional garden bed might produce for four to five months of the year, a well-managed mushroom yard can provide harvests for several seasons and, depending on the wood species used, continue to produce for nearly a decade without the need for tilling, weeding, or fertilizing.
How the Fungal Goldmine Works
The process of log cultivation is a slow-motion dance between the wood and the mycelium. It begins with “inoculation,” where a specific strain of mushroom is introduced into a freshly cut, healthy log. This is typically done using “spawn”—mycelium that has been grown on wooden plugs or sawdust.
Once the spawn is inserted into the log and sealed with wax to prevent drying and contamination, the “spawn run” begins. During this phase, which can last from six months to two years, the mycelium threads its way through the sapwood of the log. It consumes the nutrients stored in the wood cells, effectively “claiming” the log as its own.
The environment of your backyard corner provides the critical climate control for this run. Deep shade prevents the sun from baking the logs and killing the sensitive mycelium, while the natural dampness of a low-light area helps maintain the log’s internal moisture content, which should ideally stay between 40% and 50%. When the log is fully colonized and environmental conditions—usually a change in temperature or a heavy rain—trigger a biological response, the fungus “fruits,” sending out the gourmet mushrooms we recognize.
Species Selection: Matching Fungi to Your Forest
Not every mushroom is suited for every log, and choosing the right pairing is the difference between a bountiful harvest and a rotting pile of wood. The “gold standard” for log cultivation has long been the Shiitake (Lentinula edodes), largely because it is a vigorous grower that produces a firm, marketable mushroom with a long shelf life.
The Primary Players
- Shiitake: Prefers dense hardwoods like Oak and Beech. It is the most reliable producer for beginners and can be “shocked” (forced to fruit) through soaking.
- Oyster Mushrooms: These are the opportunists of the fungal world. While they can grow on Oak, they thrive on “softer” hardwoods like Poplar, Aspen, and Willow. They colonize faster than Shiitake but the logs tend to decompose more quickly.
- Lion’s Mane: A medicinal and culinary powerhouse that looks like a white pom-pom. It prefers thick logs of Beech, Maple, or Oak. It is slower to start but can produce for many years once established.
- Reishi: Often grown for its medicinal properties, Reishi logs are often buried horizontally (the “totem” or “buried log” method) to simulate its natural growth habit on stumps and roots.
When selecting your species, consider your local climate. Some Shiitake strains are “wide range,” meaning they fruit in both spring and fall, while others are “warm weather” or “cold weather” specific. Matching the strain to your region’s natural temperature swings will ensure your logs fruit when they have the best chance of success.
Sourcing and Preparing the Wood
The most critical factor in successful mushroom logs is the wood itself. You cannot use wood that has been sitting on the ground or logs that have been dead for months. These are already being colonized by “wild” fungi that will fight your gourmet spawn for dominance.
The Timing of the Cut
The ideal time to harvest mushroom logs is during the tree’s dormant season—late autumn through early spring. This is when the sugar and nutrient content in the sapwood is at its peak, providing a rich feast for the mycelium. Cutting while the tree is dormant also ensures the bark is tight. If you cut a tree in the heat of summer, the bark often slips or peels easily, which is a death sentence for a mushroom log; the bark is the log’s “skin” and keeps the moisture in.
Log Dimensions
For ease of handling, most homesteaders aim for logs that are 3 to 4 feet (90 to 120 cm) in length and 4 to 6 inches (10 to 15 cm) in diameter. Smaller logs colonize faster but “burn out” sooner. Larger logs are heavy and difficult to move but can provide a fungal goldmine for 8 to 10 years.
Once the wood is cut, it should “rest” for about two weeks. This allows the tree’s natural antifungal defenses (which are still active immediately after cutting) to dissipate, making it easier for your introduced spawn to take hold. However, do not wait longer than six weeks to inoculate, as the log will begin to lose too much moisture.
The Inoculation Process: A Step-by-Step Guide
Inoculation is the most labor-intensive part of the process, but it is also a rewarding ritual that marks the beginning of your perennial harvest. You will need a drill, a specialized 5/16-inch (8.5 mm) drill bit with a stop collar, your mushroom spawn (plugs or sawdust), a rubber mallet, and food-grade wax (cheese wax or beeswax).
Step 1: Drilling
Drill holes approximately 1 inch (2.5 cm) deep into the log. Space the holes 6 inches (15 cm) apart along the length of the log. For the next row, rotate the log about 2 inches (5 cm) and offset the holes so you create a “diamond” pattern. This pattern ensures the mycelium spreads evenly and colonizes the entire circumference of the log as efficiently as possible.
Step 2: Plugging
If using plug spawn, place a wooden dowel into each hole and drive it flush with the bark using your rubber mallet. If using sawdust spawn, you will use a spring-loaded “inoculation tool” to pack the sawdust into the holes. Sawdust is generally cheaper and colonizes faster, but plugs are easier for beginners because they don’t require specialized tools.
Step 3: Waxing
This is a non-negotiable step. Use a small brush or a wax dauber to cover every single inoculation site with hot, melted wax. You should also wax the ends of the logs and any spots where the bark was damaged during handling. This wax seal prevents moisture from escaping and keeps competitive fungi and insects from entering the “wound.”
Management: The “Spawn Run” Period
After inoculation, the logs enter the “spawn run” phase. This is where your choice of a deep shade corner pays off. Place your logs in a “crib stack” (stacked like a log cabin) or lean them against a low-hanging wire or a fence. The goal is to keep them off the direct soil to prevent “weed” fungi from jumping from the ground to your logs, while still keeping them in a low-airflow, high-moisture environment.
Monitoring Moisture
The internal moisture of the log is the lifeblood of the fungus. If you live in a dry climate or are experiencing a drought, you must intervene. A general rule of thumb is that if it hasn’t rained for two weeks, your logs need a drink. You can spray them with a hose for several hours or, better yet, use a sprinkler. In extreme cases, some growers submerge their logs in a tank of water for 12 hours to fully rehydrate the wood.
Signs of Success
During the spawn run, you can check the ends of the logs. After a few months, you should see white, fuzzy growth—the mycelium—appearing on the cross-section of the wood. This is a clear indicator that the fungus is successfully consuming the log and moving toward the center.
Benefits of Shaded Fungal Farming
Choosing to grow mushrooms in the “useless” shade of your property offers benefits that extend far beyond the dinner table.
- Yield Per Square Foot: A single 4-foot log can produce 1/4 to 1/2 pound (115 to 225 grams) of mushrooms per flush. Stacking twenty logs in a 4×4 foot area can yield significant amounts of food in a space where nothing else would grow.
- Food Security: Mushroom logs are a perennial system. Once established, they require very little “input” (no fertilizer, no gasoline, no annual seed buying) to provide high-protein food.
- High Market Value: Log-grown Shiitakes often command two to three times the price of store-bought, sawdust-grown varieties due to their superior flavor and texture.
- Soil Building: As the logs eventually break down after years of production, they turn into incredibly rich, fungal-dominant compost that can be used to improve the rest of your garden.
Challenges and Common Mistakes
While mushroom cultivation is low-maintenance, it is not “no-maintenance.” Most failures stem from a few common errors.
Using the Wrong Wood
Attempting to grow Shiitake on Evergreen or Conifer logs is the most frequent mistake. The resins and anti-fungal properties of pines, cedars, and firs will kill your mushroom spawn almost instantly. Stick to hardwoods. Similarly, avoid “soft” hardwoods like Willow for Shiitake; they will rot before the mycelium can produce a significant harvest.
Neglecting Moisture
The dark corner of your yard might be shaded, but if it is also under a roof overhang or in a wind tunnel, the logs will dry out. A dry log is a dead log. Beginners often forget that the “shade” must be accompanied by “humidity.”
The “Wait and See” Trap
Insects and slugs love mushrooms as much as you do. Slugs, in particular, can devour an entire flush of Oyster mushrooms overnight. If you don’t monitor your logs when the weather turns wet and cool, you may miss your harvest entirely, leaving only “stubs” where the mushrooms used to be.
Limitations: When This May Not Be Ideal
It is important to maintain a balanced perspective on log cultivation. It is a slow game. If you are looking for a crop you can harvest in 30 days, mushrooms on logs are not for you.
Environmental Constraints
In extremely arid environments, maintaining log moisture may require so much water that it becomes ecologically or financially impractical. If your “shaded corner” is in a desert, you might be better off with indoor “grow bags” than outdoor logs.
Time to Harvest
Depending on the log size and species, you might wait 12 to 18 months for your first harvest. This requires forward planning and patience. You are essentially planting a “fungal orchard,” and like a fruit tree, it takes time to mature.
Comparison: Log Cultivation vs. Sawdust Blocks
To help decide if log cultivation fits your homestead, consider how it compares to the commercial standard of sawdust “grow bags.”
| Feature | Log Cultivation (Backyard) | Sawdust Blocks (Indoor/Bags) |
|---|---|---|
| Initial Cost | Low (logs often free, just buy spawn) | Moderate (requires sterile environment/bags) |
| Time to First Harvest | 6 to 18 months | 2 to 4 weeks |
| Longevity | 3 to 8 years per log | 2 to 3 weeks (one or two flushes) |
| Flavor/Density | High (very firm, intense flavor) | Moderate (higher water content) |
| Maintenance | Low (seasonal watering/stacking) | High (strict humidity/temp control) |
Practical Tips for Immediate Success
If you are ready to start today, these tips will put you ahead of most beginners.
- Label Your Logs: Use aluminum tags or specialized markers to record the species of mushroom, the date of inoculation, and the wood type. Two years from now, you won’t remember which log is which.
- Elevate Your Stack: Never let your “goldmine” sit directly on the dirt. Use a pallet, some cinder blocks, or “sacrificial” logs to keep your producing logs at least 6 inches (15 cm) off the ground.
- The “Thump” Test: To check if a log is too dry, give it a firm hit with your hand. A well-hydrated log will give a dull, solid “thud.” A log that has dried out too much will “ring” or sound hollow.
- Strategize Your Harvest: For Shiitake, harvest when the “veil” under the cap has just broken and the edges are still slightly curled under. If the cap is flat and the gills are fully exposed, the mushroom is still edible but will be less firm and have a shorter shelf life.
Advanced Considerations: Shocking and Scaling
For the serious practitioner, “forced fruiting” or “shocking” allows you to control the harvest. Once a Shiitake log is fully colonized (usually after 12 months), you can submerge it in cold water for 24 hours. This sudden temperature drop and hydration “shocks” the mycelium into thinking a major rain event has occurred, triggering a massive flush of mushrooms within 7 to 10 days.
By staggering your shocking schedule—soaking two logs every weekend, for example—you can ensure a continuous supply of fresh mushrooms for your family throughout the entire growing season. This turns a random occurrence of nature into a predictable, high-output agricultural system.
Scenario: The Three-Year Fungal Cycle
To visualize how this works in practice, let’s look at a small-scale setup.
Year 1: You source 10 Oak logs and 5 Poplar logs in February. You inoculate them in March with Shiitake and Oyster spawn. You stack them in a crib stack behind your north-facing fence. You water them once a week during the summer. By autumn, you might see a “bonus” flush of Oysters on the Poplar logs, but the Shiitakes are still sleeping.
Year 2: In May, after a heavy spring rain, the Shiitake logs explode with their first real harvest. You collect 3 pounds of gourmet mushrooms. In June, you “shock” four logs to have mushrooms for a mid-summer barbecue. In October, you get another natural flush.
Year 3: The system is now in full swing. You inoculate 5 more logs to replace the ones that will eventually expire. The original logs are now producing larger, more frequent flushes as the mycelium has fully “owned” the wood. You are now harvesting more than you can eat fresh and begin dehydrating mushrooms for winter soups.
Final Thoughts
Transforming a dark, muddy corner of your yard into a fungal goldmine is more than just a gardening project; it is an act of reclamation. It is about recognizing that nature provides a solution for every environment, provided we have the wisdom to listen. By utilizing the shade and the natural cycle of the trees, you create a system that works with the land rather than against it.
This journey from “useless” space to high-earning square footage requires very little in the way of expensive machinery or complex technology. It demands only a drill, some wax, and the patience to wait for the mycelium to do its work. As those first caps push through the bark, you will realize that the most productive parts of your homestead aren’t always the ones bathed in sunlight.
Start small, perhaps with just three or four logs, and observe the magic of the fungal kingdom. Once you taste a Shiitake harvested fresh from your own backyard, you will never look at a shady corner the same way again. You won’t see a problem; you will see the potential for fungal gold.
