How To Become More Self-Sufficient Without Starting a Full-Blown Farm…
Want to start preserving your harvest, making your own soap, or building a backyard root cellar — but not sure where to begin? “Homesteading Advice” gives you instant lifetime access to 35+ practical homesteading books on food preservation, veggie gardening, DIY natural cleaning products (save over $250 per year with this skill alone), brewing, off-grid energy, and a whole lot more…
Click Here To Check It Out Now!
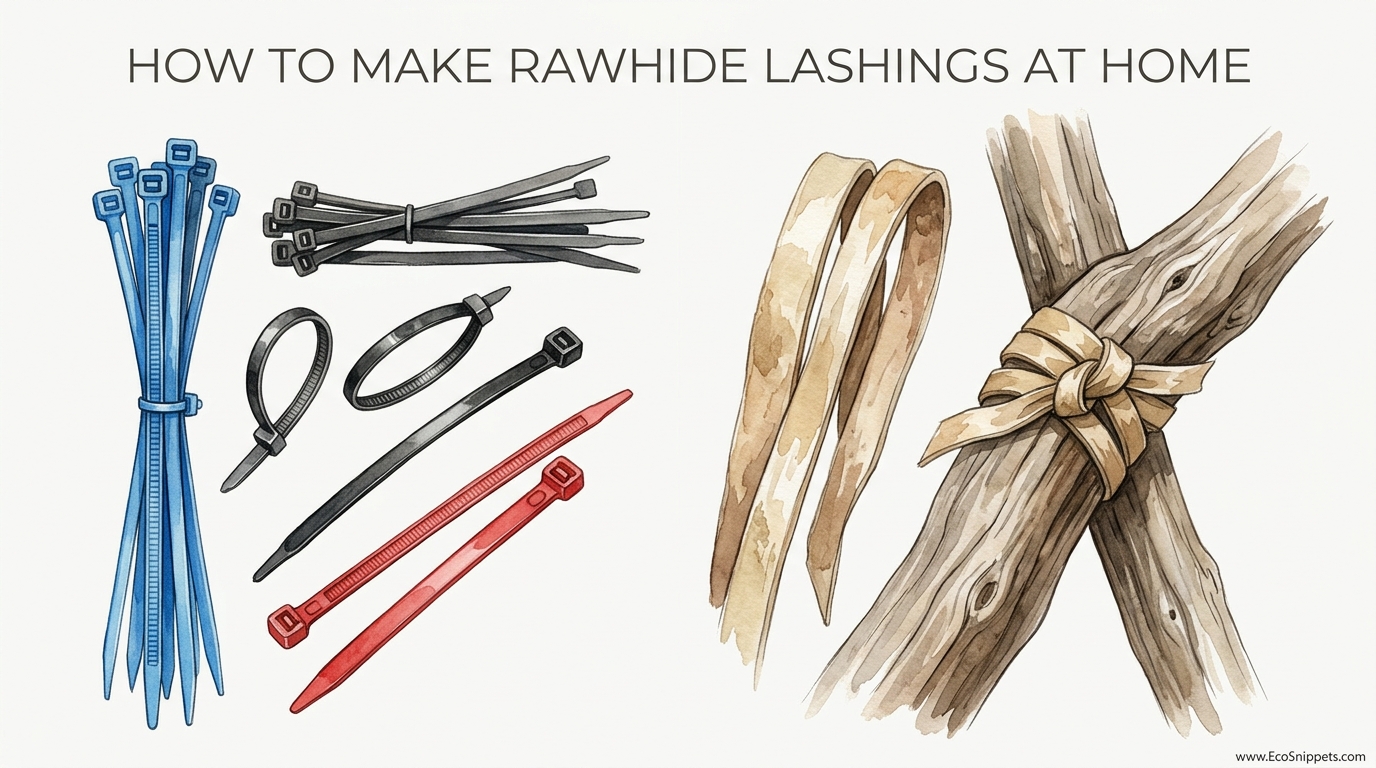
Zip ties last a season, but wet-shrunk rawhide creates a structural bond that becomes stronger as it ages, lasting for decades. Our ancestors used ‘nature’s shrink-wrap’ to build everything from sleds to house frames. When rawhide dries, it shrinks with thousands of pounds of force, creating a joint that never wobbles and never breaks down in the sun.
If you have ever seen a hundred-year-old pack saddle or a traditional drum, you have seen the incredible staying power of this material. While modern hardware stores offer a variety of plastic fasteners and steel brackets, there is a certain self-reliance in knowing how to harvest and use the strength of a hide. It is the ultimate sustainable fastener, turning a byproduct of the hunt or the farm into a structural component that rivals modern adhesives.
Understanding how to work with rawhide is like learning a forgotten language of the woods. It requires patience and a bit of “pioneer grit,” but the results are far superior to anything you can buy in a plastic bag. This guide will walk you through the process of creating and applying rawhide lashings, from the initial cleaning of the hide to the final, rock-hard cure.
How To Make Rawhide Lashings At Home
Rawhide is exactly what the name implies: an animal skin that has been cleaned of flesh and hair but has not been tanned into leather. Unlike leather, which is treated with tannins or oils to remain soft and supple, rawhide is allowed to dry in its natural state. This process allows the collagen fibers to “glue” themselves back together, transforming a floppy, wet skin into a material that is as hard as a fingernail and nearly as strong as bone.
In the real world, rawhide lashings are used where structural integrity is paramount. Historically, they bound the stone heads of tomahawks to wooden handles and held together the frames of birchbark canoes. Today, craftsmen use them for snowshoe webbing, furniture joinery, and even repairing cracked tool handles. Because the material shrinks as it dries, it provides a level of tension that is impossible to achieve with cordage alone.
Imagine you are building a simple tripod for a campfire. If you use paracord, the knots may eventually slip or stretch. If you use plastic zip ties, the sun’s UV rays will eventually make them brittle until they snap. But if you wrap that joint with wet rawhide strips, the lashing will pull tighter and tighter as the moisture evaporates, eventually becoming a permanent, integrated part of the wood.
The Science of the Shrink-Wrap Effect
To use rawhide effectively, you must understand the underlying principles of how it functions. Animal skin is composed primarily of collagen, a structural protein. When the skin is wet, these collagen fibers are loose and lubricated, allowing the hide to stretch significantly. As the water leaves the hide, the fibers begin to contract and bond to one another.
This contraction happens with incredible force. As the hide reaches its final dry state, it can shrink by up to 10% or 15% in length and width. If the rawhide is wrapped around a joint, this shrinkage creates a massive amount of “clamping pressure.” It is this pressure that creates the structural bond, essentially turning two separate pieces of wood into a single unit.
The drying process also involves a natural chemical bond. The proteins in the hide act as a primitive glue. When you lash two pieces of wood together, the wet rawhide actually seeps slightly into the grain of the wood. Once dry, the lashing is not just sitting on top of the wood; it is physically bonded to the surface, making it much harder for the joint to shift or vibrate loose.
Step-By-Step: Creating Rawhide From Scratch
Making your own rawhide is a labor-intensive process, but it ensures you have the highest quality material for your projects. You can use the hides of deer, elk, or cattle, depending on the thickness you need for your specific application.
1. Sourcing and Fleshing
Start with a “green” hide, which is a fresh skin that has not been treated. The first task is to remove every bit of meat, fat, and membrane from the flesh side. This is traditionally done by draping the hide over a “fleshing beam”—a smooth, rounded log—and using a scraper to push the unwanted material off.
If you leave fat on the hide, it can “burn” the skin, causing it to rot rather than dry properly. You want the flesh side to be a uniform, creamy white color. This process takes time and physical effort, but it is the foundation of a good lashing.
2. Dehairing with the Ash Soak
Once the flesh side is clean, you must remove the hair. The most effective traditional method is to soak the hide in an alkaline solution, which causes the hair follicles to release. You can make this solution by mixing several coffee cans of hardwood ashes into a barrel of water.
The hide should soak for several days, usually between 5 and 10 days depending on the temperature. Periodically check the hide; when the hair can be easily wiped away with your hand, it is ready. Pull the hide out and use your scraper again on the hair side to remove the fur and the “grain” (the thin outer layer of skin).
3. Rinsing and Neutralizing
After the hair is removed, the hide will be highly alkaline from the ash soak. It is vital to rinse it thoroughly. Placing the hide in a clear, running stream overnight is the best way to ensure all chemicals are washed away. If you are working at home, soak it in several changes of fresh water over 24 hours.
Some practitioners add a small amount of vinegar or baking soda to the final rinse to help neutralize the pH. The goal is a clean, slippery, and translucent hide that is ready to be cut into lashing strips.
4. Cutting the Spiral Lacing
While you can cut strips from a flat hide, the most efficient way to get long, continuous lashings is the spiral method. Lay the wet hide flat and cut it into a large circle. Start at the outer edge and begin cutting a continuous strip about 1/2 inch (12 mm) wide, working your way toward the center in a spiral.
This method can turn a single deer hide into dozens of feet of high-strength cordage. Once cut, the strips can be used immediately while wet, or they can be dried and stored. If you dry them, simply soak them in a bucket of water for an hour or two when you are ready to use them again.
How to Apply Rawhide Lashings
Applying the lashing is where the magic of the “shrink-wrap” happens. You must work quickly while the material is fully saturated and pliable.
The Basic Wrap
When joining two poles, such as in a furniture frame or a tool repair, start with a simple knot or by tucking the end of the rawhide strip under the first few wraps. Pull the material as tight as you possibly can by hand. Remember, it will get tighter as it dries, but you want to eliminate all slack from the beginning.
Use a “clove hitch” or a “square lashing” pattern depending on the angle of the joint. For tool handles, a simple tight spiral wrap is often sufficient. Ensure that each wrap overlaps the previous one slightly, or sits tightly against it, to create a solid “skin” of rawhide over the joint.
Managing the Dry Time
Rawhide must dry naturally. Do not use a heat gun or place it directly in a fire, as extreme heat can “cook” the proteins and make the lashing brittle. A cool, dry place with good airflow is ideal. As the water evaporates, you will see the rawhide turn from a pale, opaque white to a translucent, amber-brown color.
Depending on the thickness of the hide and the humidity, this can take anywhere from 12 to 48 hours. During this time, the lashing will shrink and the joint will become progressively more rigid. Once it is fully dry, it will be as hard as plastic but much more durable.
Benefits of Rawhide Lashings
The most significant advantage of rawhide is its longevity. Unlike synthetic materials, rawhide does not break down when exposed to the ultraviolet rays of the sun. This makes it ideal for outdoor equipment like sleds, pack frames, and permanent camp structures.
Another benefit is structural integration. Because the rawhide shrinks and bonds to the wood, it creates a joint that resists vibration. In a traditional dog sled, for example, rawhide lashings allow the frame to flex slightly under the stress of the trail without the fasteners ever backing out or snapping like a metal screw or a plastic tie might.
Finally, there is the factor of cost and sustainability. For someone living a self-reliant lifestyle, hides are often a waste product. Learning to process them into high-strength fasteners reduces reliance on industrial supply chains and ensures you can maintain your gear even in remote locations.
Challenges and Common Mistakes
One of the most common mistakes is cutting the lashings too thin. While a thin strip might look neater, it has less “shrinkage mass” and may snap under the intense pressure of the drying process. Aim for a width of at least 3/8 inch (10 mm) for structural joints.
Another challenge is “fat souring.” If the hide was not cleaned properly, the residual fat can turn rancid, leading to a foul smell and a weakened lashing. Always ensure the flesh side is scraped clean until only the white dermal layer remains.
Uneven drying can also cause issues. If one side of a joint dries much faster than the other, it can pull the wood out of alignment. If you are working on a precise piece of furniture, try to ensure the airflow is even around the entire lashing to keep the tension balanced.
Limitations: When Rawhide is Not Ideal
Rawhide has one major enemy: persistent moisture. Because it is an untanned organic material, it will re-hydrate if it stays wet for an extended period. If a rawhide lashing is submerged in water or kept in a very humid environment without protection, it will soften, stretch, and eventually rot.
This limitation means that rawhide is not the best choice for items that will be permanently underwater, such as the hull of a boat below the waterline, unless it is heavily waterproofed. In very wet climates, rawhide requires regular maintenance and sealing to remain effective.
Furthermore, rawhide lashings are not “instant.” Unlike a zip tie that provides tension the second you pull it, rawhide requires a drying period before it reaches full strength. If you need a repair that is structural within minutes, you will need to look elsewhere.
Optional Comparison: Rawhide vs. Plastic Zip Ties
While both serve the purpose of binding objects together, they operate on completely different principles.
| Feature | Plastic Zip Ties | Rawhide Lashings |
|---|---|---|
| Durability (UV) | Low; becomes brittle in sun. | Very high; impervious to sun. |
| Clamping Force | Static; based on pull strength. | Dynamic; increases as it dries. |
| Longevity | 1–5 years outdoors. | 20–100+ years if kept dry. |
| Moisture Resistance | Excellent. | Poor; requires sealing/pitch. |
| Skill Level | None required. | Intermediate to Advanced. |
Practical Tips and Best Practices
To get the most out of your rawhide, consider “casing” the material before use. This involves soaking the dry rawhide until it is soft, then wrapping it in a damp cloth or plastic for a few hours. This allows the moisture to distribute perfectly through the fibers, making it more manageable than if it were dripping wet.
When lashing tools, always bevel the edges of the rawhide. Once dry, the edges of a rawhide strip can be surprisingly sharp—almost like a piece of hard plastic. Taking a moment to round the edges with a knife before you wrap will make the finished handle much more comfortable for the hand.
If your project will be exposed to rain, you must waterproof the lashing. Our ancestors used a mixture of pine pitch, charcoal, and fat to create a “durable lacquer.” Today, you can use modern spar urethane or even a heavy coating of beeswax to seal the pores of the hide and prevent it from re-hydrating.
Advanced Considerations for Practitioners
For large structural projects, consider the grain of the hide. Like wood, rawhide has a grain direction that runs from the neck to the tail of the animal. It generally stretches more across the width of the body than it does along the length. When cutting your lashings, pay attention to this orientation to maximize the strength of your cordage.
You can also create multi-strand “rope” lashings by twisting several wet strips together. As they dry and shrink, they will lock into a single, incredibly strong cable. This technique was used for heavy-duty tasks like pulling large loads or creating suspension bridges in some cultures.
Another advanced technique is “tapering.” For a decorative and functional wrap on a handle, you can taper the width of the strip as you go. This allows for a smooth transition between the lashing and the wood, preventing a “lip” that might catch on clothing or gear.
Real-World Scenarios and Examples
Consider a scenario where you have a favorite axe with a handle that has developed a small longitudinal crack. Instead of throwing it away, you can clean the wood, apply a bit of wood glue into the crack, and then wrap the entire neck of the axe in wet deer rawhide. As the rawhide dries, it will exert thousands of pounds of pressure, effectively “clamping” the crack shut and providing a protective armor that prevents future damage from overstrikes.
In another example, imagine building a rustic chair for a cabin. Instead of using nails or screws which might loosen over time as the wood seasons, you use “bored-hole” joinery—where one leg fits into a hole in the seat. By wrapping that joint with a thin strip of rawhide, you ensure that even if the wood shrinks slightly over the years, the lashing will remain tight, keeping the chair rock-solid for a lifetime.
These applications demonstrate that rawhide is not just a primitive curiosity; it is a high-performance engineering material that solves problems modern fasteners often cannot.
Final Thoughts
Mastering the use of rawhide lashings is more than just a survival skill; it is a way to connect with a deeper understanding of materials and craftsmanship. There is a profound satisfaction in seeing a joint you bound with your own hands become a hard, permanent structure that will likely outlive you.
While the process of fleshing, dehairing, and drying a hide requires effort, the reward is a fastening system that is both beautiful and incredibly strong. It forces you to work with the natural rhythms of the material, respecting the drying time and the power of the shrink-wrap bond.
Whether you are repairing a tool, building a traditional frame, or simply experimenting with ancestral techniques, rawhide offers a level of reliability and grit that no modern plastic tie can match. Start small with a tool handle or a simple tripod, and you will soon find yourself looking for every excuse to use “nature’s shrink-wrap” in your workshop.
