How To Become More Self-Sufficient Without Starting a Full-Blown Farm…
Want to start preserving your harvest, making your own soap, or building a backyard root cellar — but not sure where to begin? “Homesteading Advice” gives you instant lifetime access to 35+ practical homesteading books on food preservation, veggie gardening, DIY natural cleaning products (save over $250 per year with this skill alone), brewing, off-grid energy, and a whole lot more…
Click Here To Check It Out Now!
Even ‘organic’ bags carry a heavy environmental tax – here is how to grow your own fertility for zero dollars. Shipping heavy bags of dirt across the country isn’t sustainable. Discover the integrated system that feeds your garden while you sleep.
The traditional garden supply chain relies on a fossil-fuel-heavy logistics network to move nutrients from industrial processing centers to your backyard. Every plastic bag of compost or concentrated fertilizer represents energy spent on mining, manufacturing, and transport. You can break this cycle by turning your garden beds into self-contained nutrient factories through the use of green manure.
This approach honors ancestral wisdom that prioritized the health of the land over the convenience of a store-bought quick fix. It requires a shift in perspective from viewing the soil as a bank account to be withdrawn from to seeing it as a living organism that must be fed. You will learn how to harness the power of photosynthesis and microbial symbiosis to build deep, dark, resilient soil without spending a dime on imported inputs.
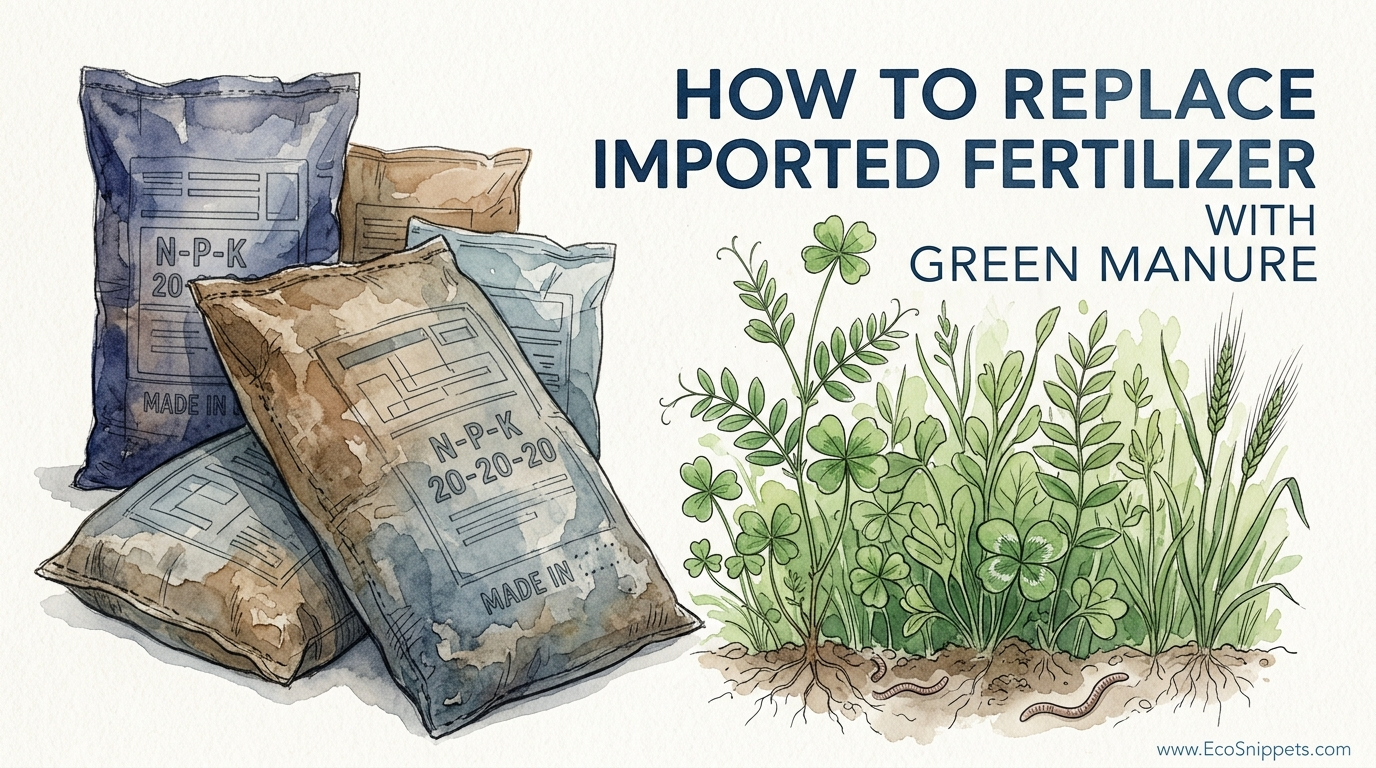
How To Replace Imported Fertilizer With Green Manure
Green manure refers to specific crops grown not for the dinner table, but to be returned directly to the earth. These plants serve as biological pumps that pull nitrogen from the atmosphere and minerals from deep subsoil layers, concentrating them in their tissues. When you incorporate these plants back into the soil, they decompose and release a balanced buffet of nutrients for your next vegetable crop.
This practice exists because nature never leaves the ground bare. In any wild ecosystem, plants die and rot in place, building humus and feeding the next generation. Green manuring simply accelerates and directs this natural process. It is used in organic grain farming, regenerative market gardens, and small-scale homesteads to maintain productivity across years of heavy cropping.
Think of green manure as a “catch crop” that traps nutrients before they leach away in the rain. Instead of buying a bag of nitrogen that was synthesized using the energy-intensive Haber-Bosch process, you are inviting legumes like clover or vetch to host specialized bacteria on their roots. These bacteria pull nitrogen gas from the air—something no human-made factory can do as efficiently—and turn it into a form plants can actually use.
How Living Fertility Works: The Biology of the System
The core of this system is the relationship between leguminous plants and Rhizobium bacteria. When you sow a legume seed, the emerging roots send out chemical signals to attract these beneficial microbes. Once they meet, the bacteria enter the root hairs and form small nodules. Inside these tiny “factories,” the bacteria trade nitrogen they’ve captured for sugars the plant produces through photosynthesis.
Nitrogen fixation is the primary reason to use green manure. A well-managed stand of Sunn Hemp (Crotalaria juncea) can fix up to 300 lbs of nitrogen per acre (336 kg/ha) in a single season. This is more than enough to fuel a heavy-feeding crop of corn or tomatoes that follows. Beyond nitrogen, deep-rooted crops like Daikon radish or alfalfa act as “biodrills.” Their taproots can penetrate compacted clay to depths of 6 feet (1.8 meters) or more, pulling up phosphorus, potassium, and trace minerals that were previously locked away in the subsoil.
When the plant is terminated, these nutrients don’t just vanish. They are held within the organic matter of the plant’s biomass. As soil organisms like earthworms and fungi break down this material, the nutrients are released slowly. This “slow-release” nature prevents the “burn” often associated with synthetic fertilizers and ensures that the soil biology remains active and healthy.
How to Grow and Terminate Your Own Fertility
Success with green manure depends on timing and species selection. You must treat your fertility crop with the same respect as your cash crops. This means preparing a clean seedbed and ensuring adequate moisture for germination.
Phase 1: Selecting and Sowing
Choose a species based on your current climate and soil needs. If you need nitrogen, focus on legumes like hairy vetch, crimson clover, or field peas. If your soil is compacted and lacks organic matter, choose high-biomass grasses like cereal rye or sorghum-sudangrass.
Broadcasting is the most common method for small plots. Scatter the seeds evenly across the bed and rake them in slightly to ensure good seed-to-soil contact. For larger areas, a simple hand-cranked seeder works well. Ensure you sow at the correct rate; for instance, buckwheat requires roughly 1 lb per 500 square feet (0.45 kg per 46 square meters) to create a dense enough canopy to smother weeds.
Phase 2: Management
Once established, most green manures require very little intervention. However, you must monitor the growth stage closely. The goal is to maximize biomass without allowing the plants to go to seed. If a green manure crop drops its seeds, it can become a weed problem in your subsequent vegetable garden.
Phase 3: Termination and Incorporation
The most critical step is knowing when and how to “kill” the crop. The ideal time for termination is when the plants reach 50% bloom. At this stage, the nitrogen content is at its peak and the plant tissues are still succulent enough to break down rapidly.
There are three primary ways to incorporate the material:
- The Chop and Drop: Use a scythe, sickle, or weed trimmer to cut the plants at the base. Leave the residue on the surface as a mulch. This is ideal for no-till systems.
- Tilling In: Use a spade or rotary tiller to turn the green material into the top 3–6 inches (7–15 cm) of soil. This speeds up decomposition but can disrupt soil structure if done too aggressively.
- Winter Killing: In colder climates, sow frost-sensitive crops like oats or forage radishes in late summer. The first hard freeze will kill the plants, leaving a protective mat of dead material that is easy to rake away or plant through in the spring.
Practical Benefits of Growing Your Own Fertilizer
Replacing imported bags with home-grown fertility offers measurable improvements to the garden ecosystem that go beyond simple nutrient counts.
Improved Soil Structure
The addition of massive amounts of organic matter—sometimes called “green gold”—radically changes soil texture. In sandy soils, the decomposed material acts as a sponge, increasing water retention significantly. In heavy clay, the organic matter prevents the soil particles from sticking together, creating the “crumb” structure or tilth that gardeners crave.
Biological Activation
Synthetic fertilizers can sometimes suppress soil life by providing nutrients in a form that bypasses the natural “food web.” Green manure does the opposite. It provides a massive flush of carbon that feeds beneficial fungi and bacteria. This increased microbial activity helps protect plants from soil-borne diseases and improves the uptake of micronutrients like zinc and iron.
Erosion Control and Weed Suppression
Bare soil is an invitation for disaster. Wind and rain can strip away the fertile top layer of a garden in a single season. A thick carpet of green manure shields the earth from the impact of raindrops and holds the soil in place with a dense network of roots. Additionally, fast-growing crops like buckwheat or mustard grow so quickly that they shade out competing weeds, reducing your labor in the following season.
Challenges and Common Mistakes
While the system is robust, beginners often stumble on a few common pitfalls. Understanding these risks will help you avoid a “fertility failure.”
The “Nitrogen Tie-Up”
If you incorporate high-carbon materials—like mature, straw-like grasses—right before planting your vegetables, you might notice your crops turning yellow and stunted. This happens because soil microbes need nitrogen to break down all that carbon. They will “rob” the soil’s available nitrogen to finish the job, leaving none for your plants. To avoid this, ensure your green manure has a good mix of legumes (which are high in nitrogen) or wait at least 3 weeks after tilling in grasses before you plant.
Missing the Termination Window
Allowing a crop like cereal rye to grow too tall and go to seed is a frequent error. Once the stems become woody and “lignified,” they take much longer to decompose. Furthermore, the seeds will sprout alongside your carrots and lettuce, turning your fertility crop into a persistent weed.
Inadequate Inoculation
Legumes cannot fix nitrogen without the specific Rhizobium bacteria. If those bacteria aren’t already in your soil, your clover or beans will simply grow as heavy feeders, pulling nitrogen out instead of putting it in. Always use a species-specific inoculant when sowing legumes for the first time in a new area.
Limitations of the Green Manure System
This method is not a magic bullet for every situation. You must be aware of its practical boundaries.
Space and Time Constraints
In a tiny urban garden with only two raised beds, dedicating one entire bed to a “fertility crop” for three months might not be feasible if your goal is maximum food production. Green manure requires that the land be “rested” from vegetable production for a period. If you have limited space, you must get creative with intercropping—growing the manure alongside your vegetables.
Water Requirements
Just like any other crop, green manure needs water to grow. In extreme drought conditions without irrigation, sowing a cover crop might result in a wasted bag of seed. In semi-arid regions, the green manure might actually compete with the subsequent crop for residual soil moisture.
The “Green Bridge” Effect
Sometimes, keeping a living crop in the ground year-round can provide a “bridge” for pests or diseases to survive the winter. For example, certain brassica-based green manures (like mustard) can host the same pests that attack your broccoli. Careful rotation is still necessary even when using soil-building crops.
Comparison: Imported Bagged Fertilizer vs. Green Manure
Understanding the measurable differences helps in choosing the right path for your homestead.
| Feature | Imported Bagged Fertilizer | Green Manure System |
|---|---|---|
| Initial Cost | High ($15–$50 per bag) | Low (Cost of seed only) |
| Labor Level | Low (Spread and forget) | Moderate (Sow, manage, terminate) |
| Sustainability | Low (Fossil fuel dependent) | High (Carbon sequestering) |
| Soil Structure | No improvement (often degrades) | Major improvement (adds humus) |
| Nutrient Release | Rapid (leads to runoff) | Slow and steady (bio-available) |
| Complexity | Simple | Requires timing and knowledge |
Practical Tips for Immediate Application
You can begin transitioning your garden to a self-sustaining system today with these actionable steps.
- Start with Buckwheat: It is the “training wheels” of green manure. It grows to maturity in just 30–45 days, smothers weeds, and has succulent stems that are incredibly easy to chop down with a garden hoe.
- Use Multi-Species Mixes: Instead of sowing just one plant, mix a grass (for biomass) with a legume (for nitrogen). A classic combination is Oats and Austrian Winter Peas. The oats provide a trellis for the peas to climb, maximizing the vertical space.
- Inoculate Your Seeds: Even if you think your soil is healthy, a cheap packet of inoculant ensures that your legumes are actually fixing the maximum amount of nitrogen.
- Monitor the “Snap Test”: When deciding if your green manure is ready to be terminated, grab a stem and bend it. If it snaps cleanly, it is succulent and will rot quickly. If it bends without breaking, it has become too fibrous and may cause a nitrogen tie-up.
Advanced Considerations for Serious Practitioners
For those who have mastered the basics, there are ways to refine the system for even higher efficiency.
Relay Cropping
This involves sowing your green manure into a standing crop of vegetables before they are harvested. For example, you might broadcast clover into your kale rows in late summer. By the time you harvest the kale in the fall, the clover is already established and ready to take over the bed for the winter, ensuring no gap in soil coverage.
Living Mulches
Some practitioners use low-growing perennials like White Dutch Clover as a permanent floor for their garden. You simply clear small “islands” in the clover to plant your tomatoes or peppers. The clover continues to fix nitrogen and protect the soil while your main crop grows above it. This requires careful management to ensure the clover doesn’t out-compete the vegetables for water.
Carbon-to-Nitrogen (C:N) Ratio Tuning
Serious soil builders pay close attention to the C:N ratio of their residue. The “sweet spot” for microbial activity is roughly 24:1. If your mix is too high in carbon (mature rye), you can balance it by adding a high-nitrogen amendment like diluted urine or a small amount of poultry manure during the termination phase to kickstart decomposition.
Real-World Scenario: A One-Year Fertility Cycle
Let’s look at how a single 100-square-foot (9.3-square-meter) garden bed can be managed for zero-cost fertility over twelve months in a temperate climate.
September: After the last tomatoes are pulled, the gardener broadcasts a mix of Cereal Rye and Hairy Vetch. They rake the seeds in and water once.
October–March: The rye and vetch grow slowly, protecting the soil from winter rains and snowmelt. The roots prevent any leftover nutrients from the tomato crop from leaching away.
April: The vetch begins to flower. The gardener uses a weed trimmer to chop the waist-high mass of greenery into small pieces, leaving it on the surface.
May: Two weeks later, the gardener pushes aside the now-wilted mulch to transplant heavy-feeding pumpkins. The decomposing vetch provides a massive flush of nitrogen exactly when the pumpkins begin their rapid growth phase.
August: As the pumpkins finish, the soil is noticeably darker and full of earthworms, ready for the next cycle without a single bag of fertilizer ever being purchased.
Final Thoughts
Building soil fertility through green manure is more than just a gardening technique; it is an act of independence. By moving away from the “imported bag” model, you reclaim control over the health of your land and the quality of your food. You stop being a consumer of fertility and start being a producer of it.
The transition may feel slower than the instant gratification of synthetic pellets, but the results are cumulative. Each season you grow a fertility crop, you are adding to the “biological capital” of your soil. Within a few years, you will find that your garden requires less water, suffers from fewer pests, and produces more nutrient-dense harvests.
Experiment with different species and observe how your local soil responds. Nature has been building the world’s most fertile forests and prairies for eons without the help of a garden center. By aligning your work with these ancient cycles, you ensure that your garden remains productive for generations to come.
