How To Become More Self-Sufficient Without Starting a Full-Blown Farm…
Want to start preserving your harvest, making your own soap, or building a backyard root cellar — but not sure where to begin? “Homesteading Advice” gives you instant lifetime access to 35+ practical homesteading books on food preservation, veggie gardening, DIY natural cleaning products (save over $250 per year with this skill alone), brewing, off-grid energy, and a whole lot more…
Click Here To Check It Out Now!
The most expensive health supplement in the world is currently sitting in your trash can. Most people see “waste” when they look at a carcass, but a homesteader sees 48 hours of slow-simmered healing. Unlocking the minerals and collagen hidden in bones creates a digestive tonic that no store-bought cube can replicate. Stop paying for pills and start simmering your “scraps.”
Modern kitchens have largely forgotten the art of the stockpot, trading hours of nourishment for thirty seconds of a sodium-laden powder. You are likely tossing out the very ingredients that can fortify your joints, seal your gut lining, and improve your sleep. Reclaiming these scraps is more than a culinary trick; it is a return to an ancestral way of living where nothing of value is ever discarded.
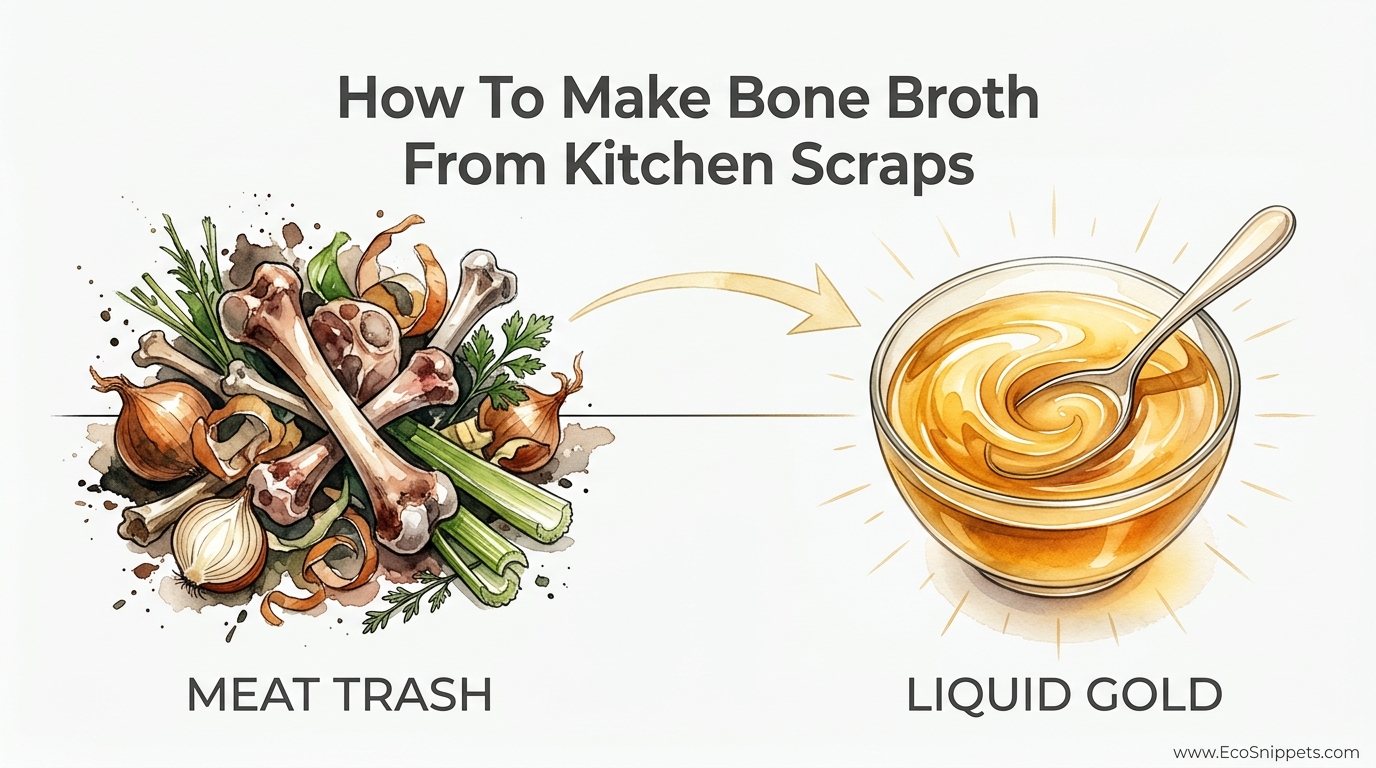
This guide will walk you through the transformation of “meat trash” into “liquid gold.” You will learn the science behind the simmer, the chemistry of the Maillard reaction, and the practical steps to keep a perpetual supply of broth on your shelf. Let us turn your kitchen into a laboratory of self-reliance.
How To Make Bone Broth From Kitchen Scraps
Bone broth is a nutrient-dense infusion made by simmering animal bones and connective tissues for an extended period, typically between 12 and 48 hours. Unlike standard meat stock, which is cooked quickly for flavor, bone broth focuses on the extraction of collagen, amino acids, and minerals. This process requires low heat and a touch of acidity to break down the dense structures of the bone.
You can source these materials directly from your daily cooking. Every chicken carcass, steak bone, and pork rib should be saved in a designated freezer bag rather than the bin. These “scraps” are actually high-quality raw materials waiting for the right conditions to release their therapeutic potential.
Homesteaders often keep separate bags for different species to ensure flavor consistency. One bag may hold poultry carcasses and wing tips, while another holds beef knuckles and marrow bones. Once a bag is full, it is time to fire up the stockpot.
The addition of vegetable ends further enhances the mineral profile. Onion skins, carrot tops, and celery hearts provide depth and potassium without requiring you to use fresh, whole produce. It is a closed-loop system of nutrition that maximizes the value of every dollar spent at the butcher or the market.
The Science of Extraction: How It Works
Making a true bone broth is a lesson in chemistry. The goal is the hydrolysis of collagen, a tough, fibrous protein found in connective tissues. When subjected to moist heat over time, these collagen fibers unwind and transform into gelatin. This gelatin is what gives a well-made broth its famous “jiggle” once it cools in the refrigerator.
Acid plays a supporting role in this process. A small amount of apple cider vinegar or lemon juice lowers the pH of the water, which helps to dissolve the calcium and phosphorus within the bone matrix. This makes the minerals bioavailable, meaning your body can actually absorb and use them.
Temperature management is the most critical variable. High temperatures can denature proteins too aggressively, leading to a cloudy broth with a bitter, scorched flavor. Maintaining a gentle simmer between 180°F and 200°F (82°C to 93°C) ensures a steady extraction without damaging the delicate amino acid chains.
The Maillard Reaction and Flavor
Roasting your bones before they enter the water is not strictly necessary for nutrition, but it is essential for flavor. This process, known as the Maillard reaction, occurs when heat causes a chemical reaction between amino acids and reducing sugars. It creates hundreds of different flavor compounds that result in a deep, umami-rich profile.
For beef and pork bones, roasting at 400°F (204°C) for 30 to 45 minutes is standard. Chicken bones can often go straight into the pot if they were already part of a roasted bird. If you are using raw chicken parts, a quick sear or roast will vastly improve the color and complexity of the final liquid.
Choosing Your Bones: The Anatomy of a Batch
Not all bones contribute the same benefits to your pot. A balanced batch of broth usually includes a mix of bone types to provide both flavor and structural integrity. Serious practitioners categorize bones into three main groups based on their composition.
Joint and Connective Tissue Bones: These are the “gelatin makers.” Knuckles, feet (trotters), necks, and oxtail are loaded with cartilage. Adding a few chicken feet (claws removed) to any poultry broth will almost guarantee a solid gel because they are nearly pure collagen.
Marrow Bones: These are the “flavor builders.” Long leg bones (femurs) contain rich, fatty marrow that provides a silky mouthfeel and essential fatty acids. Marrow bones do not contribute much to the gelatinous set, but they provide the deep, beefy soul of the broth.
Meaty Bones: Scraps like ribs or neck bones often have small amounts of muscle meat still attached. This meat provides the characteristic “soup” flavor that makes the broth palatable. Pure bone broth with zero meat can sometimes taste “flat” or overly mineralized, so keeping some meat in the mix is a wise choice.
Step-by-Step: The Master Protocol
Follow this protocol to ensure a consistent, high-quality result every time you empty your freezer bags. This method works for stovetop pots, slow cookers, and even large electric roasters.
- The Roast: Place 5-7 lbs (2.3-3.2 kg) of bones on a heavy baking sheet. Roast at 400°F (204°C) until browned. If you are using vegetable scraps, you can toss them in the last 15 minutes to caramelize them as well.
- The Soak: Transfer the bones to your pot and cover with filtered water. Add 2 tablespoons (30 ml) of apple cider vinegar. Let the mixture sit for 30 minutes to allow the acid to begin its work before turning on the heat.
- The Gentle Simmer: Bring the water to a very low boil, then immediately drop the heat. You should only see a few bubbles “farting” to the surface occasionally. For chicken, simmer for 24 hours; for beef or bison, 48 hours is ideal.
- The Skim: During the first two hours, a gray foam (scum) may rise to the top. Skim this off with a spoon and discard it to ensure a clean, clear flavor.
- The Strain: Use a fine-mesh strainer or cheesecloth to separate the liquid from the solids. Discard the spent bones—they should be soft and brittle at this point, indicating that the minerals have moved into the water.
- The Chill: Cool the broth quickly by placing the container in an ice bath. Once chilled, a layer of fat will solidify on the top. This fat (tallow or schmaltz) can be scraped off and used for cooking, or left in place to seal the broth if you plan to use it within a few days.
Benefits of Bone Broth
Regular consumption of bone broth provides a spectrum of benefits that modern processed foods simply cannot match. Because the nutrients are in a liquid, pre-digested form, they are incredibly easy for the body to assimilate.
Gut Health and Integrity: Bone broth is rich in glutamine, an amino acid that serves as fuel for the cells lining the intestinal tract. It helps “seal” the junctions in the gut wall, making it a staple for those dealing with leaky gut or general digestive inflammation.
Joint and Bone Support: The glucosamine and chondroitin extracted from the cartilage are the same compounds sold in expensive joint supplements. Instead of a pill, you are getting these in a natural matrix along with the collagen needed to rebuild connective tissue.
Amino Acid Profile: Broth is a concentrated source of glycine and proline. Glycine is an inhibitory neurotransmitter, meaning it has a calming effect on the brain and can significantly improve sleep quality when consumed in the evening.
Bioavailable Minerals: You are drinking a “liquid multivitamin.” The calcium, magnesium, and phosphorus leached from the bones are in an ionic form that the body recognizes and uses immediately for bone density and nerve function.
Challenges and Common Mistakes
Even a simple process can go wrong if you ignore the fundamentals. If your broth isn’t meeting your expectations, it is likely due to one of these common pitfalls.
The “No-Jiggle” Problem: If your broth is liquid when cold, the ratio of water to bones was likely too high. Use just enough water to cover the bones by an inch or two (2.5-5 cm). Adding too much water dilutes the gelatin to the point where it cannot form a structural bond.
Cloudy or Bitter Broth: Boiling the bones too hard or failing to skim the foam can result in a cloudy, off-tasting liquid. Keep the temperature low. Additionally, avoid adding “bitter” vegetables like broccoli, cabbage, or kale scraps, as their sulfur compounds intensify and ruin the flavor during long simmers.
Poor Sourcing: Using bones from factory-farmed animals can lead to a broth that lacks nutrients and may concentrate unwanted additives. Aim for grass-fed beef or pasture-raised poultry whenever possible to ensure the highest collagen density and cleanest fat profile.
Limitations and Safety
While bone broth is a healing tonic, it is not ideal for everyone in every situation. Understanding these boundaries protects your health and maintains the credibility of your kitchen practice.
Lead and Heavy Metals: Studies have shown that bones can sequester small amounts of lead from the environment. While the levels found in homemade broth are typically lower than the EPA’s safety limit for drinking water, those with existing heavy metal toxicity should consult a practitioner. Using organic, pasture-raised bones significantly reduces this risk.
Histamine Intolerance: The long cooking process that makes bone broth so nutritious also increases its histamine content. Individuals with Mast Cell Activation Syndrome (MCAS) or severe histamine intolerance may experience headaches, hives, or digestive distress. For these individuals, a “meat stock” cooked for only 2 to 3 hours is a safer alternative.
Sodium Content: If you are using scraps from previously seasoned meals, the salt content can concentrate as the broth reduces. Always wait until the very end of the cooking process to add salt so you can control the final flavor accurately.
Practical Comparison: Homemade vs. Store-Bought
Understanding the difference between what you make and what you buy highlights the true value of your efforts.
| Feature | Homemade Bone Broth | Store-Bought “Stock” |
|---|---|---|
| Cost | Near $0 (uses waste) | $3.00 – $8.00 per quart |
| Gelatin Content | High (solidifies when cold) | Low to None (stays liquid) |
| Ingredients | Bones, scraps, water, acid | MSG, yeast extract, sugar, salt |
| Nutrient Density | Maximum mineral/collagen extraction | Minimal nutritional value |
Practical Tips and Best Practices
Maximizing your efficiency allows you to keep this habit sustainable for the long term. These small adjustments make the difference between a occasional hobby and a lifestyle of self-reliance.
- The “Gross Bag” System: Keep a gallon-sized freezer bag in your kitchen. Every time you prep veggies, toss the onion ends, garlic skins, and carrot peels inside. When the bag is full, you have exactly enough for one batch of broth.
- Quality Water: If your tap water contains high levels of chlorine or fluoride, it will affect the extraction and the final taste. Use filtered or spring water to ensure the cleanest possible infusion.
- Freeze in Portions: Pour finished broth into silicone ice cube trays or muffin tins. Once frozen, pop the pucks into a bag. This allows you to use exactly 1/2 cup (118 ml) for a sauce or a single cube to deglaze a pan.
- Deglaze the Roasting Pan: Never leave the browned bits on the baking sheet after roasting bones. Pour a little hot water on the pan, scrape the “fond” with a spatula, and pour that liquid gold directly into the stockpot.
Advanced Considerations for the Serious Practitioner
Once you have mastered the basic simmer, you can explore more advanced techniques used in professional and traditional kitchens. These methods increase your yield and refine the quality of the final product.
Remouillage: The Second Wash
In French culinary tradition, remouillage (re-wetting) is the process of using the bones for a second batch. After you strain your first 24-hour batch, do not throw the bones away. Add fresh water and acid and simmer for another 24 hours. The resulting liquid will be thinner, but it is still packed with minerals and can be used as the base liquid for your *next* batch of fresh bones.
Perpetual Broth
Serious homesteaders often keep a “perpetual” pot going on a slow cooker during the winter months. As you use a cup of broth, you add a cup of water and a few fresh scraps. This keeps a constant supply of warm, healing liquid available. However, ensure the pot stays at a safe temperature above 140°F (60°C) to prevent bacterial growth.
Pressure Canning for Shelf Stability
If you lack freezer space, pressure canning is the only safe way to store broth at room temperature. Because broth is a low-acid food, it cannot be safely water-bath canned. Use a pressure canner at 10-11 lbs of pressure (adjust for altitude) for 20 minutes for pints or 25 minutes for quarts. This ensures all spores are destroyed, leaving you with a shelf-stable pantry staple.
Example Scenarios
Applying these principles looks different depending on what is in your freezer. Here are two realistic scenarios for a week in the kitchen.
The Sunday Roast Scenario: You roast a whole 4 lb (1.8 kg) chicken for dinner. After the meal, you pick the remaining meat for sandwiches. The carcass, including the skin and wing tips, goes into a 6-quart slow cooker with a handful of frozen veggie scraps and a splash of vinegar. You simmer it on low until Monday evening, yielding 4 quarts (3.8 L) of golden, jiggly broth for the week’s soups.
The Butcher’s Haul Scenario: You visit a local farm and buy 10 lbs (4.5 kg) of beef knuckle and marrow bones for a few dollars. You roast them until they are dark brown, then split them between two large stockpots. After 48 hours of simmering, you have a concentrated, umami-heavy base. You reduce this liquid by half to create a “portable” broth that takes up less freezer space but packs double the nutrients per spoonful.
Final Thoughts
The transition from viewing kitchen waste as “trash” to seeing it as a valuable resource is a foundational step in self-reliance. Bone broth represents the ultimate kitchen economy, turning literal remains into a substance that supports the very foundations of human health. It requires no expensive equipment—only patience and a respect for ancestral wisdom.
By mastering the balance of bones, acid, and time, you eliminate your dependence on synthetic supplements and processed flavorings. You create a kitchen that heals as much as it feeds. This practice connects you to a lineage of cooks who understood that the most powerful medicine often comes from the simplest sources.
Start your first freezer bag today. Save the next bone, the next onion skin, and the next celery heart. Within a few days, you will have the raw materials for a batch of liquid gold that will change the way you cook and feel forever. Experiment with different bone ratios and roasting times to find the flavor profile that suits your palate, and enjoy the profound satisfaction of a waste-free kitchen.
