How To Become More Self-Sufficient Without Starting a Full-Blown Farm…
Want to start preserving your harvest, making your own soap, or building a backyard root cellar — but not sure where to begin? “Homesteading Advice” gives you instant lifetime access to 35+ practical homesteading books on food preservation, veggie gardening, DIY natural cleaning products (save over $250 per year with this skill alone), brewing, off-grid energy, and a whole lot more…
Click Here To Check It Out Now!
Why pay a monthly bill to keep your food cold when you can use the anaerobic power of oil to keep it fresh for free? Before the invention of the compressor, the Romans mastered ‘submersion preservation.’ A perfect anaerobic seal that bacteria couldn’t penetrate was created when they drowned cooked meats and vegetables in high-quality oil. It’s passive, it’s beautiful, and it results in the most tender ‘confit’ style food you’ve ever tasted.
Modern kitchens rely heavily on constant electricity to prevent spoilage. This creates a hidden vulnerability where a simple power outage can ruin an entire season’s worth of food. Turning to ancestral wisdom allows us to reclaim a level of self-reliance that feels both nostalgic and profoundly practical. In this guide, you will learn how to harness the properties of olive oil to transform your surplus meat into a shelf-stable or long-term pantry treasure.
Traditional Mediterranean cultures survived for millennia without the hum of a refrigerator. They understood that fat and oil are not just ingredients; they are biological barriers. This method preserves the texture of the meat while infusing it with deep, complex flavors that no freezer can replicate. Let’s explore how you can master this ancient art safely and effectively.
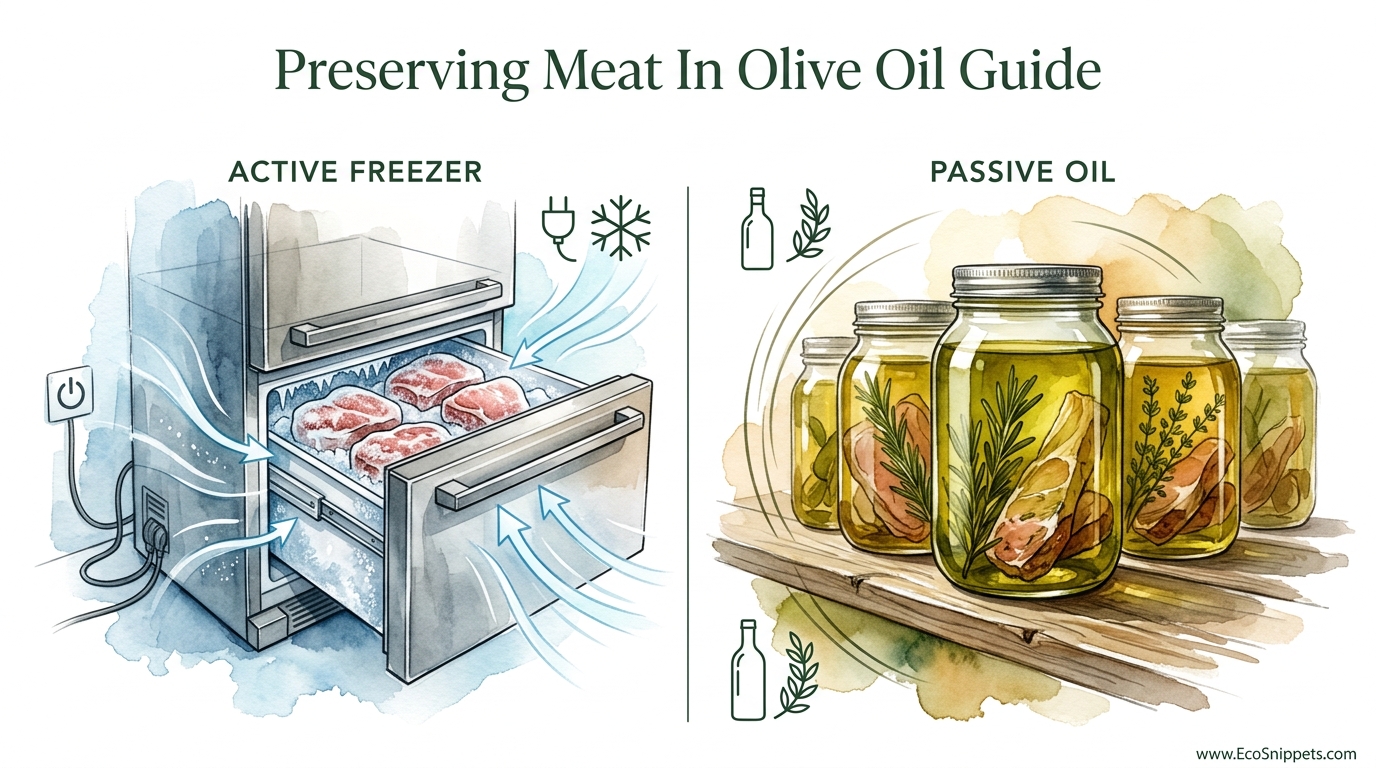
Preserving Meat In Olive Oil Guide
Preserving meat in oil is a technique where cooked or cured protein is submerged in a liquid fat to create a total oxygen barrier. This environment is known as anaerobic, meaning “without air.” In the world of food science, oxygen is the fuel for most common spoilage aerobic bacteria and molds. Removing the air effectively puts the biological clock on pause.
This practice is most famous in the Mediterranean under names like sott’olio (under oil) in Italy or Lomo en Orza in Spain. Traditionally, rural families would slaughter a pig at the end of autumn and spend days preparing the cuts. While some parts were salted or smoked, the choicest loins were often fried and tucked into clay jars filled with oil or lard to be eaten throughout the winter and spring.
The oil acts as a physical shield. It prevents the evaporation of moisture from the meat, keeping it tender, while simultaneously preventing the entry of airborne contaminants. Because high-quality extra virgin olive oil contains natural antioxidants like polyphenols and vitamin E, the oil itself resists turning rancid, providing a stable medium for the food it surrounds.
How the Submersion Process Works
The principle of oil preservation is simple: isolation. Most bacteria that cause food to rot, such as common molds and many yeasts, require oxygen to survive and replicate. When you submerge a piece of meat entirely in oil, you are essentially “suffocating” the aerobic decay process. However, this is only half the battle. To be successful, you must address the internal moisture of the meat.
Moisture is the second requirement for bacterial growth. If you simply drop a piece of raw, wet meat into a jar of oil, the water trapped inside will provide a breeding ground for pathogens. Effective preservation requires a three-step sequence of curing, cooking, and packing. Curing with salt or acid (like vinegar) reduces the “water activity” of the meat. Cooking then kills existing bacteria and further reduces moisture. Finally, the oil provides the permanent seal.
Temperature control during the cooking phase is vital. The “confit” style of cooking involves poaching meat in oil at low temperatures—usually between 88°C and 93°C (190°F to 200°F). This gentle heat breaks down the connective tissues without boiling the moisture out of the meat, resulting in a product that is preserved but remains incredibly succulent.
The Benefits of Passive Oil Storage
Shifting from an ACTIVE FREEZER to PASSIVE OIL storage offers several measurable advantages. The most obvious is the removal of energy dependency. Once a jar is properly sealed and stored in a cool cellar, it requires zero electricity to stay preserved. This is a cornerstone of self-reliant living and provides peace of mind during grid instabilities.
Flavor enhancement is the primary culinary benefit. Unlike freezing, which often leads to “freezer burn” and a degradation of texture through ice crystal formation, oil submersion actually improves the food over time. The meat absorbs the subtle notes of the olive oil and any added aromatics like bay leaves, peppercorns, or dried herbs. After a few weeks, the meat reaches a level of tenderness that is impossible to achieve through standard roasting.
Resource efficiency is another factor to consider. The oil used for preservation does not need to be discarded. Once you consume the meat, the remaining oil is now a highly flavorful “infused” fat. It can be used to fry eggs, dress salads, or as a base for future stews. This creates a zero-waste loop in the kitchen that respects the high cost of quality ingredients.
Challenges and Common Mistakes
The most dangerous pitfall in oil preservation is the risk of botulism. Clostridium botulinum is an anaerobic bacterium, meaning it thrives in the exact oxygen-free environment created by the oil. If the meat is not properly acidified or cured, and if it is stored at room temperature without professional-grade canning, these spores can produce a deadly toxin.
Using raw garlic or fresh herbs is a frequent error made by beginners. Fresh garlic grows in soil where botulism spores are naturally present. Submerging raw garlic in oil at room temperature is one of the leading causes of home-based food poisoning. To avoid this, always use dried herbs or ensure that your aromatics have been properly acidified in a 3% citric acid solution or strong vinegar before they touch the oil.
Incomplete submersion is another mistake that leads to spoilage. If even a tiny corner of the meat protrudes above the oil line, it will be exposed to air and will begin to mold within days. This mold can then contaminate the rest of the jar. Always ensure a “headspace” of at least 2 centimeters (about 1 inch) of pure oil above the highest point of the food.
Limitations and Environmental Constraints
While the Romans kept their meat in amphorae for months, modern home kitchens have different environmental constraints. In a true “passive” setup, you need a consistently cool, dark space like a root cellar or a stone basement that stays below 15°C (60°F). If your home is consistently warm, the olive oil will oxidize more quickly, and the risk of bacterial growth increases.
Not all meats are ideal for this method. Leaner meats, such as chicken breast or venison, can become tough if the temperature isn’t managed perfectly. Pork, duck, and fatty cuts of beef are the traditional choices because their natural fats integrate well with the oil. Fish like tuna or sardines also work beautifully, but they require a stricter acidification process to remain safe.
Shelf-life is also not infinite. While professionally canned oil preserves can last years, home-prepared oil submersion (without a pressure canner) should generally be viewed as a medium-term solution. In a standard refrigerator, oil-preserved meat is safest for 2 to 4 months. In a perfect cellar environment, traditionalists often aim for 6 months, but this requires significant experience in salt-curing and pH management.
Active Freezer vs. Passive Oil Comparison
Choosing the right preservation method depends on your goals for cost, flavor, and reliability. Below is a comparison of how these two systems stack up.
| Feature | Active Freezer | Passive Oil Submersion |
|---|---|---|
| Energy Cost | Continuous monthly utility bill. | One-time energy use for cooking. |
| Texture Impact | Ice crystals can make meat mushy or dry. | Becomes increasingly tender over time. |
| Power Outage Risk | High; food ruins after 24–48 hours. | None; independent of the grid. |
| Setup Complexity | Low; just “plug and play.” | High; requires curing and precise cooking. |
| Flavor Profile | Static or diminished. | Improved; infused with aromatics. |
Practical Tips and Best Practices
- Sterilize Everything: Before the oil touches your food, ensure your jars are boiled for 10 minutes. Any residual moisture or bacteria on the glass can ruin the seal.
- The Vinegar Bath: Dipping your cooked meat in a high-acidity vinegar (6% or higher) for 60 seconds before putting it into the oil adds an extra layer of protection against botulism.
- Use Dried Aromatics: Stick to dried bay leaves, dried peppercorns, and dried chili flakes. Avoid fresh sprigs of rosemary unless you have acidified them first.
- Slow and Low: Never allow the oil to boil. Use a thermometer to keep the oil between 85°C and 95°C (185°F to 203°F). Boiling oil will deep-fry the meat, making it hard rather than tender.
- Oil Quality Matters: Use a refined olive oil or a high-quality extra virgin oil. Refined oils have a higher smoke point and a neutral taste, while extra virgin adds more antioxidants.
Advanced Considerations: The Lomo en Orza Technique
Serious practitioners often look to the Lomo en Orza method for the most durable results. This involves a 48-hour pre-marination in a mixture of salt, lemon juice, and spices. This “cure” draws out surface moisture and lowers the pH of the meat, making it far less hospitable to bacteria.
Adding a small amount of potassium nitrate (pink curing salt) is another advanced step used by traditionalists. While controversial in some health circles, nitrates are a definitive scientific defense against C. botulinum. If you intend to store your meat at room temperature in a cellar rather than a refrigerator, following specific curing salt ratios is a mandatory safety measure.
Scaling this process requires moving from small glass jars to large earthenware pots. If using clay, ensure it is glazed with a food-safe, lead-free coating. These vessels provide superior thermal mass, keeping the oil at a stable temperature and protecting it from light-induced oxidation.
Example Scenario: Preserving a Roasted Pork Loin
Imagine you have 2 kilograms (about 4.4 pounds) of fresh pork loin. To preserve this using the passive oil method, you would first slice the loin into thick rounds, roughly 3 centimeters (1.2 inches) thick. Rub these slices with a mixture of sea salt and dried oregano, then let them sit in the refrigerator for 24 hours.
After the salt has drawn out the excess moisture, pat the slices completely dry with a clean towel. Submerge the meat in a heavy pot filled with extra virgin olive oil and a cup of lard for added stability. Heat the mixture until it reaches 90°C (194°F) and maintain that temperature for approximately 2 to 3 hours until the meat is fork-tender.
Once cooked, transfer the warm meat to sterilized jars. Pour the warm cooking oil over the meat until it is completely covered. As the oil cools, it will contract and form a dense, protective seal. Store these jars in a cool, dark corner of your pantry or refrigerator. Two months later, you can pull out a slice, sear it for 30 seconds in a hot pan, and enjoy a meal that tastes like it was prepared by a Roman chef.
Final Thoughts
Preserving food in oil is a bridge to a more resilient way of living. It encourages us to slow down, respect the seasons, and understand the biological forces at play in our kitchens. By moving away from total energy dependence, we gain a valuable skill that has sustained civilizations for thousands of years.
This method is more than just a storage solution; it is a culinary transformation. The resulting confit-style meats offer a luxury of flavor and texture that no supermarket product can match. As you experiment, remember that safety and precision are your most important ingredients.
Start small with a single jar of pork or beef. Observe how the oil behaves, how the flavors develop, and how the meat softens. Once you master the basics of the anaerobic seal, you may find that the hum of your freezer becomes a little less necessary, and the quiet jars in your pantry a lot more satisfying.
