How To Become More Self-Sufficient Without Starting a Full-Blown Farm…
Want to start preserving your harvest, making your own soap, or building a backyard root cellar — but not sure where to begin? “Homesteading Advice” gives you instant lifetime access to 35+ practical homesteading books on food preservation, veggie gardening, DIY natural cleaning products (save over $250 per year with this skill alone), brewing, off-grid energy, and a whole lot more…
Click Here To Check It Out Now!
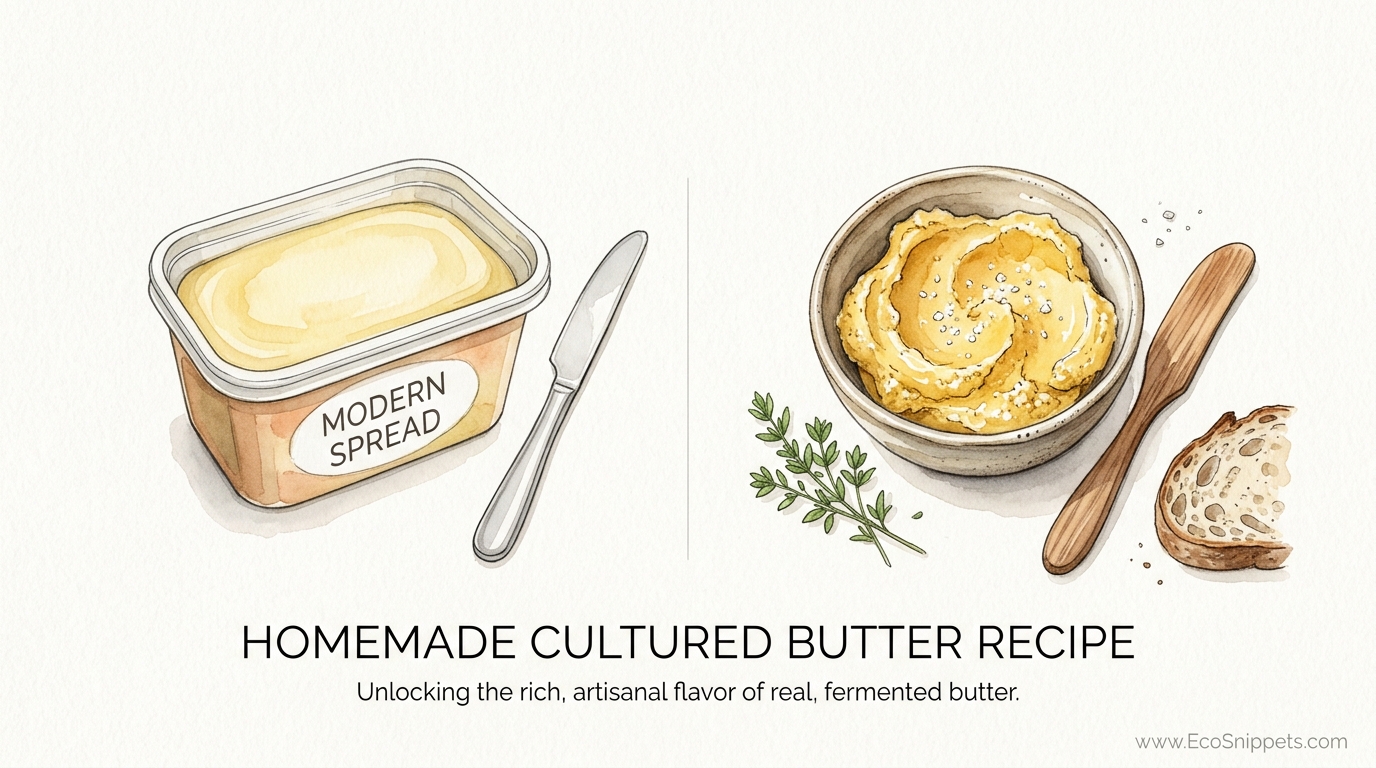
We traded 5,000 years of golden, heart-healthy fats for a lab-grown chemical spread that doesn’t even melt properly. In the 1950s, we were told that industrial seed oils and yellow dyes were the future. Today, we know the truth. Real, cultured butter contains Vitamin K2 and Activator X -nutrients your ancestors used to build strong bones and clear hearts. It’s time to bring back the churn.
Making your own butter at home is one of the most rewarding steps you can take toward food sovereignty. It is not just about the flavor, although the taste of fresh, tangy cultured butter is worlds apart from anything in a plastic tub. It is about reclaiming a process that was once central to every household, ensuring your family receives the dense nutrition that modern industrial processing has stripped away.
The transition from traditional animal fats to vegetable-based “spreads” was a monumental shift in human nutrition. For millennia, humans relied on the fats found in pasture-raised animals. When the 1950s brought a wave of anti-saturated fat marketing, these ancestral staples were replaced by partially hydrogenated oils. Relearning how to culture and churn cream is a quiet act of rebellion against a food system that prioritizes shelf-life over human life.
In this guide, you will learn the exact steps to transform simple cream into a nutrient-dense, probiotic-rich cultured butter. We will explore the science of the “break,” the importance of the washing process, and the historical context of why this golden fat was so highly prized by traditional cultures across the globe.
Homemade Cultured Butter Recipe
Cultured butter, often referred to as European-style butter, begins with cream that has been fermented with live bacterial cultures. This fermentation process does more than just add a complex, nutty tang; it begins to break down the lactose, making the final product easier to digest and more stable for cooking. Unlike “sweet cream” butter, which is made from fresh cream, cultured butter has a higher fat content and a lower moisture profile, making it the preferred choice for pastry chefs and home cooks alike.
To begin, you will need high-quality heavy cream. If you have access to raw, grass-fed cream, that is the gold standard. However, you can achieve excellent results with store-bought heavy cream as long as it is not “ultra-pasteurized” (UP), as the high heat used in UP processing can damage the proteins and prevent proper culturing. Look for “pasteurized” or “low-temperature pasteurized” options.
Ingredients and Supplies
- 1 quart (946 ml) Heavy Cream: Preferably grass-fed and not ultra-pasteurized.
- 2 tablespoons (30 ml) Culturing Agent: You can use plain yogurt with live active cultures, crème fraîche, or a specific mesophilic starter culture (like Flora Danica).
- Ice-Cold Water: For washing the butter solids.
- Sea Salt (Optional): Fine-grain salt works best for even distribution.
- Equipment: A clean glass jar or bowl, a stand mixer or food processor, a fine-mesh sieve, and wooden butter paddles (or a sturdy spatula).
Step 1: Culturing the Cream
Pour the cream into a clean glass jar or stainless steel bowl. Add your culturing agent and stir thoroughly. Cover the container with a breathable cloth (like cheesecloth) secured with a rubber band to keep out dust while allowing the bacteria to breathe.
Place the container in a warm spot, ideally between 70°F and 75°F (21°C to 24°C). Allow it to sit undisturbed for 24 to 48 hours. During this time, the bacteria will consume the lactose and produce lactic acid. You will know it is ready when the cream has thickened to the consistency of a soft yogurt and smells pleasantly tangy, similar to sour cream.
Step 2: Chilling the Cultured Cream
Once the cream has reached the desired level of fermentation, move it to the refrigerator for at least 2 to 4 hours, or until it reaches a temperature of about 55°F to 60°F (13°C to 15°C). Chilling the cream is vital because it firms up the fat globules, making them easier to rupture during the churning process. If the cream is too warm, the butter will be soft and greasy; if it is too cold, the fat will be too hard to clump together.
Step 3: The Churning Process
Transfer the chilled, thickened cream to the bowl of a stand mixer fitted with a whisk attachment. Start on a medium-low speed to avoid splashing. As the cream begins to whip, it will move through several distinct stages: soft peaks, stiff peaks (whipped cream), and eventually a “gritty” stage where the cream begins to look yellow and slightly curdled.
Watch closely as the mixture nears the “break.” Suddenly, the solid fat will separate from the liquid. This liquid is authentic cultured buttermilk. As soon as this happens, reduce the mixer speed to the lowest setting to prevent the buttermilk from splashing out of the bowl. Stop the mixer once the butter has formed into distinct clumps and the liquid is clearly separated.
Step 4: Straining and Washing
Place a fine-mesh sieve over a clean bowl and pour the contents of the mixer through it. Reserve the liquid—this is your cultured buttermilk, a probiotic powerhouse perfect for baking or drinking. You are now left with a mass of butter solids.
The most critical step for longevity is washing. Place the butter in a clean bowl and pour about a cup of ice-cold water over it. Using a spatula or wooden paddles, press and fold the butter. The water will turn cloudy as residual buttermilk is squeezed out. Drain the water and repeat this process 5 to 7 times, or until the water remains perfectly clear. Any buttermilk left in the butter will go rancid within days, so do not rush this step.
Step 5: Salting and Shaping
If you prefer salted butter, sprinkle about 1/4 to 1/2 teaspoon of fine sea salt over the washed butter. Work the salt in thoroughly using your paddles. This also helps squeeze out any remaining droplets of water. Finally, shape your butter into a log or press it into a ceramic crock. Wrap it in parchment paper or wax paper and store it in the refrigerator.
How It Works
Making butter is a process of physical transformation called emulsion inversion. Milk and cream are “oil-in-water” emulsions, meaning tiny droplets of fat are suspended in a watery liquid. Each fat globule is surrounded by a protective layer called a lipoprotein membrane, which prevents the fat from sticking together.
Churning provides the mechanical energy necessary to rupture these membranes. As the cream is agitated, the fat globules collide and break open, allowing the liquid fat to escape and “glue” the globules together. As these clumps grow larger, they eventually exclude the water and proteins, which we see as the separation of butter grains and buttermilk. The resulting butter is a “water-in-oil” emulsion, where tiny droplets of water are now trapped within a continuous matrix of solid fat.
Culturing the cream before churning adds a chemical dimension to this process. The lactic acid bacteria (LAB) lower the pH of the cream, which causes the proteins to denature and the cream to thicken. This acidity actually makes the fat globules more “unstable,” which often leads to a faster and more complete separation during churning. Furthermore, specific bacteria like Lactococcus lactis biovar diacetylactis produce diacetyl, the aromatic compound responsible for that iconic “buttery” smell and flavor.
Benefits of Cultured Butter
The primary benefit of cultured butter is its remarkable nutrient density, particularly when made from the cream of grass-fed cows. Dr. Weston A. Price, a pioneering researcher in the early 20th century, discovered that traditional cultures consuming high amounts of “spring butter” possessed exceptional dental and bone health. He identified a fat-soluble “Activator X,” which we now recognize as Vitamin K2.
Vitamin K2 is the “traffic cop” for calcium in the body. It activates proteins like osteocalcin, which directs calcium into the bones and teeth, and matrix GLA protein, which prevents calcium from depositing in soft tissues like the arteries and kidneys. Without sufficient K2, even a high-calcium diet can lead to arterial calcification and weak bones. Cultured butter, especially when fermented, concentrates this vital nutrient in a highly bioavailable form.
Beyond K2, cultured butter offers several practical advantages:
- Probiotic Content: If not heated after churning, cultured butter contains beneficial bacteria that support gut health and digestion.
- Lower Lactose: The fermentation process consumes much of the lactose in the cream, making cultured butter more tolerable for those with dairy sensitivities.
- Superior Flavor: The diacetyl and lactic acid create a depth of flavor that sweet cream butter simply cannot match. It has a high smoke point and a rich, nutty profile when browned.
- Authentic Buttermilk: When you churn cultured butter, the leftover liquid is “real” buttermilk—a fermented, low-fat liquid that is acidic enough to act as a natural leavener in biscuits and pancakes.
Challenges and Common Mistakes
While the process is straightforward, beginners often encounter a few common pitfalls. The most frequent issue is temperature control. If the cream is too warm (above 65°F / 18°C), the fat will not form solid grains; instead, you will end up with a greasy, soft mass that is nearly impossible to wash. If this happens, stop churning, refrigerate the mixture for an hour, and then resume.
Another common mistake is insufficient washing. It is tempting to stop once the water looks “mostly” clear, but even a small amount of residual milk protein (casein) will cause the butter to spoil. Unwashed butter might only last 3 to 5 days, whereas thoroughly washed and salted butter can stay fresh for weeks in the refrigerator or months in the freezer.
Using ultra-pasteurized cream is a frequent source of frustration. UP cream is heated to such a high temperature that the proteins are essentially “cooked,” which interferes with the bacteria’s ability to culture the cream properly and can result in a bitter aftertaste or a failure to “break” during churning. Always check the label and opt for standard pasteurization whenever possible.
Limitations and Constraints
Making your own butter is a labor of love, and it comes with practical trade-offs. The most significant limitation is cost and yield. It takes roughly one quart of heavy cream to produce about 12 to 14 ounces (340 to 400 grams) of butter. Depending on the price of high-quality, grass-fed cream in your region, homemade butter may be more expensive than standard store-bought sticks.
Time is another factor. Between culturing, chilling, churning, and washing, the process spans two days. While the active “work” time is relatively short (about 30 minutes), it requires planning. For high-volume households, churning enough butter to meet all cooking and baking needs can become a significant weekly chore.
Finally, environmental conditions play a role. In very hot climates or during peak summer months, maintaining the correct temperature for the cream during the “break” can be difficult without air conditioning or a reliable ice supply. Pioneers often churned in the early morning or in cool cellars for this very reason.
MODERN SPREAD vs CULTURED BUTTER
The differences between industrial spreads and traditional cultured butter are rooted in their chemistry and their impact on human health. Below is a comparison of these two vastly different fats.
| Feature | Modern Spread (Margarine/Seed Oils) | Homemade Cultured Butter |
|---|---|---|
| Ingredients | Soybean, canola, or corn oils, emulsifiers, synthetic vitamins, yellow dye. | Pasture-raised cream, live bacterial cultures, sea salt. |
| Key Nutrients | High Omega-6 fatty acids, often contains trans fats (if partially hydrogenated). | Vitamin K2 (Activator X), Vitamin A, D, CLA, and Butyric Acid. |
| Flavor Profile | Neutral or artificial “buttery” flavoring; can leave a waxy film. | Rich, complex, nutty, and tangy with a clean finish. |
| Stability | Highly processed; oils are often rancid before they reach the tub. | Natural saturated fats are stable for cooking and resistant to oxidation. |
| Production | Industrial factories using high heat, chemical solvents, and deodorizers. | Artisanal process using fermentation and mechanical agitation. |
Practical Tips and Best Practices
To achieve the best results, use wooden butter paddles (also known as Scotch hands) for the washing and salting process. Wood is naturally non-stick for butter, and the grooves in the paddles help channel the buttermilk away from the fats. Before using them, soak the paddles in ice water for 30 minutes; this prevents the butter from sticking to the wood fibers.
Pay attention to the color of your butter. If you are using cream from grass-fed cows, the butter will naturally be a deep, golden yellow, especially in the spring and summer when the cows are eating rapidly growing green grass. This color comes from beta-carotene, the precursor to Vitamin A. If your butter is pale white, it may be a sign that the cows were grain-fed or were eating dry hay in the winter, which results in a lower nutrient profile.
Do not throw away the buttermilk! This is not the “cultured buttermilk” you find in the grocery store (which is made from skim milk). This is the liquid gold of the dairy world. It is thin, slightly acidic, and packed with the same K2 found in the butter. Use it to soak grains, marinate chicken, or as a base for the fluffiest sourdough pancakes you have ever tasted.
Advanced Considerations
For those looking to master the craft, consider experimenting with specific starter cultures. While yogurt works well, using a mesophilic culture containing Leuconostoc mesenteroides will produce more diacetyl, giving you that world-famous French butter aroma. You can also vary the culturing time; a 48-hour ferment will produce a much sharper, “cheesier” butter that is incredible when served on a simple slice of warm bread.
Seasonal fat profiles also matter. Spring and summer butter tends to have more unsaturated fats, making it softer and easier to spread at room temperature. Winter butter, from cows fed on stored hay, is higher in saturated stearic acid, making it firmer and more brittle. Understanding these cycles allows you to adjust your churning temperature—using slightly warmer cream in the winter and colder cream in the summer—to achieve a consistent texture year-round.
Finally, consider brine salting. Instead of working dry salt into the butter, some advanced makers submerge the butter grains in a chilled 10% salt brine for 15 minutes before the final pressing. This ensures a perfectly even salt distribution and can help pull out the last traces of moisture, further extending the shelf life of your hard-earned harvest.
Examples and Scenarios
Imagine you are preparing a traditional Sunday brunch. You have a batch of sourdough biscuits proofing on the counter. Instead of using store-bought butter, you pull out a jar of cream you cultured two days ago. After 10 minutes in the stand mixer, the “break” happens, and you are left with a pound of fresh, tangy butter and a pint of probiotic buttermilk.
You use the buttermilk to hydrate your biscuit dough, where the lactic acid reacts with a pinch of baking soda to create an incredible rise. You wash the butter until the water is clear, hit it with a pinch of flaky sea salt, and serve it alongside the warm biscuits. The flavor is a revelation—the tang of the fermentation cuts through the richness of the fat, creating a culinary experience that is simply impossible to replicate with industrial ingredients.
In another scenario, you are roasting a pasture-raised chicken. You use your homemade cultured butter to create a compound butter with fresh garlic and rosemary. Because cultured butter has a higher fat percentage and less water than standard butter, it browns more beautifully, creating a deep, caramelized crust on the skin that is packed with the fat-soluble vitamins your body needs to thrive.
Final Thoughts
Reclaiming the art of butter making is more than a culinary hobby; it is a return to a way of eating that honors our biology and our history. By choosing to culture your own cream, you are opting out of a system that prioritizes chemical convenience over nutritional integrity. You are providing your family with the K2 and Activator X that built the strong bones and clear hearts of our ancestors.
This process teaches us patience and connects us to the rhythms of the land. Whether you are sourcing raw cream from a local farm or carefully selecting the best pasteurized cream from the market, every batch you churn is a step toward self-reliance. The golden color, the nutty aroma, and the deep, satisfying flavor are the rewards for your effort.
Do not be afraid to experiment. Every kitchen is different, and every batch of cream will behave slightly differently. Embrace the grit required to press the water out and the joy of seeing those golden grains form in the bowl. Once you have tasted real, cultured butter made by your own hands, there is no going back to the lab-grown spreads of the modern era.
