How To Become More Self-Sufficient Without Starting a Full-Blown Farm…
Want to start preserving your harvest, making your own soap, or building a backyard root cellar — but not sure where to begin? “Homesteading Advice” gives you instant lifetime access to 35+ practical homesteading books on food preservation, veggie gardening, DIY natural cleaning products (save over $250 per year with this skill alone), brewing, off-grid energy, and a whole lot more…
Click Here To Check It Out Now!
Pro bakers know that the secret to a world-class crust isn’t a technique – it’s a fat that hasn’t been seen in supermarkets for decades. Industrial vegetable shortening is just a ‘Standard’ placeholder for the ‘Pro’ reality of leaf lard. When you render your own fat at a low temperature, you get a high-smoke-point powerhouse that creates the flakiest pastries and the crispest fried chicken on the planet. Don’t settle for industrial grease.
Rendering your own fat is a return to a more honest way of cooking. It is about understanding the animal, respecting the source, and reaping the rewards of patience. For a century, the kitchen has been dominated by lab-grown oils and hydrogenated tubs of mystery, but the tide is turning back toward ancestral wisdom.
How To Render Leaf Lard At Home
Leaf lard is the pinnacle of pork fat. It is the visceral fat found around the kidneys and loin of the pig, distinctly different from the “back fat” used for sausage or salt pork. While back fat is firm and carries a noticeable “porky” flavor, leaf lard is soft, white, and nearly odorless when handled correctly.
In the real world, leaf lard is the “white gold” of the pastry world. It has a high melting point and a unique crystalline structure that allows it to remain in distinct pockets within a dough. This is why it exists: to provide structural integrity to a crust while allowing for extreme flakiness. Historically, every farmstead had a crock of this fat on the counter, and it served as the foundation for everything from savory biscuits to sweet holiday pies.
Think of leaf lard as the difference between a rough-sawn timber and a polished hardwood floor. Both are functional, but one has a level of refinement and purity that makes it suitable for the most delicate work. When you render it at home, you are taking a raw, lumpy organ fat and turning it into a shelf-stable, creamy spread that rivals the finest European butters.
The Anatomy of Lard: Leaf vs. Back Fat
Understanding your raw materials is the first step toward self-reliance. Not all pig fat is created equal, and using the wrong type for a delicate tart will leave you with a dessert that tastes like a Sunday morning fry-up.
Leaf Fat (Perirenal Fat): This fat is found inside the body cavity. It protects the kidneys. It is the most saturated fat on the animal, which means it is the most stable and the least “piggy” in flavor. One pound (454g) of raw leaf fat typically yields about 2 cups (475ml) of rendered lard.
Back Fat (Subcutaneous Fat): This is the thick layer just under the skin. It is softer than leaf fat at room temperature and carries the flavor of the pig’s diet much more strongly. While excellent for frying potatoes or seasoning cast iron, it is generally considered too “savory” for sweet baking.
The Science of the “Short” in Shortening
The term “shortening” actually describes a mechanical process in the dough. When you mix flour and water, gluten proteins link up to form long, elastic chains. This is great for chewy bread, but disastrous for a flaky pie crust.
Fat “shorts” these chains. Because leaf lard is 100% fat with zero water content, it coats the flour particles more effectively than butter, which is usually 15-20% water. By preventing the gluten from bonding, the fat ensures the final product is tender and crumbly rather than tough. Because leaf lard has larger fat crystals than vegetable shortening, it creates larger “voids” in the dough as it melts in the oven, resulting in the legendary “shatter-crisp” flake that pro bakers chase.
The Step-by-Step Rendering Process
There are three primary ways to render fat: the wet method, the dry method, and the oven method. For the absolute cleanest, snow-white leaf lard, the wet method or the slow cooker method is preferred.
1. Preparation: The Cold Cut
Preparation is the most critical stage. Raw fat is soft and slippery; if you try to cut it at room temperature, it will smear and become a mess.
- Freeze the raw leaf fat for 30–60 minutes until it is firm but not rock-solid.
- Trim away any bits of meat, blood, or membrane. These “impurities” are what cause the lard to smell like pork.
- Dice the fat into tiny 1/4-inch (6mm) cubes or run it through a meat grinder. The more surface area you create, the faster the fat will release.
2. The Slow Melt
Place your diced fat into a heavy-bottomed pot or a slow cooker.
- The Water Buffer: Add 1/4 cup (60ml) of water to the bottom of the pot. This prevents the fat from scorching before it starts to melt. Don’t worry—the water will evaporate as you cook.
- Temperature Control: Set your heat to the absolute lowest setting. On a stove, this is “low”; in a slow cooker, use the “low” or “keep warm” setting. You are looking for a temperature between 220°F and 250°F (105°C and 120°C).
- The Wait: Allow the fat to render for 3 to 6 hours. Stir every 30 minutes to ensure even heating and to prevent the bits from sticking to the sides.
3. Straining and Finishing
As the fat melts, you will see “cracklings” (the leftover connective tissue) begin to float and then sink.
- Once the liquid is clear and the cracklings are a pale golden brown, turn off the heat. Do not let them turn dark brown, or the lard will take on a burnt flavor.
- Line a fine-mesh strainer with several layers of cheesecloth or a coffee filter.
- Ladle the hot liquid into clean, warm glass jars.
- Let the jars sit undisturbed at room temperature until the lard turns from a golden oil to a solid, snow-white cream.
Benefits of Home-Rendered Lard
Choosing to render your own fat offers measurable advantages over industrial alternatives.
Nutritional Superiority: Lard from pasture-raised pigs is one of the highest natural sources of Vitamin D. It is also rich in monounsaturated fats—the same “heart-healthy” fats found in olive oil.
Economic Value: Raw leaf fat is often sold by butchers for a fraction of the cost of high-end butter or processed oils. One large pig can provide enough fat to last a household for an entire year.
Technical Performance: Lard has a higher smoke point (370°F–400°F / 188°C–204°C) than butter or unrefined oils. This makes it safer for high-heat frying, as it is less likely to oxidize and create harmful free radicals.
Challenges and Common Mistakes
The path to perfect lard has a few pitfalls that can ruin a batch if you aren’t vigilant.
The “Piggy” Smell: This is almost always caused by leaving bits of meat on the fat during preparation or by rendering at too high a temperature. If the fat “fries” rather than “melts,” it develops a savory, bacony aroma. For pie crusts, you want it to be as neutral as possible.
Scorching: If the bottom of the pot gets too hot, the fat will burn. Burnt lard is yellow or tan and tastes bitter. Always use a heavy-bottomed pot (like cast iron or a Dutch oven) to distribute heat evenly.
Residual Moisture: If you use the wet method and don’t allow the water to fully evaporate, your lard may develop mold in storage. Ensure the liquid is perfectly clear before you stop the rendering process.
Limitations and Practical Boundaries
While leaf lard is a “super-fat,” it isn’t the solution for every scenario. It is a solid fat, meaning it cannot be used in recipes that require liquid oil, such as salad dressings or certain cakes that rely on oil for a moist crumb.
Furthermore, the quality of the lard is entirely dependent on the life of the pig. Pigs store toxins in their fat. If you render fat from an industrial “factory farm” pig that was raised in confinement and fed a low-quality diet, the resulting lard will lack the nutritional profile and clean flavor of pasture-raised pork. Finding a source for high-quality raw fat can be a challenge in urban environments.
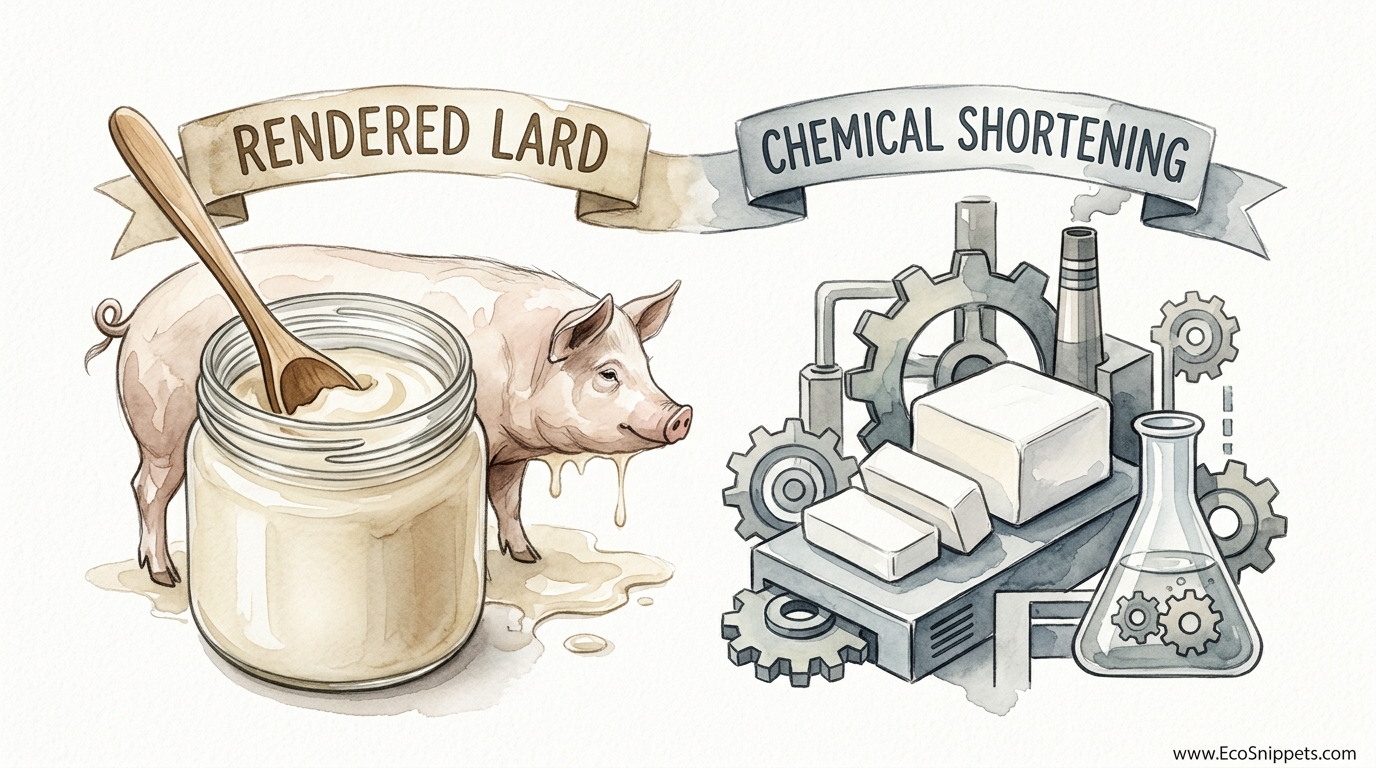
Comparison: Rendered Lard vs. Chemical Shortening
| Feature | Rendered Leaf Lard | Industrial Shortening |
|---|---|---|
| Ingredients | 100% Pure Pork Fat | Hydrogenated Oils, TBHQ, Citric Acid |
| Flavor | Neutral with subtle richness | Completely neutral/plastic |
| Texture in Baking | Large flakes, very tender | Uniform crumb, sandy texture |
| Health Profile | High Vitamin D, No Trans Fats | Potential Trans Fats, Highly Processed |
| Shelf Stability | Needs refrigeration for long term | Shelf-stable for years |
Practical Tips and Best Practices
If you want to move from beginner to serious practitioner, adopt these habits:
- Sanitize your Jars: Use sterilized glass jars to prevent spoilage. Even a tiny speck of old food can cause the fat to go rancid.
- The Double Strain: Strain your lard twice. Once through a metal sieve to catch the big cracklings, and a second time through a very fine cloth to catch the microscopic “fines.”
- Avoid Direct Sunlight: UV light triggers oxidation. Store your jars in a dark pantry or the refrigerator to preserve the delicate monounsaturated fats.
- Label by Batch: If you render different types of fat (back fat vs. leaf fat), label them clearly. You don’t want to grab the “porky” jar for your apple pie.
Advanced Considerations: The History of the Lard-Type Pig
Serious practitioners should understand that the pig itself has changed over the last century. Historically, pigs were bred to be “lard-type” animals—compact, thick, and heavy in fat. Breeds like the Berkshire, Poland China, and Duroc were prized for their high fat yield.
After World War II, the rise of industrial vegetable oils (like Crisco, introduced in 1911) caused a shift in the market. Farmers began selecting for “bacon-type” or “lean-meat” pigs like the Yorkshire and Landrace. These modern pigs have significantly less leaf fat. When sourcing your fat, look for heritage breeds raised on pasture; they will provide a much higher yield and a superior fatty acid profile compared to modern industrial breeds.
Practical Examples: Putting Lard to the Test
The Pie Crust Challenge
Try this: Make two identical pie crusts. In one, use 100% butter. In the other, use a 50/50 mix of butter and home-rendered leaf lard. You will notice that the lard-mix crust is significantly easier to roll out (it’s more “plastic”) and stays flaky even if the dough gets a little warm. The lard provides the structure and flake, while the butter provides the flavor.
The Fried Chicken Test
Deep-fry a batch of chicken in 100% rendered lard (you can use back fat lard for this). Because of the lard’s stability and high smoke point, the chicken will come out with a “dry” crispness that isn’t greasy. Vegetable oils often leave a film on the palate; lard finishes clean.
Final Thoughts
Rendering leaf lard is more than a culinary technique; it is an act of reclaiming your kitchen from industrial interests. By taking the time to source high-quality fat and melt it down with care, you are ensuring that your food is nourished by the same stable, natural fats that sustained our ancestors for millennia.
The results speak for themselves. Once you have seen the snow-white purity of a fresh jar of leaf lard and tasted the shattering layers of a lard-based crust, the blue tub of shortening will never look the same again. Embrace the process, respect the animal, and enjoy the flakiest results of your life.
