How To Become More Self-Sufficient Without Starting a Full-Blown Farm…
Want to start preserving your harvest, making your own soap, or building a backyard root cellar — but not sure where to begin? “Homesteading Advice” gives you instant lifetime access to 35+ practical homesteading books on food preservation, veggie gardening, DIY natural cleaning products (save over $250 per year with this skill alone), brewing, off-grid energy, and a whole lot more…
Click Here To Check It Out Now!
Are you spending more time searching for your shears than actually harvesting your dinner? The biggest hurdle to a successful backyard farm isn’t the soil—it’s the friction of the harvest. See how a simple shift from ‘countertop clutter’ to a dedicated ‘harvest hub’ can save you 5 hours a week.
A productive garden often feels like a triumph of nature until the moment of the harvest arrives. Suddenly, the joy of a heavy tomato yield or a thick bed of kale becomes a logistical nightmare of muddy boots, misplaced snips, and a kitchen counter that looks more like a compost pile. This friction is what stops many aspiring farmers from scaling up their production or even staying consistent with what they already have.
The solution is an intentional bridge between the field and the kitchen. A dedicated harvest station acts as a pressure relief valve for your homestead, ensuring that the bounty you worked so hard to grow actually makes it to the table in peak condition. It is about reclaiming the discipline of the old-world farm, where every tool had a notch and every crop followed a path of least resistance from the earth to the cellar.
Building this hub does not require a massive capital investment or a sprawling warehouse. It requires a clear understanding of workflow and a commitment to organization. This guide will walk you through the architecture of an efficient harvest station, from the plumbing under the sink to the cleats on the wall, helping you turn the chaos of the harvest into a streamlined ritual of self-reliance.
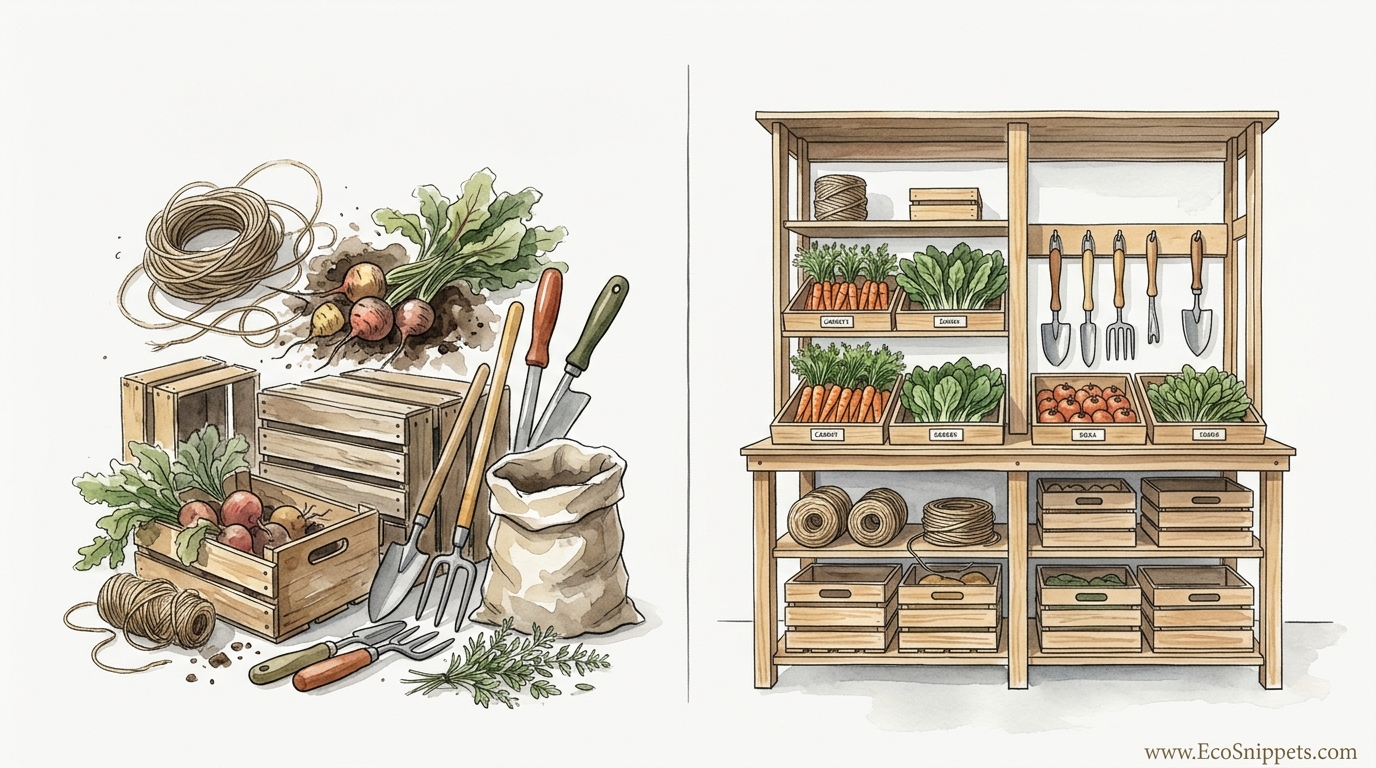
DIY Organizing Harvest Station For Small Farms
A harvest station, often called a wash-and-pack area, is the central nervous system of any small farm or serious backyard operation. It is a dedicated space designed specifically for the post-harvest handling of produce, which includes cleaning, sorting, grading, and cooling. In the real world, this is where the “wild” vegetable becomes a “market-ready” or “kitchen-ready” product.
Think of the harvest station as a filter. On one side, you have the raw, dirt-covered reality of the field. On the other side, you have clean, high-quality food ready for long-term storage or immediate consumption. Without this dedicated space, the “dirt side” inevitably creeps into your living space, causing the very friction that makes farming feel like a chore rather than a calling.
For a small-scale farmer, this station usually sits in a garage, a lean-to shed, or even a covered outdoor area. It exists to remove field heat—the residual warmth in a plant after it is picked—which is the single greatest factor in how long your food stays fresh. By centralizing your tools, water, and packing supplies, you eliminate the “thousand-step” problem where you spend half your time walking back and forth to fetch forgotten items.
Visualize the station as a horseshoe. Harvest bins arrive at one end, move through a wash cycle, transition to a drying screen, and finally reach a packing table where they are weighed and recorded. This linear movement is the hallmark of professional efficiency, even if your “farm” is only a quarter-acre (0.1 hectares) of suburban soil.
The Anatomy of an Efficient Harvest Workflow
The layout of your station determines your speed. Professional market farmers often spend 50% to 70% of their total labor time in the wash-and-pack area. If your layout is clumsy, you are essentially throwing away hours of your life every week. An efficient station follows a logical sequence: Receiving, Washing, Drying, and Packing.
1. The Receiving Zone
This is where the dirty work happens. You need a sturdy, waist-high surface where you can set down heavy harvest totes or trugs. Ideally, this area is shaded. Produce sitting in the sun for even twenty minutes can lose significant shelf life due to rapid respiration and water loss. A simple 10-foot by 10-foot (3-meter by 3-meter) pop-up canopy or a permanent porch overhang works well here.
2. The Wash Area
Depending on what you grow, this can range from a simple spray table for root crops to a triple-rinse tank system for leafy greens. For root vegetables like carrots or radishes, a hardware cloth (wire mesh) table allows you to spray off soil from all angles without the vegetable sitting in a puddle. For greens, a “bubbler”—a tank with an air manifold at the bottom—gently agitates the water to knock loose grit and insects without bruising delicate leaves.
3. The Drying and Spinning Zone
Wet produce rots. After washing, greens must be dried quickly. Many small-scale farmers repurpose old top-loading washing machines, stripping out the heater and electronics to use only the spin cycle. This can remove more water in thirty seconds than two hours of air drying. For larger items like squash or peppers, a mesh drying rack with a dedicated fan allows for even airflow around the skins.
4. The Packing and Recording Table
The final stop is a clean, dry surface. Here, you weigh your harvest and record the data. Tracking your yields is the only way to know if your farm is actually improving year over year. This area should be equipped with scales, rubber bands, bags, and labels. Ensure this table is at a comfortable ergonomic height—usually around 36 to 40 inches (91 to 101 centimeters)—to prevent back strain during long sessions.
Infrastructure and Material Best Practices
When building your station, the materials you choose will dictate how much time you spend cleaning the station itself. You want surfaces that are non-porous and can withstand constant moisture without rotting or harboring bacteria.
Surface Selection
Stainless steel is the gold standard for food-contact surfaces because it is easy to sanitize and does not rust. However, it can be expensive. A high-quality alternative for a DIY build is fiberglass reinforced plastic (FRP) panels or high-density polyethylene (HDPE) sheets. Avoid unsealed wood at all costs. Wood absorbs moisture and provides a breeding ground for pathogens like Listeria or E. coli. If you must use wood for framing, ensure it is sealed with food-safe epoxy or marine-grade paint that will not flake off into your food.
Plumbing and Drainage
Drainage is the most overlooked part of a harvest station. You will be moving hundreds of gallons (liters) of water. A standard garden hose is rarely enough for a busy station. Consider a 1-inch (2.5-centimeter) main line that drops down into 3/4-inch (1.9-centimeter) spray nozzles for high pressure. For drainage, use 2-inch (5-centimeter) PVC pipe. The larger diameter prevents clogs from the small stones and silt that inevitably wash off your vegetables. Route your gray water to a dedicated swale or a mulch-filled basin rather than letting it pool under your feet, which creates a slip hazard and attracts pests.
Flooring Requirements
A mud floor is a failure. If your station is outdoors, use at least 4 inches (10 centimeters) of compacted pea gravel or crushed stone over a heavy-duty landscape fabric. This allows water to infiltrate while keeping your boots clean. For indoor stations, a sloped concrete floor with a trench drain is ideal. If you are working on an existing garage floor, consider using plastic “decking” tiles or heavy-duty rubber mats to keep yourself out of the standing water.
Benefits of a Dedicated Harvest Hub
The primary advantage of a harvest hub is the dramatic reduction in “task-switching” costs. When your tools are always in the same place and your water is already hooked up, you can process a harvest in half the time it takes to set up and tear down a temporary station on your lawn.
Beyond time, the quality of your food improves significantly. Rapid cooling—hydro-cooling—is possible when you have a dedicated tank. By dunking warm vegetables into 40-degree Fahrenheit (4-degree Celsius) water immediately after picking, you stop the degradation process. This can extend the life of a head of lettuce from three days to two weeks in the refrigerator.
Food safety is the third major benefit. A dedicated station allows you to implement Standard Operating Procedures (SOPs). You can keep a hand-washing station at the entrance, ensure all harvest bins are sanitized before they go to the field, and keep domestic pets away from the processing area. This level of discipline is what separates a hobby from a professional-grade homestead.
Challenges and Common Mistakes
One of the most frequent errors in DIY harvest stations is poor ergonomics. Farmers often build tables too low, leading to chronic back pain. Another mistake is ignoring the “cold chain.” If your harvest station is a mile away from your refrigerator, and you have no way to keep the produce cool during transit, you lose the benefits of the wash station.
Inadequate lighting is another common pitfall. Harvesting often happens at dawn or dusk to beat the heat. If your wash station is tucked in a dark corner of a barn, you will miss insects, bruised spots, or dirt on your produce. Install bright, waterproof LED shop lights directly over the wash tanks and packing tables. Ensure they are shielded so that a broken bulb cannot contaminate your food.
Finally, many people underestimate the volume of waste generated. Every carrot you wash leaves behind a small amount of soil. Every head of lettuce you trim leaves behind outer leaves. If you don’t have a plan for “culls” (waste produce) and sediment, your station will quickly become a swamp. Always have a dedicated “cull bin” on wheels that can be easily rolled to the compost pile or the chicken coop.
Limitations and Environmental Constraints
A harvest station is not a magic fix for every climate or crop. In extremely humid environments, air-drying becomes nearly impossible without the help of high-powered industrial fans or dehumidifiers. In these cases, you may need to move your drying operations into a more controlled, indoor environment.
Water availability is the most rigid constraint. If you are on a well with a low recovery rate, you cannot run a high-volume “bubbler” for hours. You may need to invest in a storage tank system where water is pumped slowly overnight and used in a burst during the morning harvest. Additionally, local regulations may govern how you discharge gray water, especially if you are using organic soaps or sanitizers.
Space can also be a boundary. A full “horseshoe” layout requires roughly 200 to 300 square feet (18 to 28 square meters) to function comfortably. If you are working in a tight urban lot, you may have to design a vertical, multi-tiered station, which introduces its own challenges regarding heavy lifting and water management.
Comparison: Organizing Systems for Harvest Tools
A harvest station is only as good as the tools you can find. Choosing the right wall-storage system for your snips, knives, and scales is a critical design decision. Below is a comparison of the two most popular DIY methods for farm tool organization.
| Feature | French Cleat System | Pegboard System |
|---|---|---|
| Weight Capacity | Extremely High. Ideal for heavy tools and shelving. | Low to Moderate. Pegs can pull out under heavy loads. |
| Ease of Installation | Requires precise 45-degree wood cuts and mounting. | Very easy. Standard panels screw directly to studs. |
| Customization | Infinite. You build custom holders for every specific tool. | Limited to available metal or plastic hooks. |
| Cost | Low if using scrap plywood; high if buying new materials. | Generally low for basic fiberboard panels. |
| Durability | High. Wood cleats can last decades if kept dry. | Low. Fiberboard panels warp and tear in humid environments. |
For a harvest station, the French Cleat system is often superior because it allows you to build deep, sturdy shelves for heavy harvest bins and dedicated cradles for delicate scales. The humidity of a wash station will often cause standard fiberboard pegboards to soften and sag over time, whereas a well-sealed French cleat wall remains a rock-solid foundation for your gear.
Practical Tips for Immediate Optimization
If you already have a basic setup, there are several “quick wins” you can implement to improve efficiency. First, install a foot-pedal valve for your wash sink. Being able to turn the water on and off without using your hands—which are often full of vegetables—saves significant water and time.
Second, standardize your harvest containers. Using a mish-mash of buckets, baskets, and boxes makes stacking and transport a nightmare. Invest in a set of nesting, stackable “bulb crates” or “totes.” Because they are all the same size, you can calculate your yields simply by counting the stacks. This uniformity also makes it easier to design your storage shelves and transport carts.
Third, implement a “color-code” for your cleaning supplies. Use red brushes for the floor, blue for the bins, and white for the produce. This simple visual cue prevents cross-contamination and ensures that the grit from the floor never touches the table where you pack your salad mix.
- Install a Water Manifold: Use a single input line that splits into dedicated lines for the bubbler, the spray wand, and the hand-wash station. This prevents pressure drops.
- Use Roller Tables: If you can find used gravity rollers from a warehouse, they make moving 40-pound (18-kilogram) crates of potatoes effortless.
- Standardize Height: Ensure all work surfaces are at the same level so crates can slide from one station to the next without being lifted.
Advanced Considerations: Cold Chain and Tech Integration
For those looking to move beyond the basics, the next step is cold chain management. This involves maintaining a consistent temperature from the moment of harvest until the food is consumed. The “CoolBot” system is a popular DIY solution for small farms. It uses a standard window air conditioner and a digital controller to trick the AC into cooling a well-insulated room down to 34 degrees Fahrenheit (1 degree Celsius).
Integrating digital record-keeping can also take your station to the next level. A waterproof tablet mounted in the packing area allows you to enter harvest weights directly into a spreadsheet or farm management app. This eliminates the “dirty clipboard” problem and gives you real-time data on your inventory. You can even integrate a Bluetooth-enabled scale that sends weight data directly to your device, further reducing the friction of the harvest.
Advanced farmers also consider “Hygienic Design.” This means designing your station with no “dead spots” where water or organic matter can collect. This involves using coved (rounded) corners on your tables, ensuring all PVC pipes have clean-out ports, and choosing equipment that can be completely disassembled for deep cleaning once a week.
Real-World Example: The 1/4-Acre Market Garden
Consider a small farm producing 500 pounds (227 kilograms) of mixed vegetables a week. In a disorganized setup, the farmer might harvest into various buckets, haul them to a backyard hose, wash them on a piece of plywood, and carry them inside to the kitchen table to bag. Total time: 12 hours.
By implementing a “Harvest Hub” in a 10×12 foot (3×3.6 meter) shed, the workflow changes. The farmer rolls a cart of matching crates to the shed. The crates are placed on a roller table. A high-pressure spray removes the bulk of the soil. The vegetables are moved to a stainless steel sink for a final rinse, then to a repurposed washing machine for spinning. Finally, they are weighed on a scale sitting on a dedicated French cleat shelf and bagged at a waist-high table. Total time: 5 hours.
The 7 hours saved per week represents more than just labor; it represents the difference between a sustainable lifestyle and burnout. With the extra time, the farmer can focus on soil health, marketing, or simply enjoying the food they have grown. The station paid for itself in saved labor within a single season.
Final Thoughts
A harvest station is more than just a place to wash carrots; it is a commitment to the discipline of farming. By removing the friction of the harvest, you ensure that your farm remains a source of nourishment rather than a source of stress. Whether you are building a simple outdoor bench or a sophisticated climate-controlled packing shed, the principles remain the same: flow, organization, and cleanliness.
The beauty of the DIY approach is that it can grow with you. Start with a clean table and a good hose. As your harvests increase, add a dedicated drain, then a bubbler, and eventually a walk-in cooler. Each upgrade is a layer of protection for the food you grow and the time you spend growing it.
Take the time to plan your “Harvest Hub” this weekend. Walk the path from your garden to your kitchen and identify every point of friction—every muddy footprint, every misplaced tool, and every heavy lift. Solve those problems with wood, steel, and intention. Your future self, standing over a clean crate of perfect produce, will thank you for it.
