
How To Become More Self-Sufficient Without Starting a Full-Blown Farm…
Want to start preserving your harvest, making your own soap, or building a backyard root cellar — but not sure where to begin? “Homesteading Advice” gives you instant lifetime access to 35+ practical homesteading books on food preservation, veggie gardening, DIY natural cleaning products (save over $250 per year with this skill alone), brewing, off-grid energy, and a whole lot more…
Click Here To Check It Out Now!
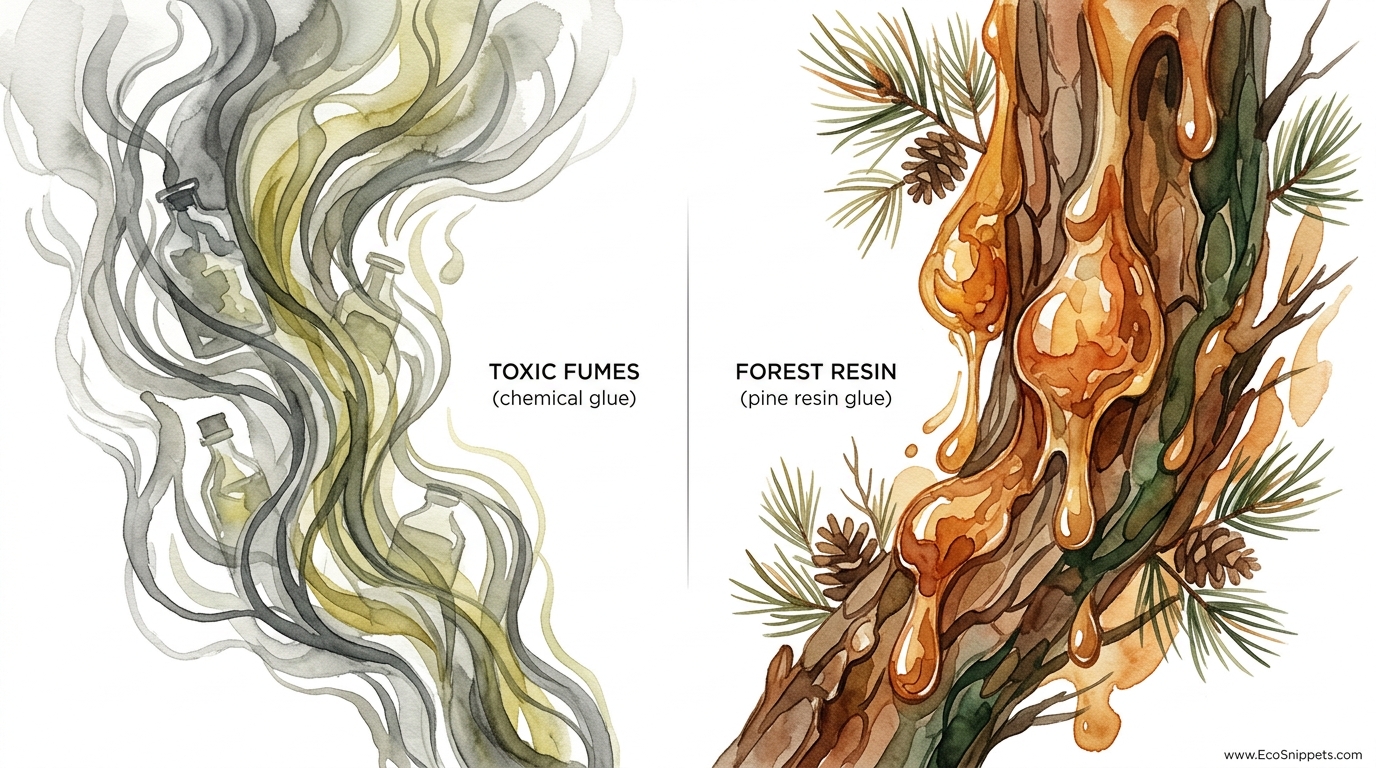
Is your craft held together by a petroleum byproduct that snaps in the cold, or a forest resin that survived the Ice Age? Modern adhesives are designed for a ‘one-and-done’ life, often failing the moment the temperature shifts. Pine pitch (or ‘nature’s epoxy’) is not only free to forage but is completely waterproof, indefinitely repairable, and biodegradable. Stop breathing in cyanoacrylate and start tapping into the forest’s secret bond.
Working with pine resin is a journey into ancestral wisdom. It requires a patient eye and a steady hand over the coals. You are not just making glue; you are refining a substance that has secured spear points for 50,000 years. This guide will walk you through the entire process, from the first sticky globule found on a wind-shattered trunk to the final, glass-hard stick of professional-grade adhesive.
Whether you are hafting a traditional knife, sealing a birch bark container, or looking for a reliable field-repair solution that never expires, pine pitch is the gold standard. It is a material that demands respect but rewards the crafter with a bond that outlasts the very tools it holds together.
How To Make DIY Adhesive Pine Pitch
DIY adhesive pine pitch is a thermo-plastic resin made by combining the raw resin of conifer trees with specific additives to adjust its hardness and flexibility. In its raw form, pine resin is the tree’s natural defense mechanism, acting as a sterile bandage to seal wounds and ward off boring insects. While raw resin is naturally sticky, it is too brittle and temperamental to be used as a structural glue on its own.
Historical records and archaeological finds show that this “nature’s epoxy” has been a cornerstone of human technology for millennia. Neanderthals used similar resins to attach stone tools to handles as far back as 55,000 years ago. It exists today as a bridge between ancient survival skills and modern self-reliance, providing a high-performance adhesive that requires zero industrial processing.
In real-world situations, pine pitch glue is used where a waterproof, heat-activated bond is required. Imagine a heavy-duty hot-melt glue gun, but one that uses a material harvested from the backyard. It is the primary choice for primitive tool-making, traditional archery, and emergency gear repair in the wild. Because it can be reheated and reshaped, a tool fixed with pine pitch is never truly “broken”—it is simply waiting for a fresh spark to reset the bond.
How It Works: The Chemistry of the Forest Bond
To understand how to make the perfect pitch, you must first understand what you are cooking. Raw pine resin, often called oleoresin, consists of two main parts: solid rosin and liquid terpenes (turpentine). When the resin is fresh and runny, it is high in terpenes, which act as a natural solvent keeping the mixture liquid.
The cooking process is essentially a distillation. As you apply heat, you drive off the volatile terpenes—the part that smells strongly of pine. This leaves behind the solid rosin. However, pure rosin is like glass; if you drop a tool held together with pure rosin, the bond will shatter instantly. This is where tempering agents come into play.
Powdered charcoal is the most critical additive. It acts as a structural reinforcement, much like rebar in concrete. It prevents cracks from traveling through the glue and provides a matte finish that is less “tacky” to the touch. Secondary additives like beeswax or animal fats (tallow) act as plasticizers, ensuring the glue remains slightly flexible in cold temperatures rather than becoming brittle.
Foraging and Harvesting: Finding the Blood of the Forest
The first step in making your own adhesive is locating the raw materials. While the process is named after the pine tree, nearly any conifer will provide usable resin. Pines (Pinus), Spruces (Picea), and Firs (Abies) are the most common sources, with each offering slightly different characteristics.
Identifying Your Source
Pine trees are distinguished by their needles, which grow in bundles (fasicles) of two, three, or five. Their resin tends to be abundant and relatively soft. Spruce trees have sharp, individual needles that grow all the way around the branch, making the twig feel rough like a bottle brush. Spruce resin is often prized for its clarity and is a traditional favorite for “spruce gum” adhesives.
Fir trees have flat, soft needles that attach directly to the stem. Their resin is frequently found in small “blisters” on the bark of younger trees. Popping these blisters with a small stick is a quick way to gather highly pure, liquid resin, though it requires more cooking to reach the desired hardness.
Sustainable Harvesting Practices
Always prioritize the health of the forest. The resin is the tree’s blood; it is there to heal a wound. Never “wound” a healthy tree just to collect sap. Instead, look for trees that have been damaged by wind, ice, or lightning. Large, hardened “scabs” of amber-colored resin can often be found where a limb has snapped off.
The best resin for glue making is “old” resin—stuff that has been on the tree for a season or two. It will be hard, crusty, and perhaps gray on the outside but amber on the inside. This aged resin has already lost many of its volatile oils to the air, meaning your cooking time will be significantly reduced. Collect your find in a dedicated tin or a piece of parchment paper, as it will stick to anything it touches.
The Tool Kit: What You’ll Need
Making pine pitch is a messy affair. You should have a dedicated set of tools that you never intend to use for food again. Resin is notoriously difficult to clean, so embrace the “pitch-black” aesthetic of your gear.
- A Melting Pot: An old tuna tin, a soda can with the top cut off, or a small cast-iron pot. Metal is preferred as it handles direct heat well.
- A Sieve or Filter: A scrap of metal window screen or a loose-weave piece of cloth (like cheesecloth) to remove bark and pine needles.
- A Stirring Stick: A sturdy, dry twig that you can discard later.
- The Additives: Hardwood charcoal from a cold fire and, optionally, beeswax or tallow.
- Storage Sticks: Dry branches roughly 15 cm to 20 cm (6 in to 8 in) long to create “glue sticks” for future use.
The Step-by-Step Cooking Process
Once you have foraged your raw resin and gathered your tools, it is time to transform the “dirty” forest sap into a refined industrial-strength adhesive. This process should be done outdoors or in a very well-ventilated workshop, as the fumes are intense and the mixture is highly flammable.
Step 1: Preparation and Cleaning
Start by breaking your collected resin chunks into smaller pieces. If the resin is very hard, you can wrap it in a cloth and hit it with a hammer. The smaller the pieces, the more evenly they will melt. Place your resin into the melting pot. If you are using very dirty resin with lots of bark and needles, plan for a two-stage melt.
Step 2: The Gentle Melt
Place your pot near the edge of a bed of coals or on a low-heat camping stove. Do not put it directly into the flames. Resin has a low flash point and can ignite suddenly. Aim for a temperature of roughly 100°C to 120°C (212°F to 248°F). If the mixture starts to smoke heavily or “boil” violently, pull it back from the heat immediately. You want a slow simmer to evaporate the turpentine without scorching the rosin.
Step 3: Filtering the Debris
Once the resin has turned into a liquid similar to maple syrup, it is time to filter it. Pour the molten liquid through your screen or cheesecloth into a second clean container. This removes the bark, bugs, and needles that would otherwise create weak points in your finished glue. Work quickly, as the resin begins to thicken the moment it leaves the heat.
Step 4: Incorporating the Additives
Now you have pure, liquid resin. It is time to turn it into “pitch.” While the resin is still hot and fluid, begin adding your finely powdered charcoal. The charcoal must be crushed to a flour-like consistency for the best results.
A standard starting ratio is 3 parts resin to 1 part charcoal by volume. Stir the mixture vigorously. The charcoal will turn the golden resin into a deep, opaque black. If you want a more flexible glue for cold-weather use, add a small amount of beeswax—roughly a teaspoon for every 100 g (3.5 oz) of resin.
Step 5: The Fingernail Test
To check if your ratio is correct, take a small dab of the hot glue on a stick and dip it into cold water. Once it has cooled (which takes about 10 seconds), try to indent it with your thumbnail.
- Too Soft: If it feels like chewing gum or leaves a deep, soft dent, you need to add more charcoal or cook it longer to drive off more turpentine.
- Too Brittle: If it shatters like glass when you bite it or press hard, it needs a tiny bit more beeswax or raw resin.
- Just Right: It should feel rock-hard but allow you to leave a faint, visible mark with a firm press of your nail without the piece cracking.
How to Use and Store Your Pine Pitch
Once the mixture is perfected, you need a way to store and apply it. The most common method is creating “glue sticks” or “daubing sticks.” While the pitch is still warm and pliable (but not so hot it burns your skin), gather a glob on the end of a storage stick. Roll it on a flat, wet stone to shape it into a cylinder, similar to a large corn dog.
To use the glue later, simply hold the end of the stick over a flame or heat source until it begins to glisten and soften. You can then dab it onto your project just like a hot-glue gun. For tool hafting, it is best to heat both the glue and the surfaces being joined (such as the knife tang and the wooden handle) to ensure a deep, chemical bond.
Benefits of DIY Pine Pitch
There are several reasons why a serious practitioner might choose pine pitch over a modern epoxy or superglue. The primary advantage is **reversibility**. If you haft a blade and realize it is slightly crooked, you simply apply heat, realign the piece, and let it cool again. There is no need for solvents or grinding away at hardened plastic.
The environmental footprint is also nonexistent. Pine pitch is a bio-based material that will eventually break down if left in the forest, unlike petroleum-based glues that persist for centuries. Furthermore, the cost is effectively zero. For the price of a walk in the woods and some leftover campfire charcoal, you can produce enough adhesive to last a lifetime of crafting.
Finally, there is the matter of performance in extreme conditions. Unlike many modern glues that become brittle and fail in sub-zero temperatures, a properly tempered pine pitch with a touch of beeswax remains resilient. It is also 100% waterproof, making it the historical choice for sealing the seams of birch bark canoes that spent weeks submerged in water.
Challenges and Common Mistakes
The most frequent error in pine pitch production is **overheating**. If the resin reaches its flash point and catches fire, the chemical structure changes. Even if you blow the fire out, the resulting glue will likely be extremely brittle and lose its adhesive “tack.” Always use the minimum heat necessary to keep the liquid flowing.
Another common pitfall is using **unrefined charcoal**. If your charcoal contains large chunks or “un-charred” wood bits, the glue will have internal stress points. This leads to a bond that looks strong but snaps under the first sign of vibration or impact. Take the time to grind your charcoal into a true powder; the extra ten minutes spent with a mortar and pestle will double the strength of your adhesive.
Finally, beginners often neglect to **clean their surfaces**. While pine pitch is incredibly sticky, it will not bond well to wood that is oily, wet, or covered in loose dust. Always wipe down your joinery surfaces and, if possible, slightly roughen them with sandpaper or a rasp to give the pitch more “teeth” to grab onto.
Limitations: When This May Not Be Ideal
Despite its many strengths, pine pitch is not a universal solution. Its greatest limitation is its **sensitivity to heat**. If you use pine pitch to fix a tool that you then leave on the dashboard of a car in the summer sun, the glue will soften, and your tool will likely fall apart or stick to the upholstery. It is a “living” adhesive that responds to the environment.
It also lacks the high-tensile “shear strength” of modern industrial epoxies. While it is excellent for holding a stone arrowhead in place when wrapped with sinew, it should not be the sole structural element in a high-stress mechanical joint that isn’t reinforced with cordage. In the ancient world, pitch was almost always used in conjunction with “binding”—using the glue to fill gaps and prevent movement while cordage provided the clamping force.
Comparison: Pine Pitch vs. Modern Adhesives
To give you a better sense of where pine pitch fits into your workshop, consider the following comparison based on practical metrics.
| Factor | Pine Pitch Glue | Modern 2-Part Epoxy | Cyanoacrylate (Superglue) |
|---|---|---|---|
| Cost | Free (foraged) | High ($15-30) | Moderate ($5-10) |
| Shelf Life | Indefinite (Centuries) | 1–2 Years | 6 Months (once opened) |
| Repairability | Excellent (Re-heat) | None (Permanent) | Poor |
| Water Resistance | Total | Very High | Moderate |
| Health Risk | Low (smoke/burns) | High (fumes/skin) | Moderate (fumes) |
Practical Tips and Best Practices
If you find yourself covered in sticky resin during the harvest, do not reach for the soap and water—it will only make the mess worse. Instead, use a fat or oil. Rubbing coconut oil, olive oil, or even butter onto your hands will dissolve the resin, allowing you to wipe it away with a cloth before finishing with a standard soap wash.
When applying the glue to a project, keep a small bowl of water nearby. If you need to shape the hot pitch with your fingers, dip them in the water first. The water creates a temporary thermal barrier and prevents the glue from sticking to your skin, allowing you to mold the joint into a smooth, professional-looking bead.
For storage, keep your glue sticks in a cool, dark place. While they won’t “go bad,” they can pick up dust and debris if left out. Many crafters wrap their sticks in a piece of greaseproof paper or store them in a dedicated wooden box to keep the surface clean for the next use.
Advanced Considerations: The Multi-Stage Binder
Once you have mastered the basic 3:1 ratio, you can begin experimenting with “loaded” glues. Some practitioners add a third ingredient: finely chopped plant fibers or even dried herbivore scat (rabbit or deer). While it may sound unappealing, the digestive process of these animals grinds grass into a perfectly sized micro-fiber that provides incredible shear strength to the glue.
Think of this as the difference between standard concrete and fiber-reinforced concrete. By adding roughly 10% by volume of these fine fibers, you create a mastic that can withstand significantly more vibration. This is the preferred recipe for tools that will see heavy impact, such as primitive axes or digging sticks.
Another advanced technique involves “sun-curing” your finished projects. Leaving a pitch-sealed container in a warm (but not hot) spot for several days allows the last remaining terpenes to slowly evaporate. This “ages” the glue, making it harder and more resistant to future temperature fluctuations.
Example Scenario: Repairing a Split Axe Handle
Suppose you are in the field and the wooden handle of your small carving hatchet develops a hairline split. A modern repair might involve injecting wood glue and clamping, but if you are away from your shop, pine pitch is your best ally.
First, you would locate a pine tree and harvest about 50 g (1.8 oz) of resin. You would melt this over your evening fire in a small tin, adding a pinch of powdered charcoal from the coals. Once the glue is liquid, you would gently heat the axe handle itself near the fire to open the grain of the wood.
Using a thin splinter of wood, you would “paint” the hot pitch into the crack, ensuring it penetrates deep into the fibers. While the glue is still warm, you would wrap the handle tightly with bank line or sinew. The pitch acts as both an adhesive and a sealant, preventing moisture from entering the crack and causing further rot, while the cordage provides the structural squeeze. Once cooled, the axe is ready for work immediately—no 24-hour cure time required.
Final Thoughts
Tapping into the world of natural adhesives is more than just a survival trick; it is a way to reclaim a piece of human heritage. By learning to work with the materials provided by the forest, you reduce your dependence on fragile global supply chains and toxic chemicals. You learn to see a storm-blown pine not as debris, but as a hardware store waiting to be harvested.
The process of making pine pitch glue teaches patience and observation. It forces you to understand the relationship between heat, material science, and the biology of the trees around you. Whether you are a bushcraft enthusiast, a traditional woodworker, or simply someone who appreciates the durability of ancient methods, mastering “nature’s epoxy” will change the way you look at your craft.
Start small, experiment with your local tree species, and don’t be afraid to get your hands a little sticky. The forest has been holding things together for millions of years; it’s time you learned how it’s done.
